


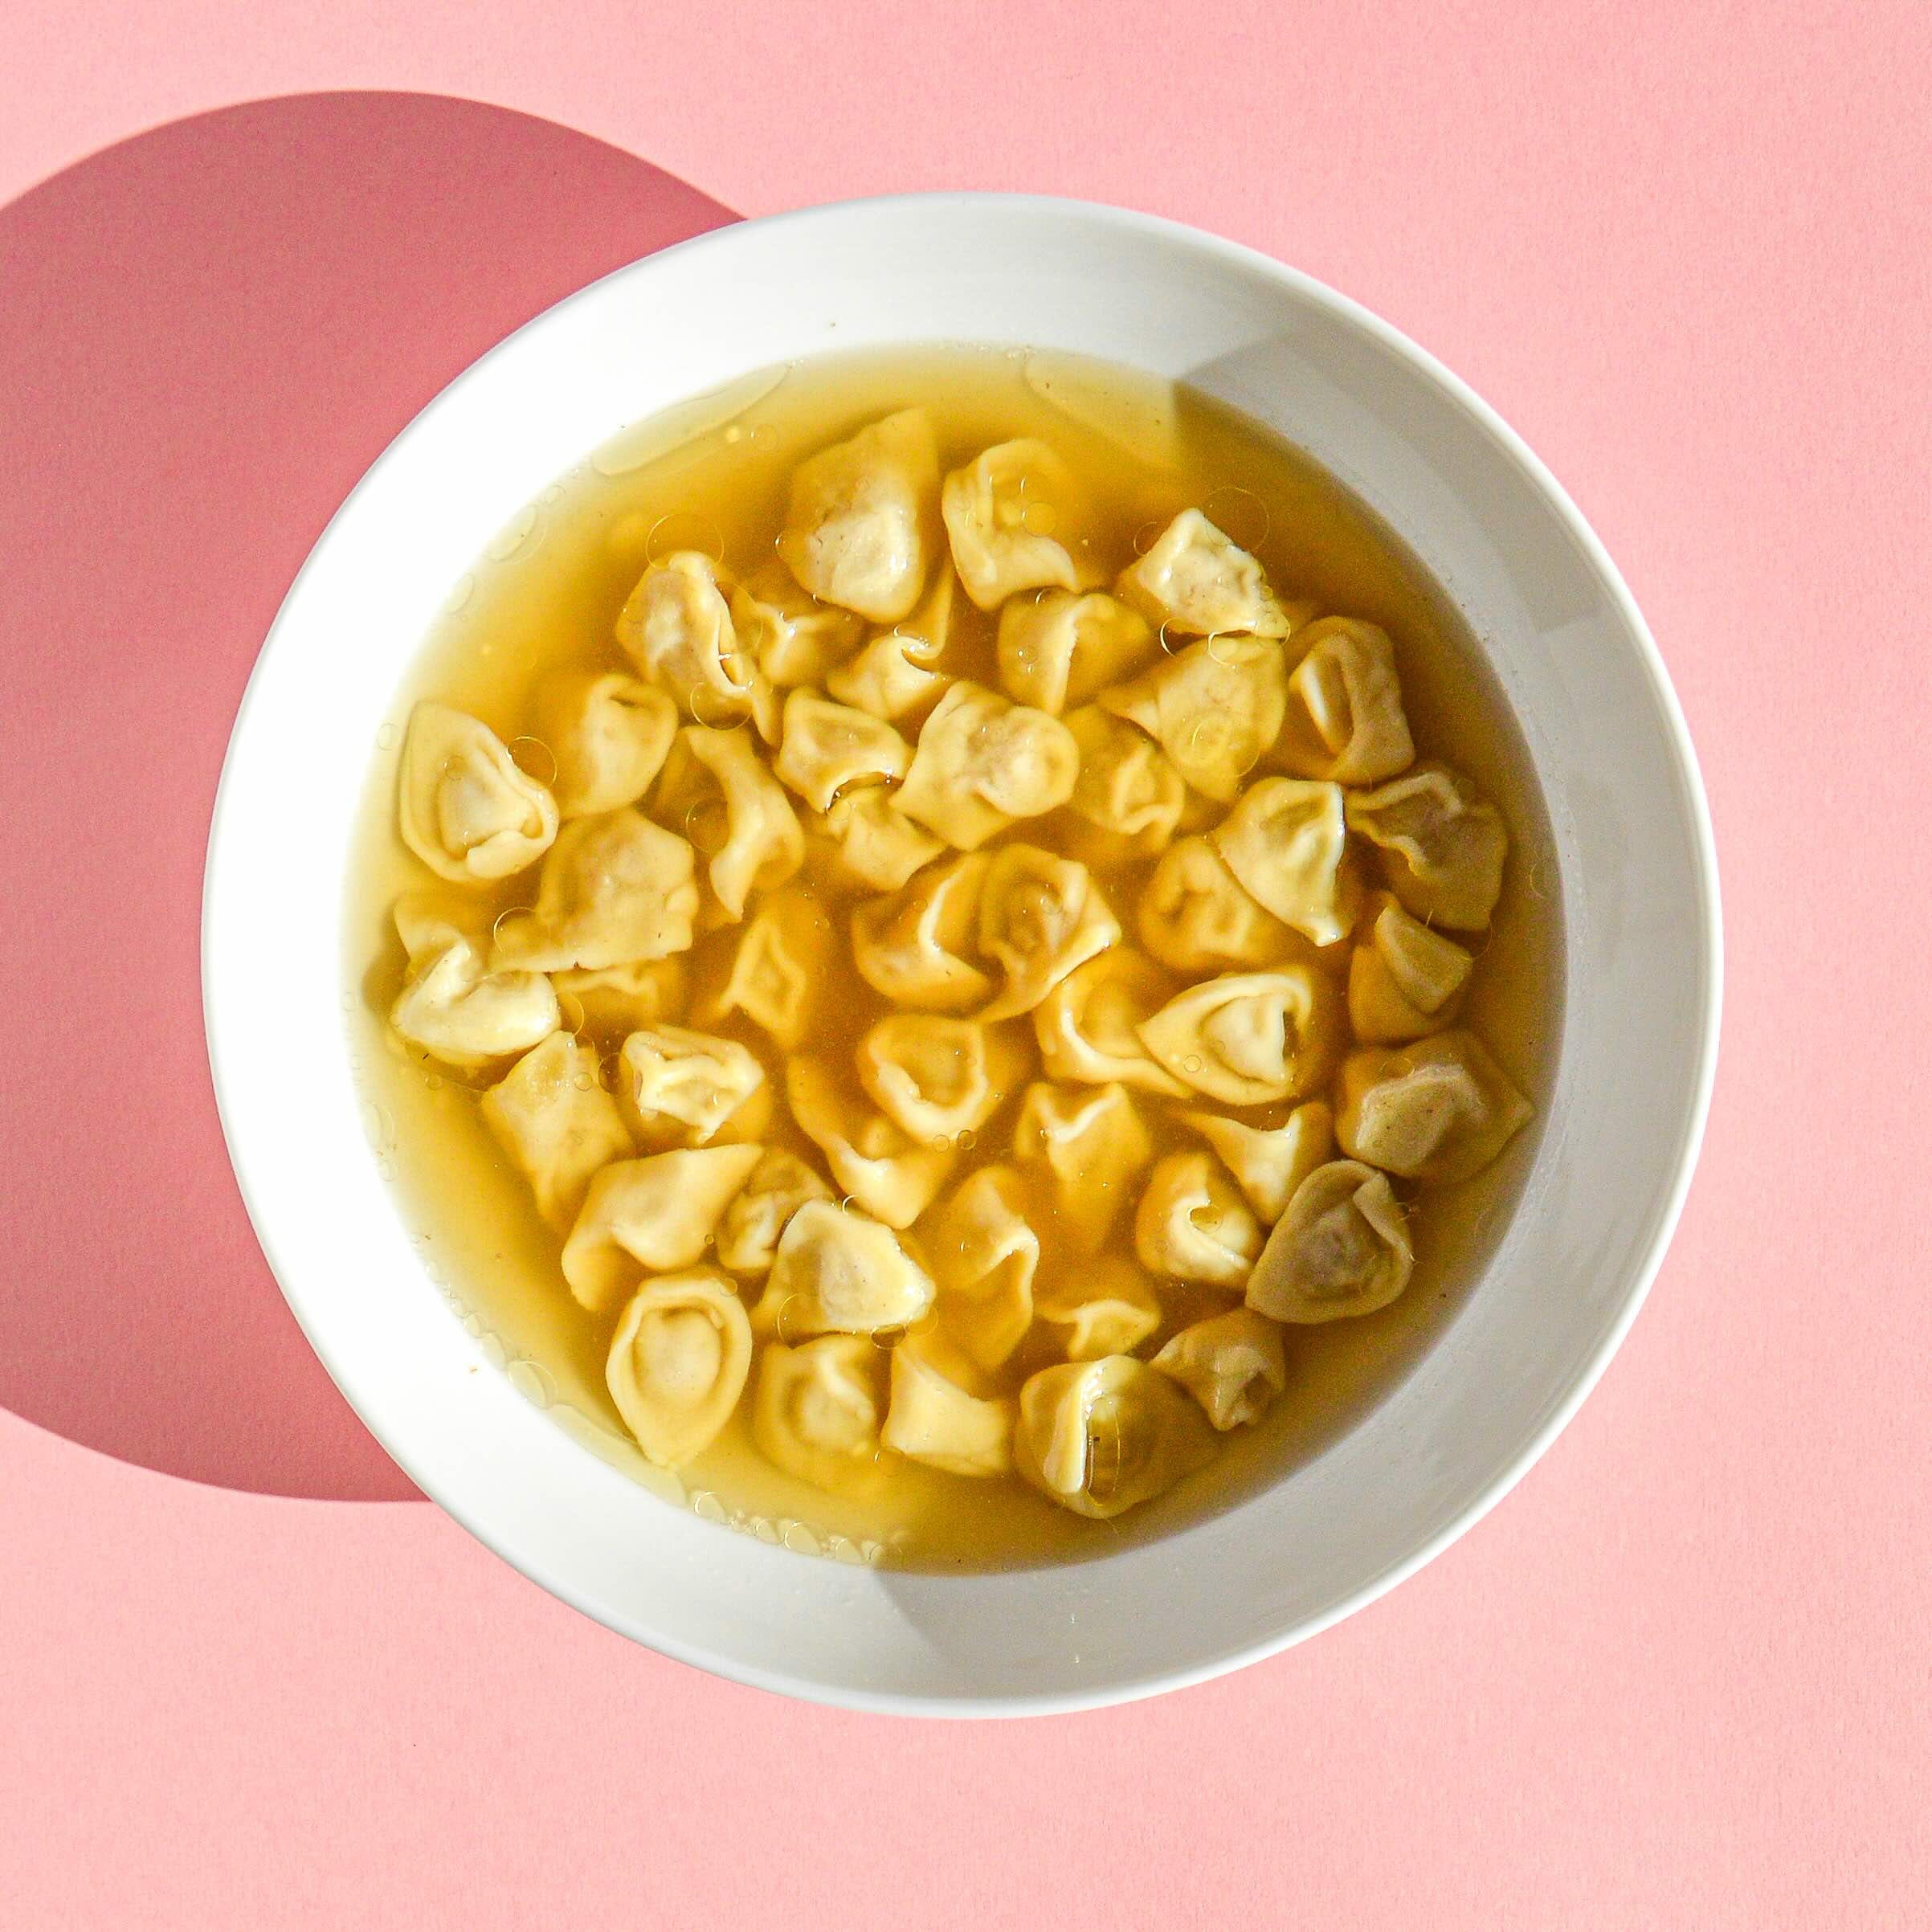
tortellini in brodo
Emilia-Romagna’s finest: tortellini with prosciutto di Parma, mortadella, and Parmigiano-Reggiano in a rich meaty broth


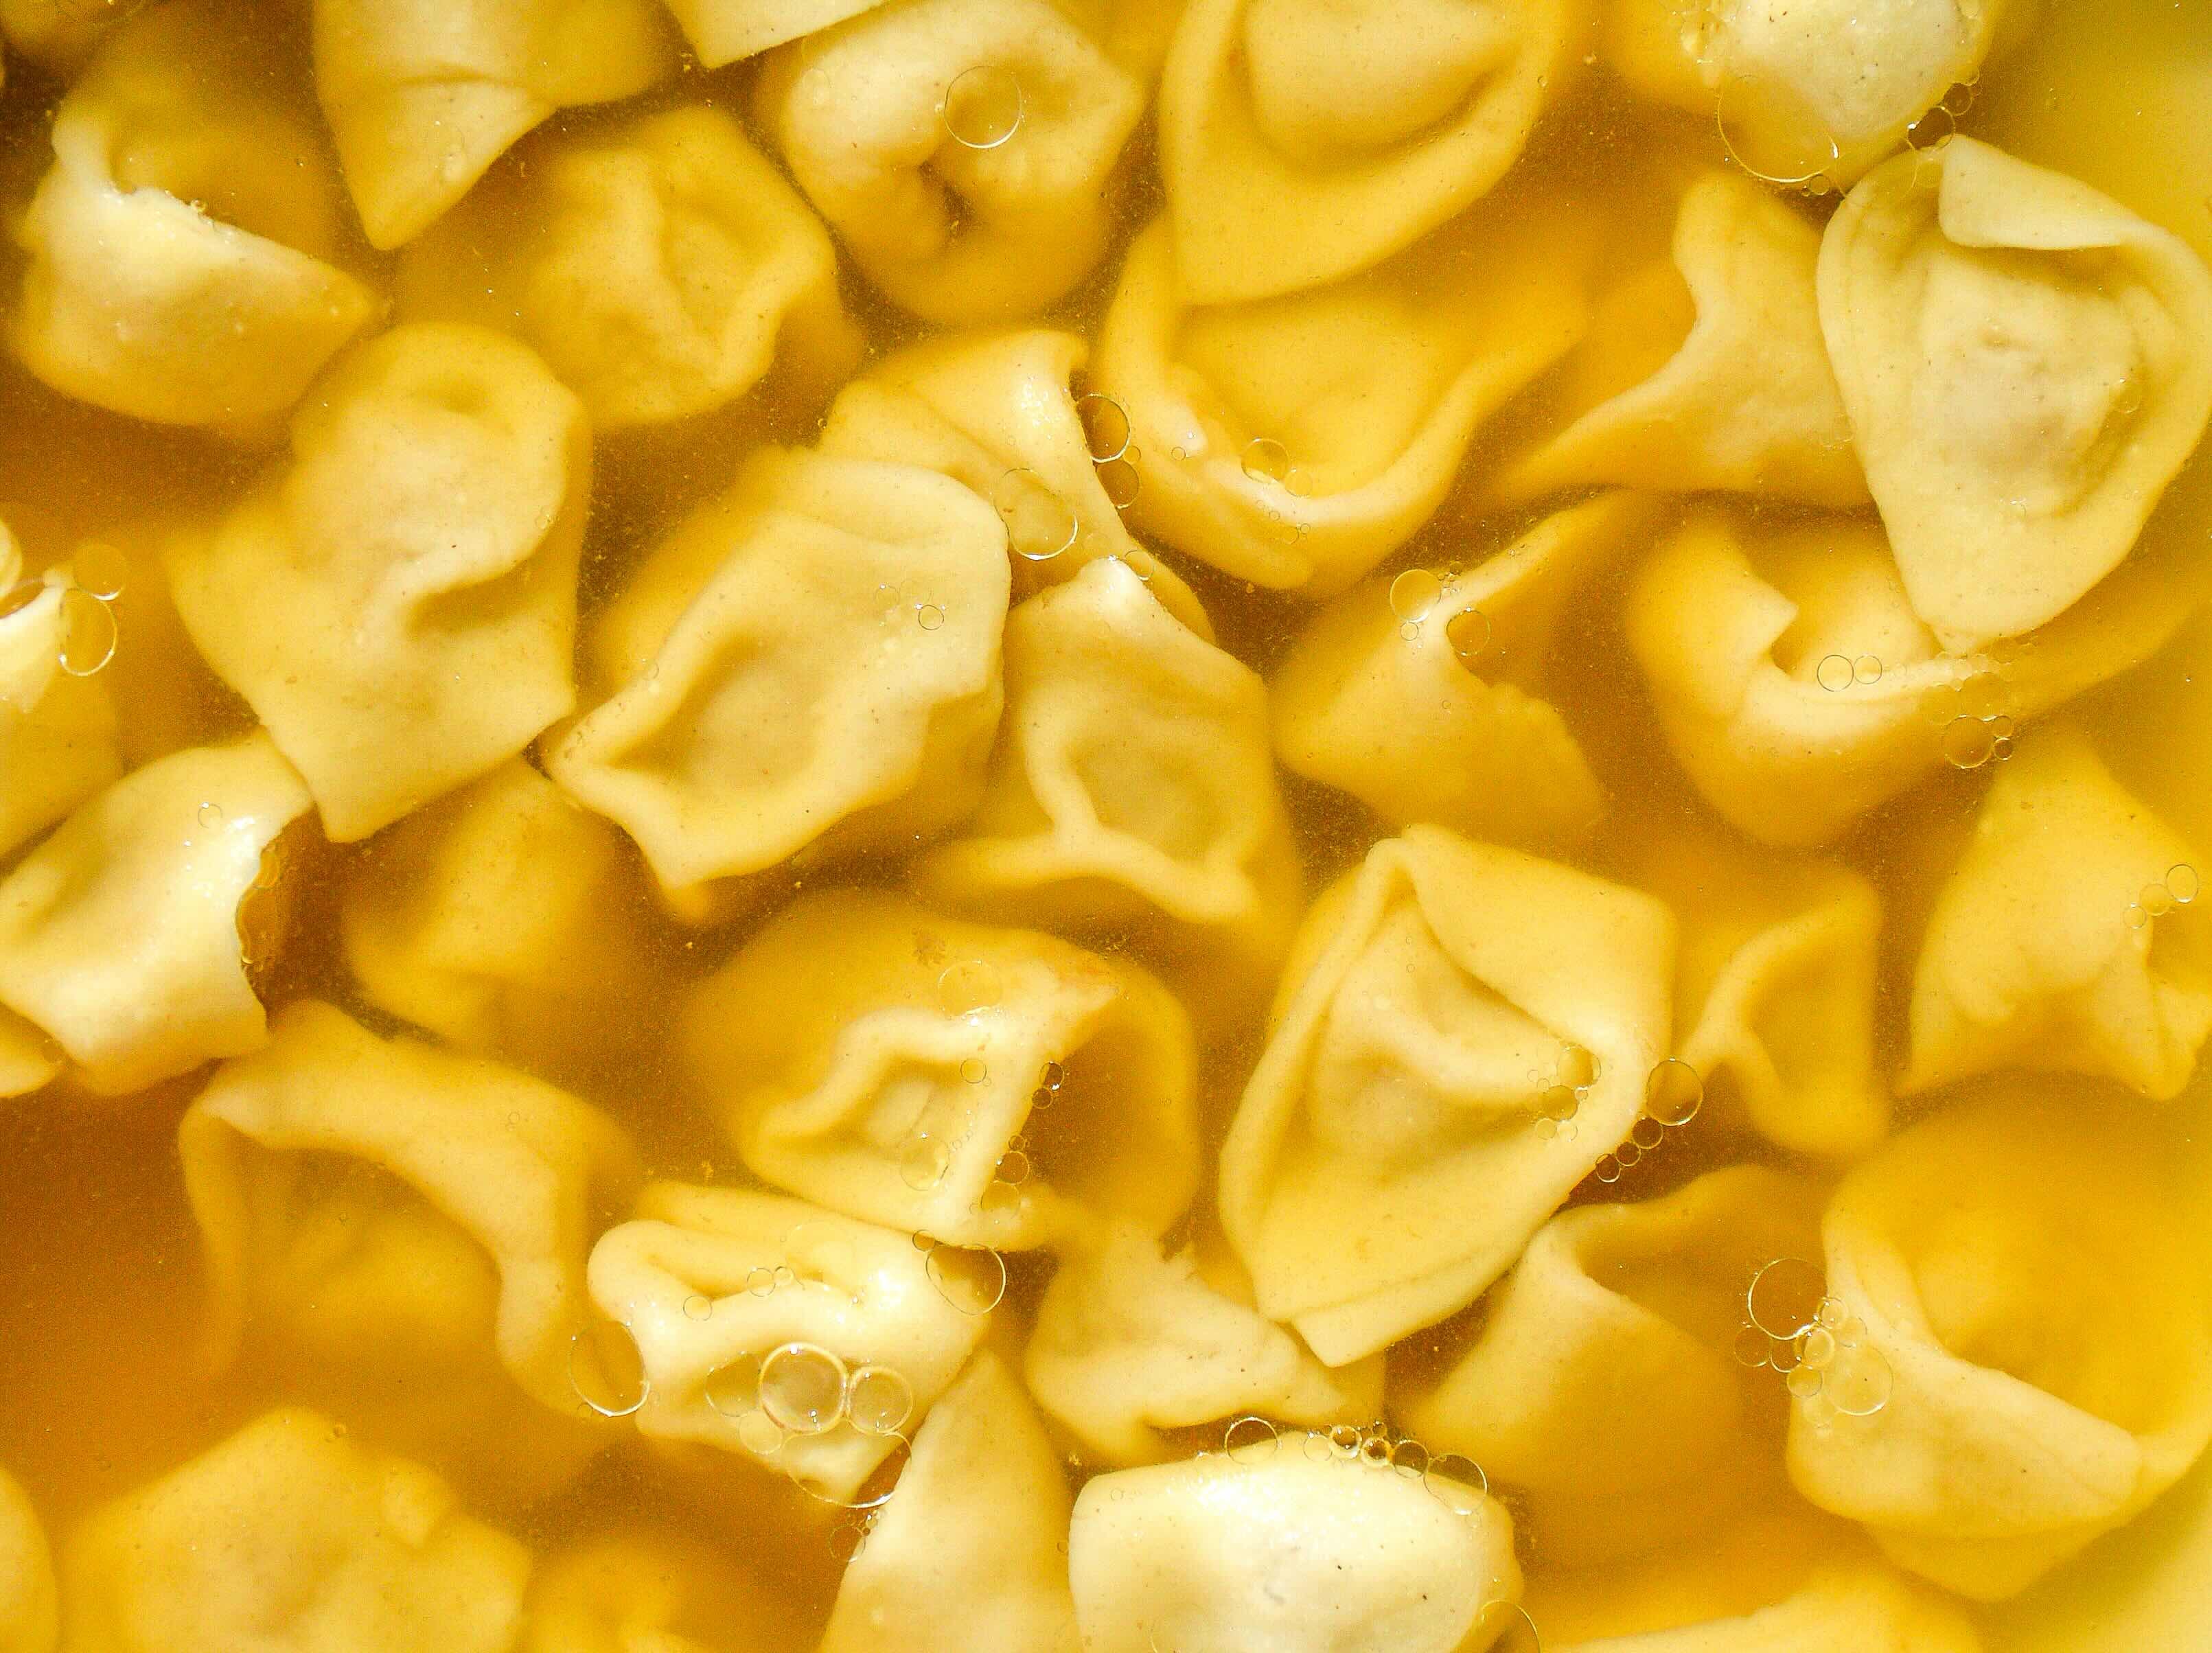

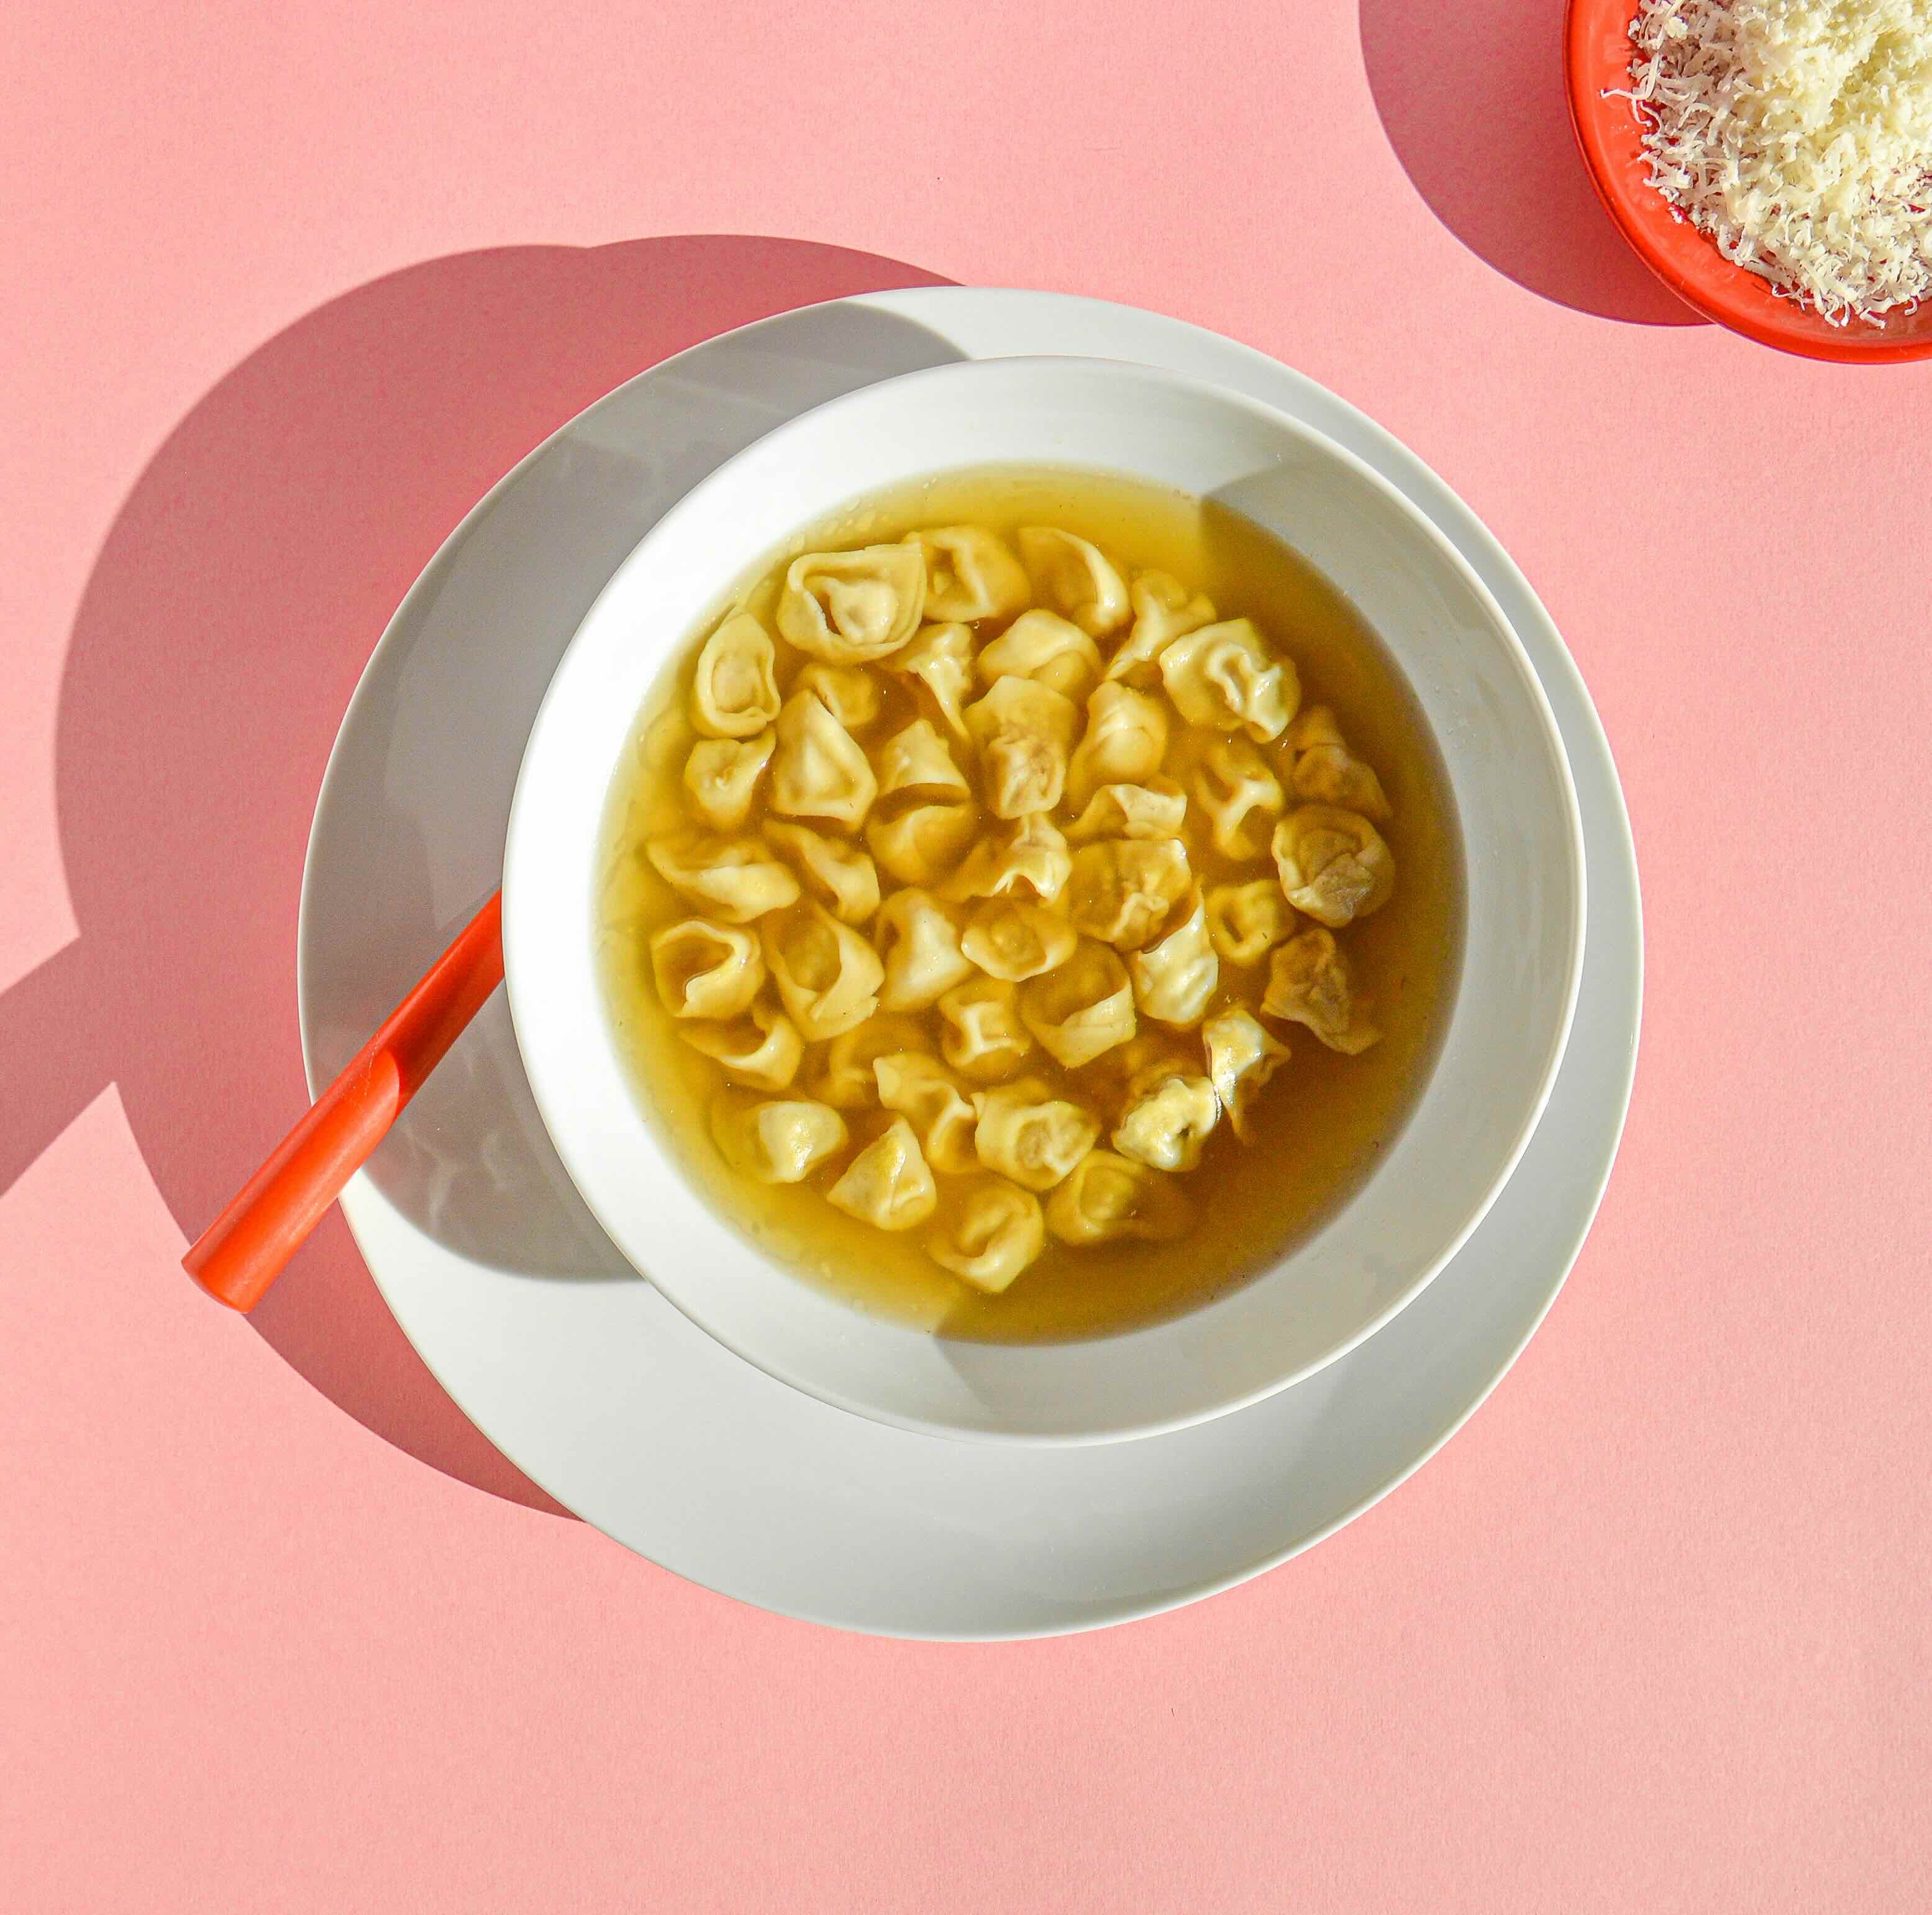

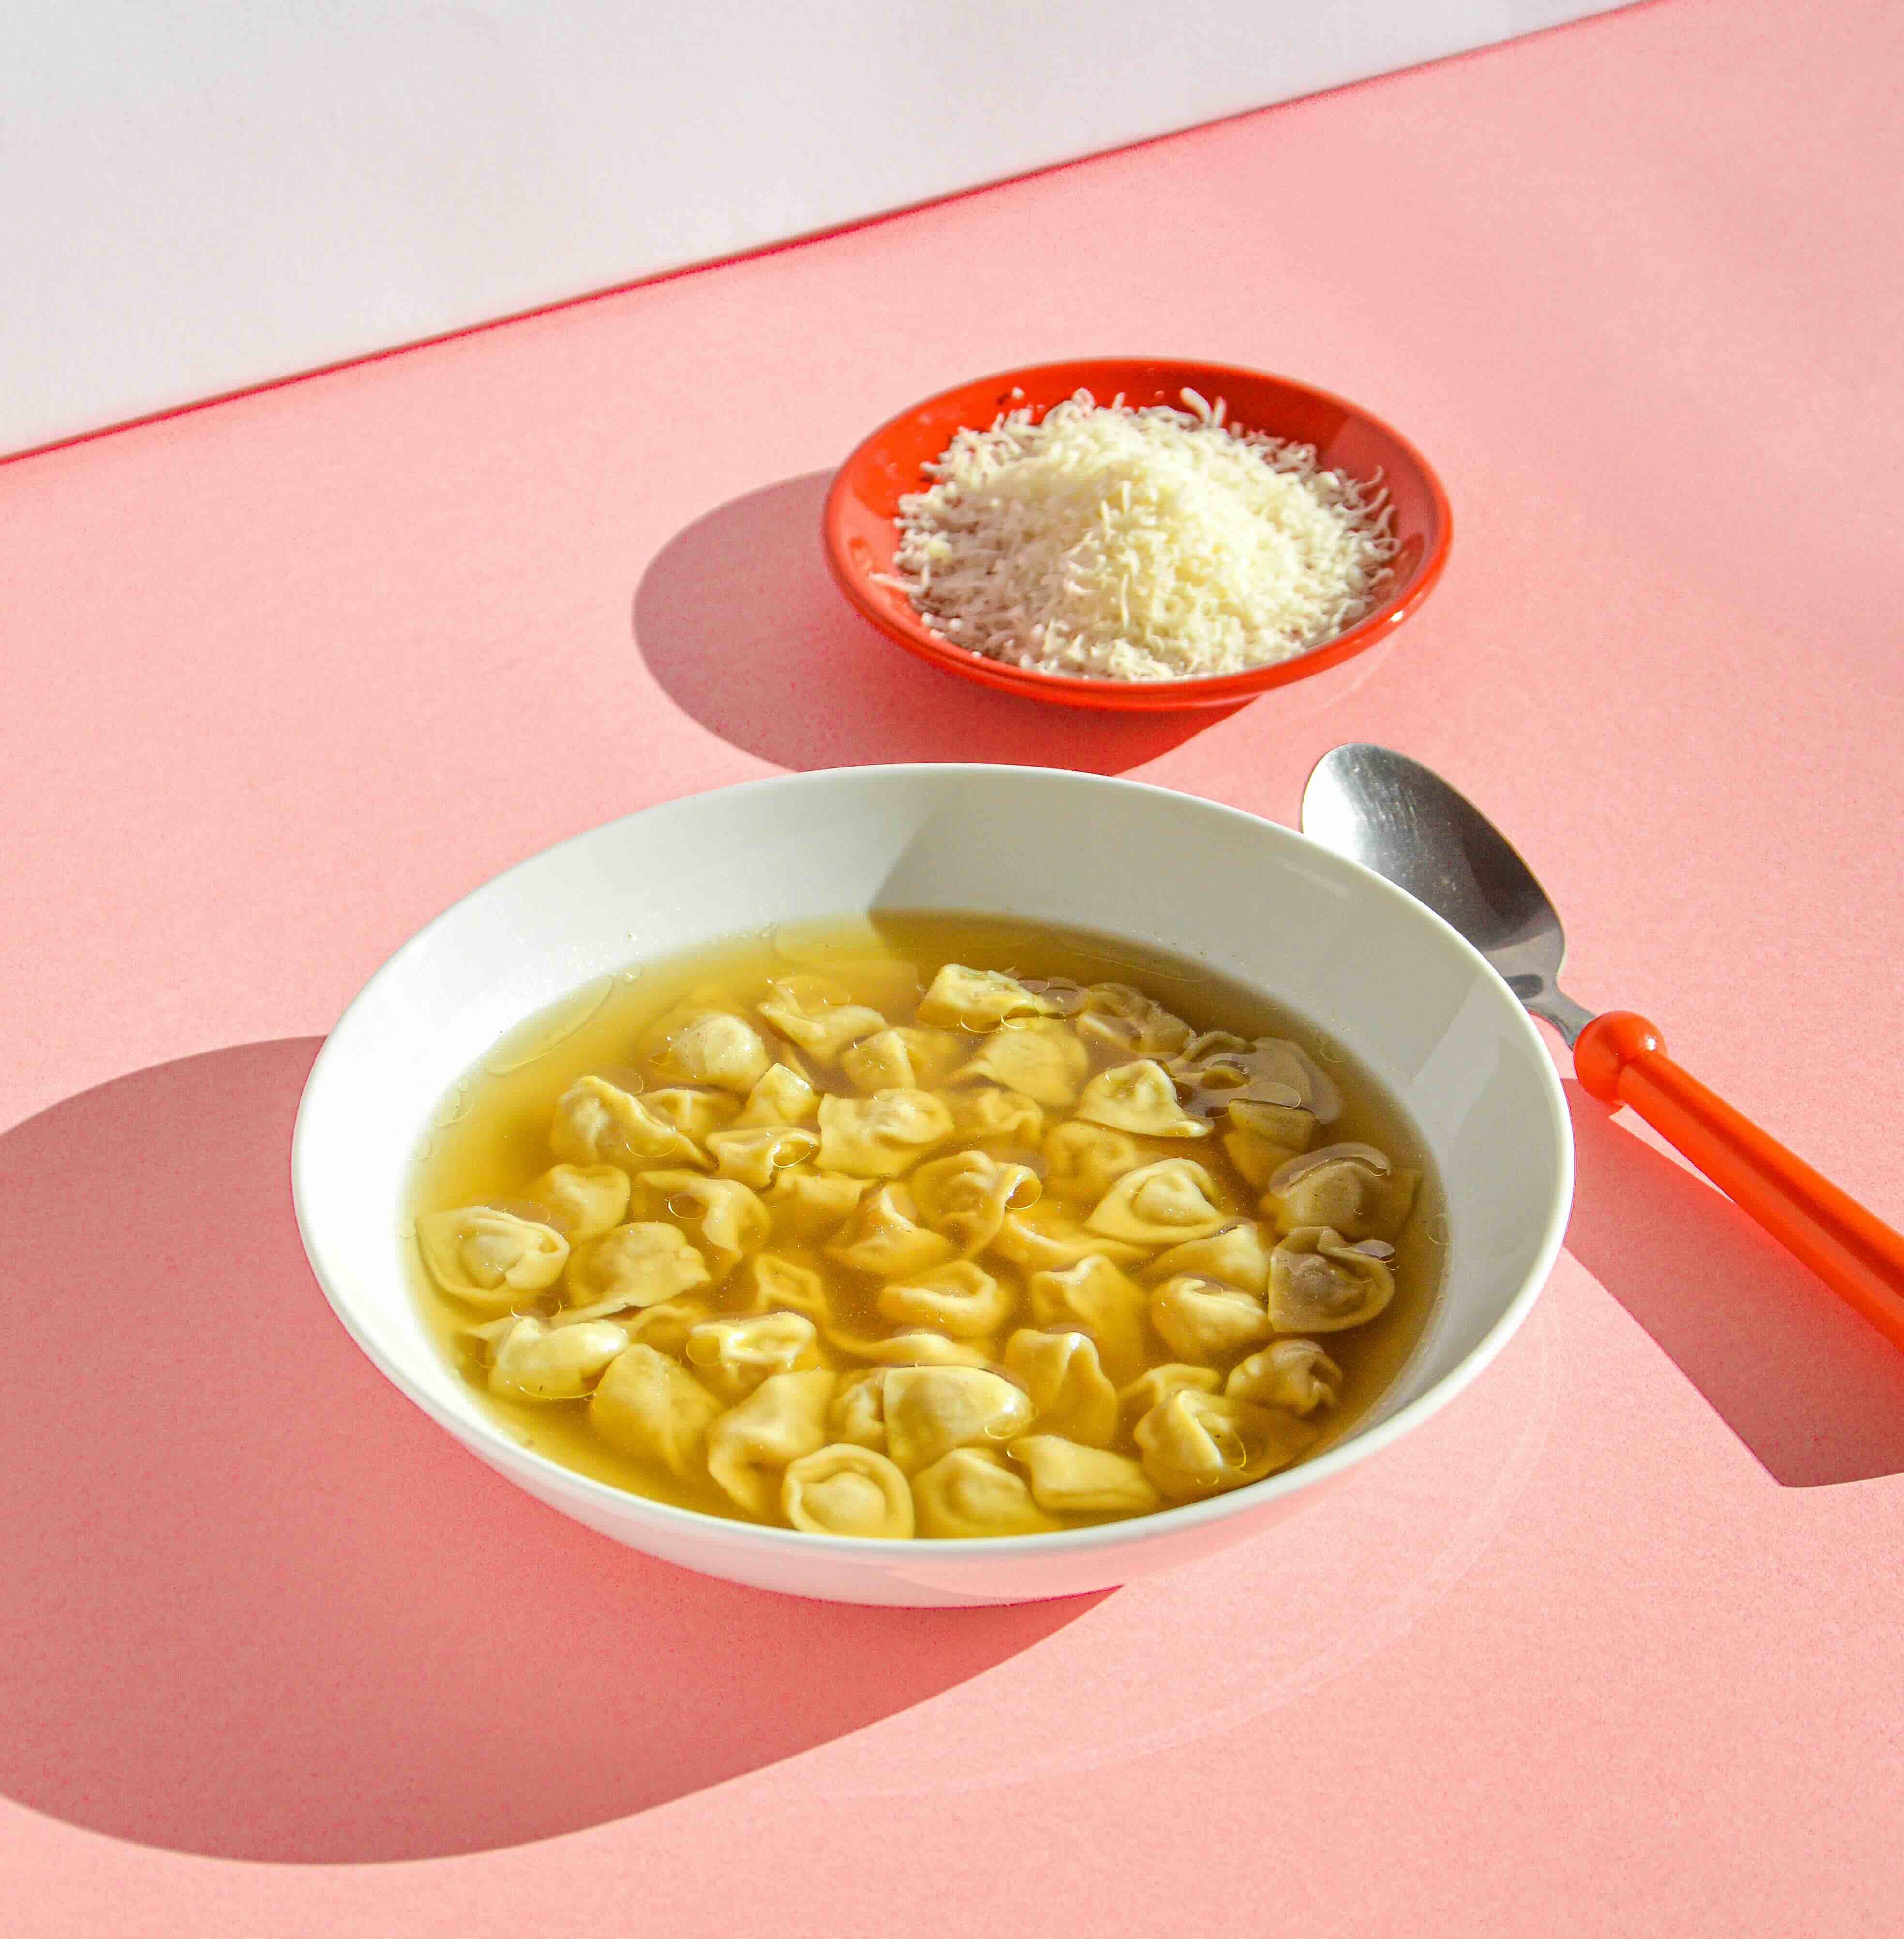


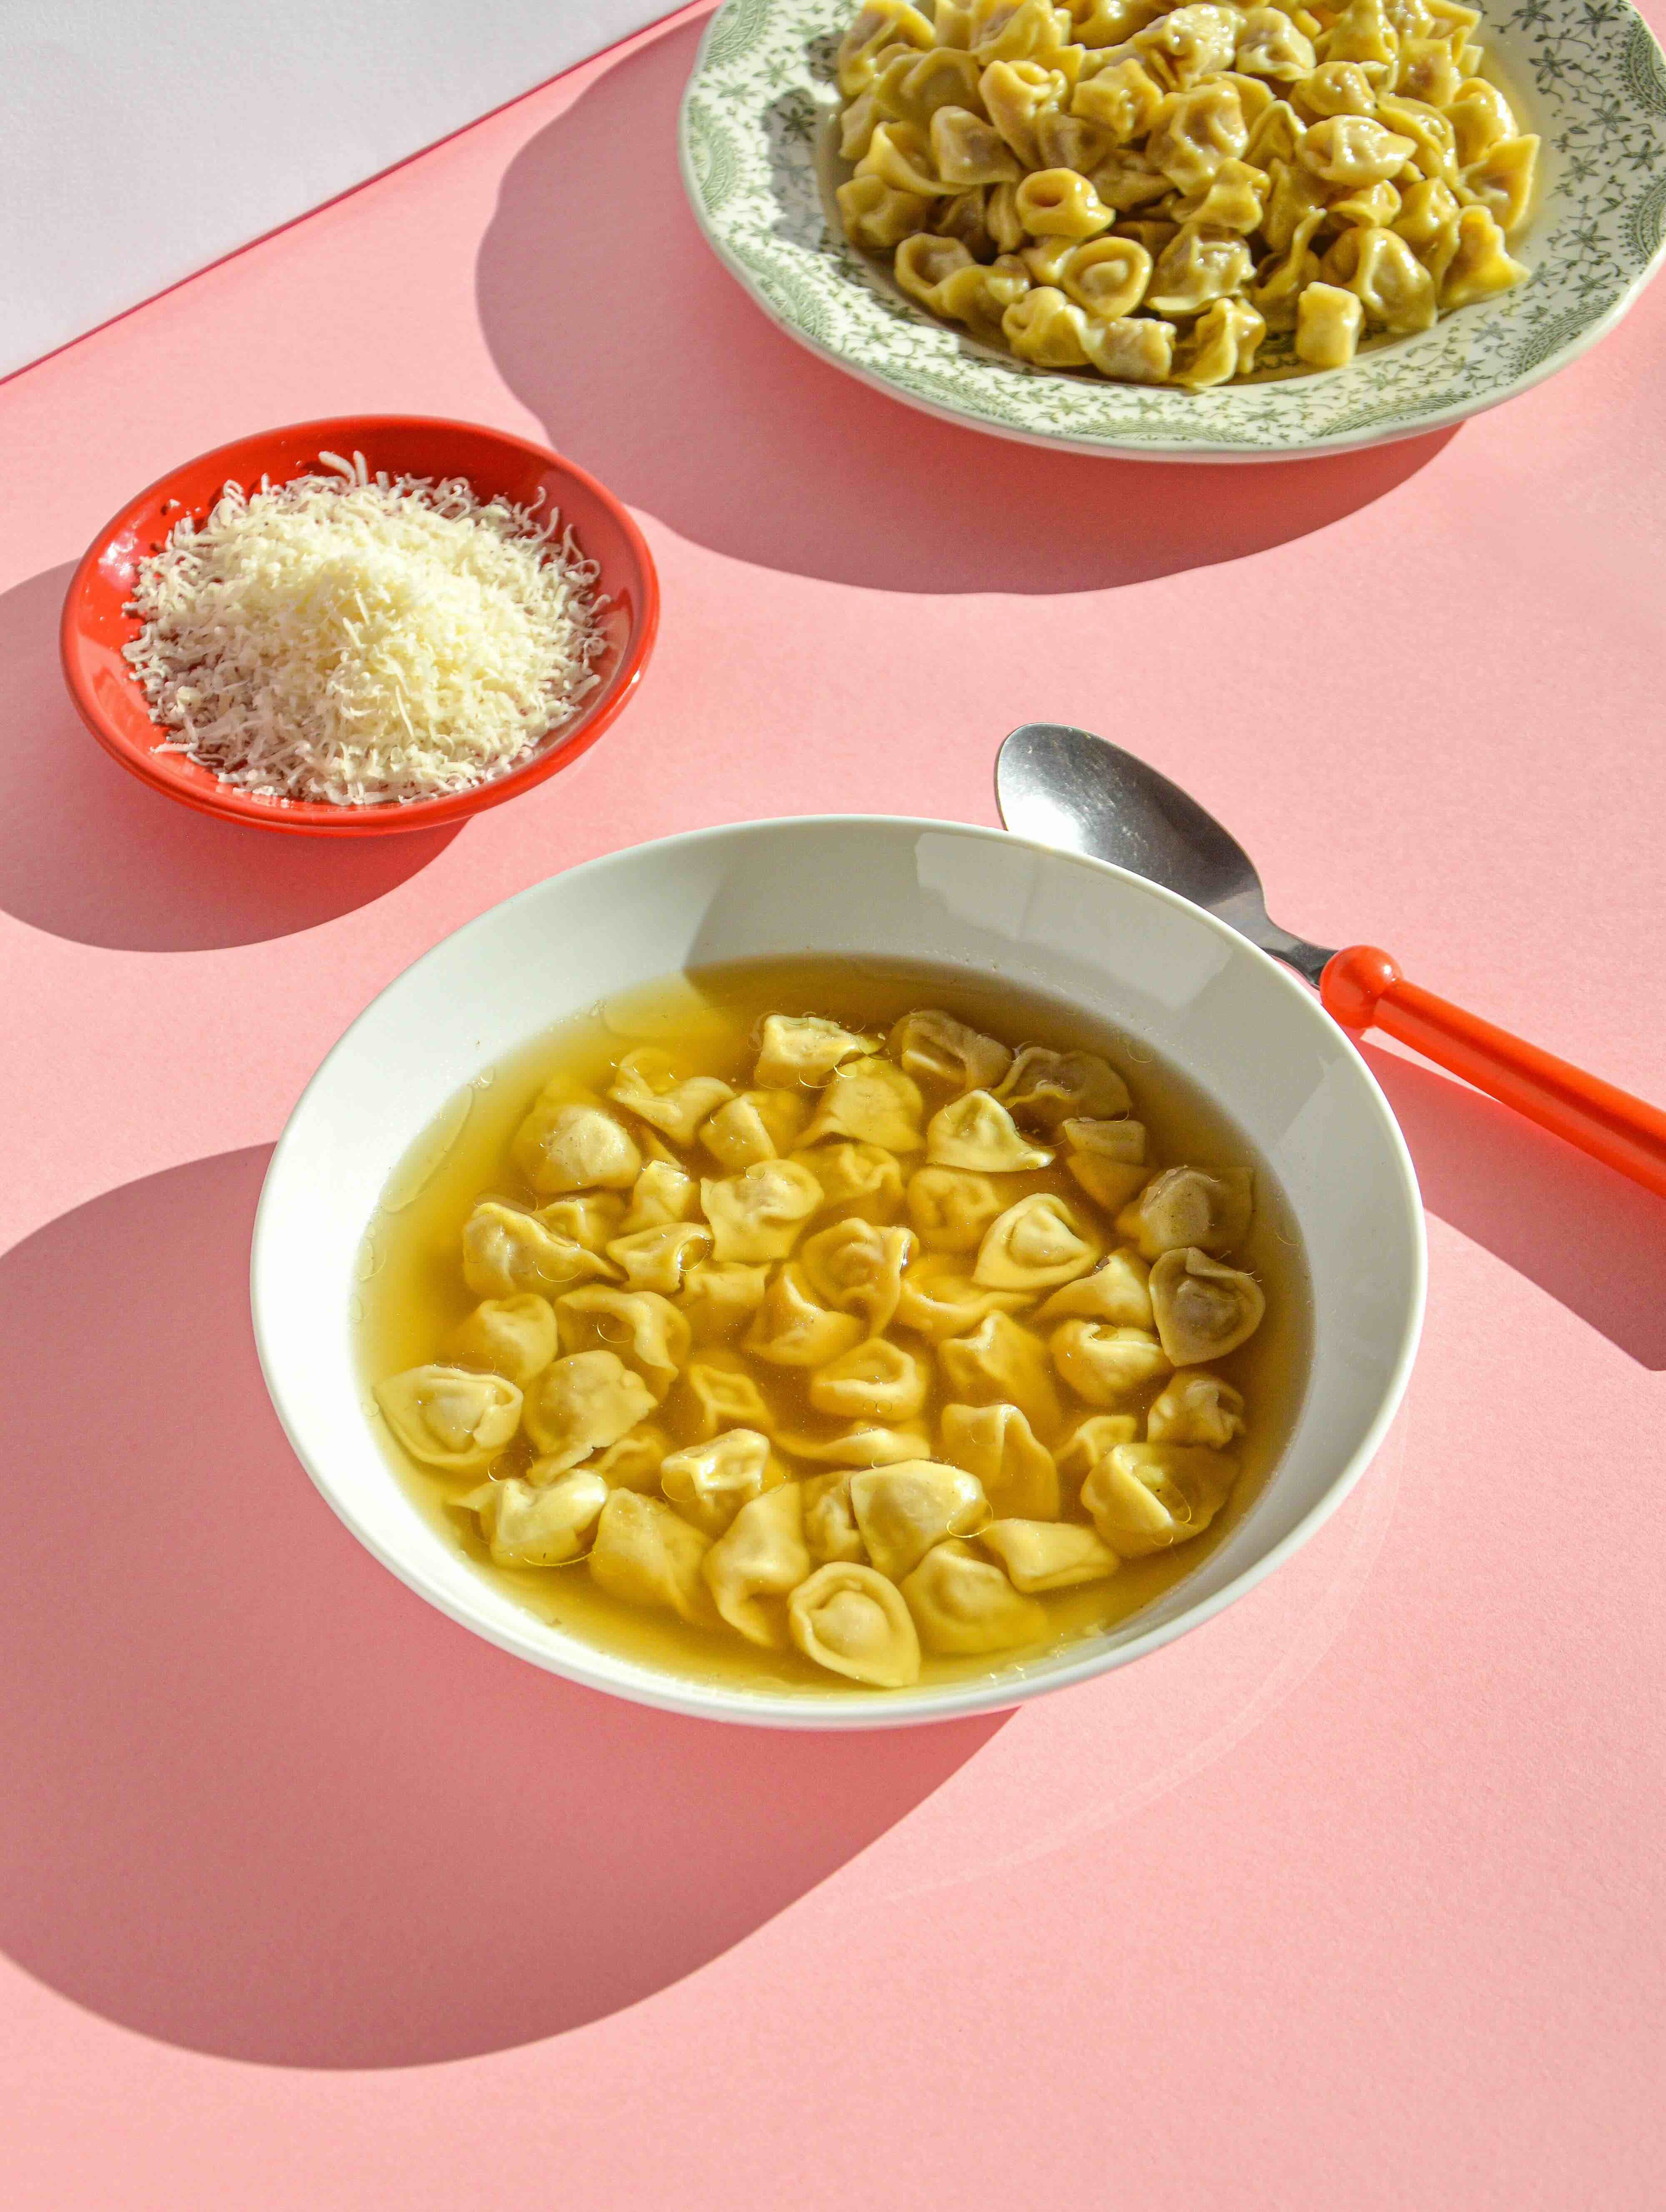

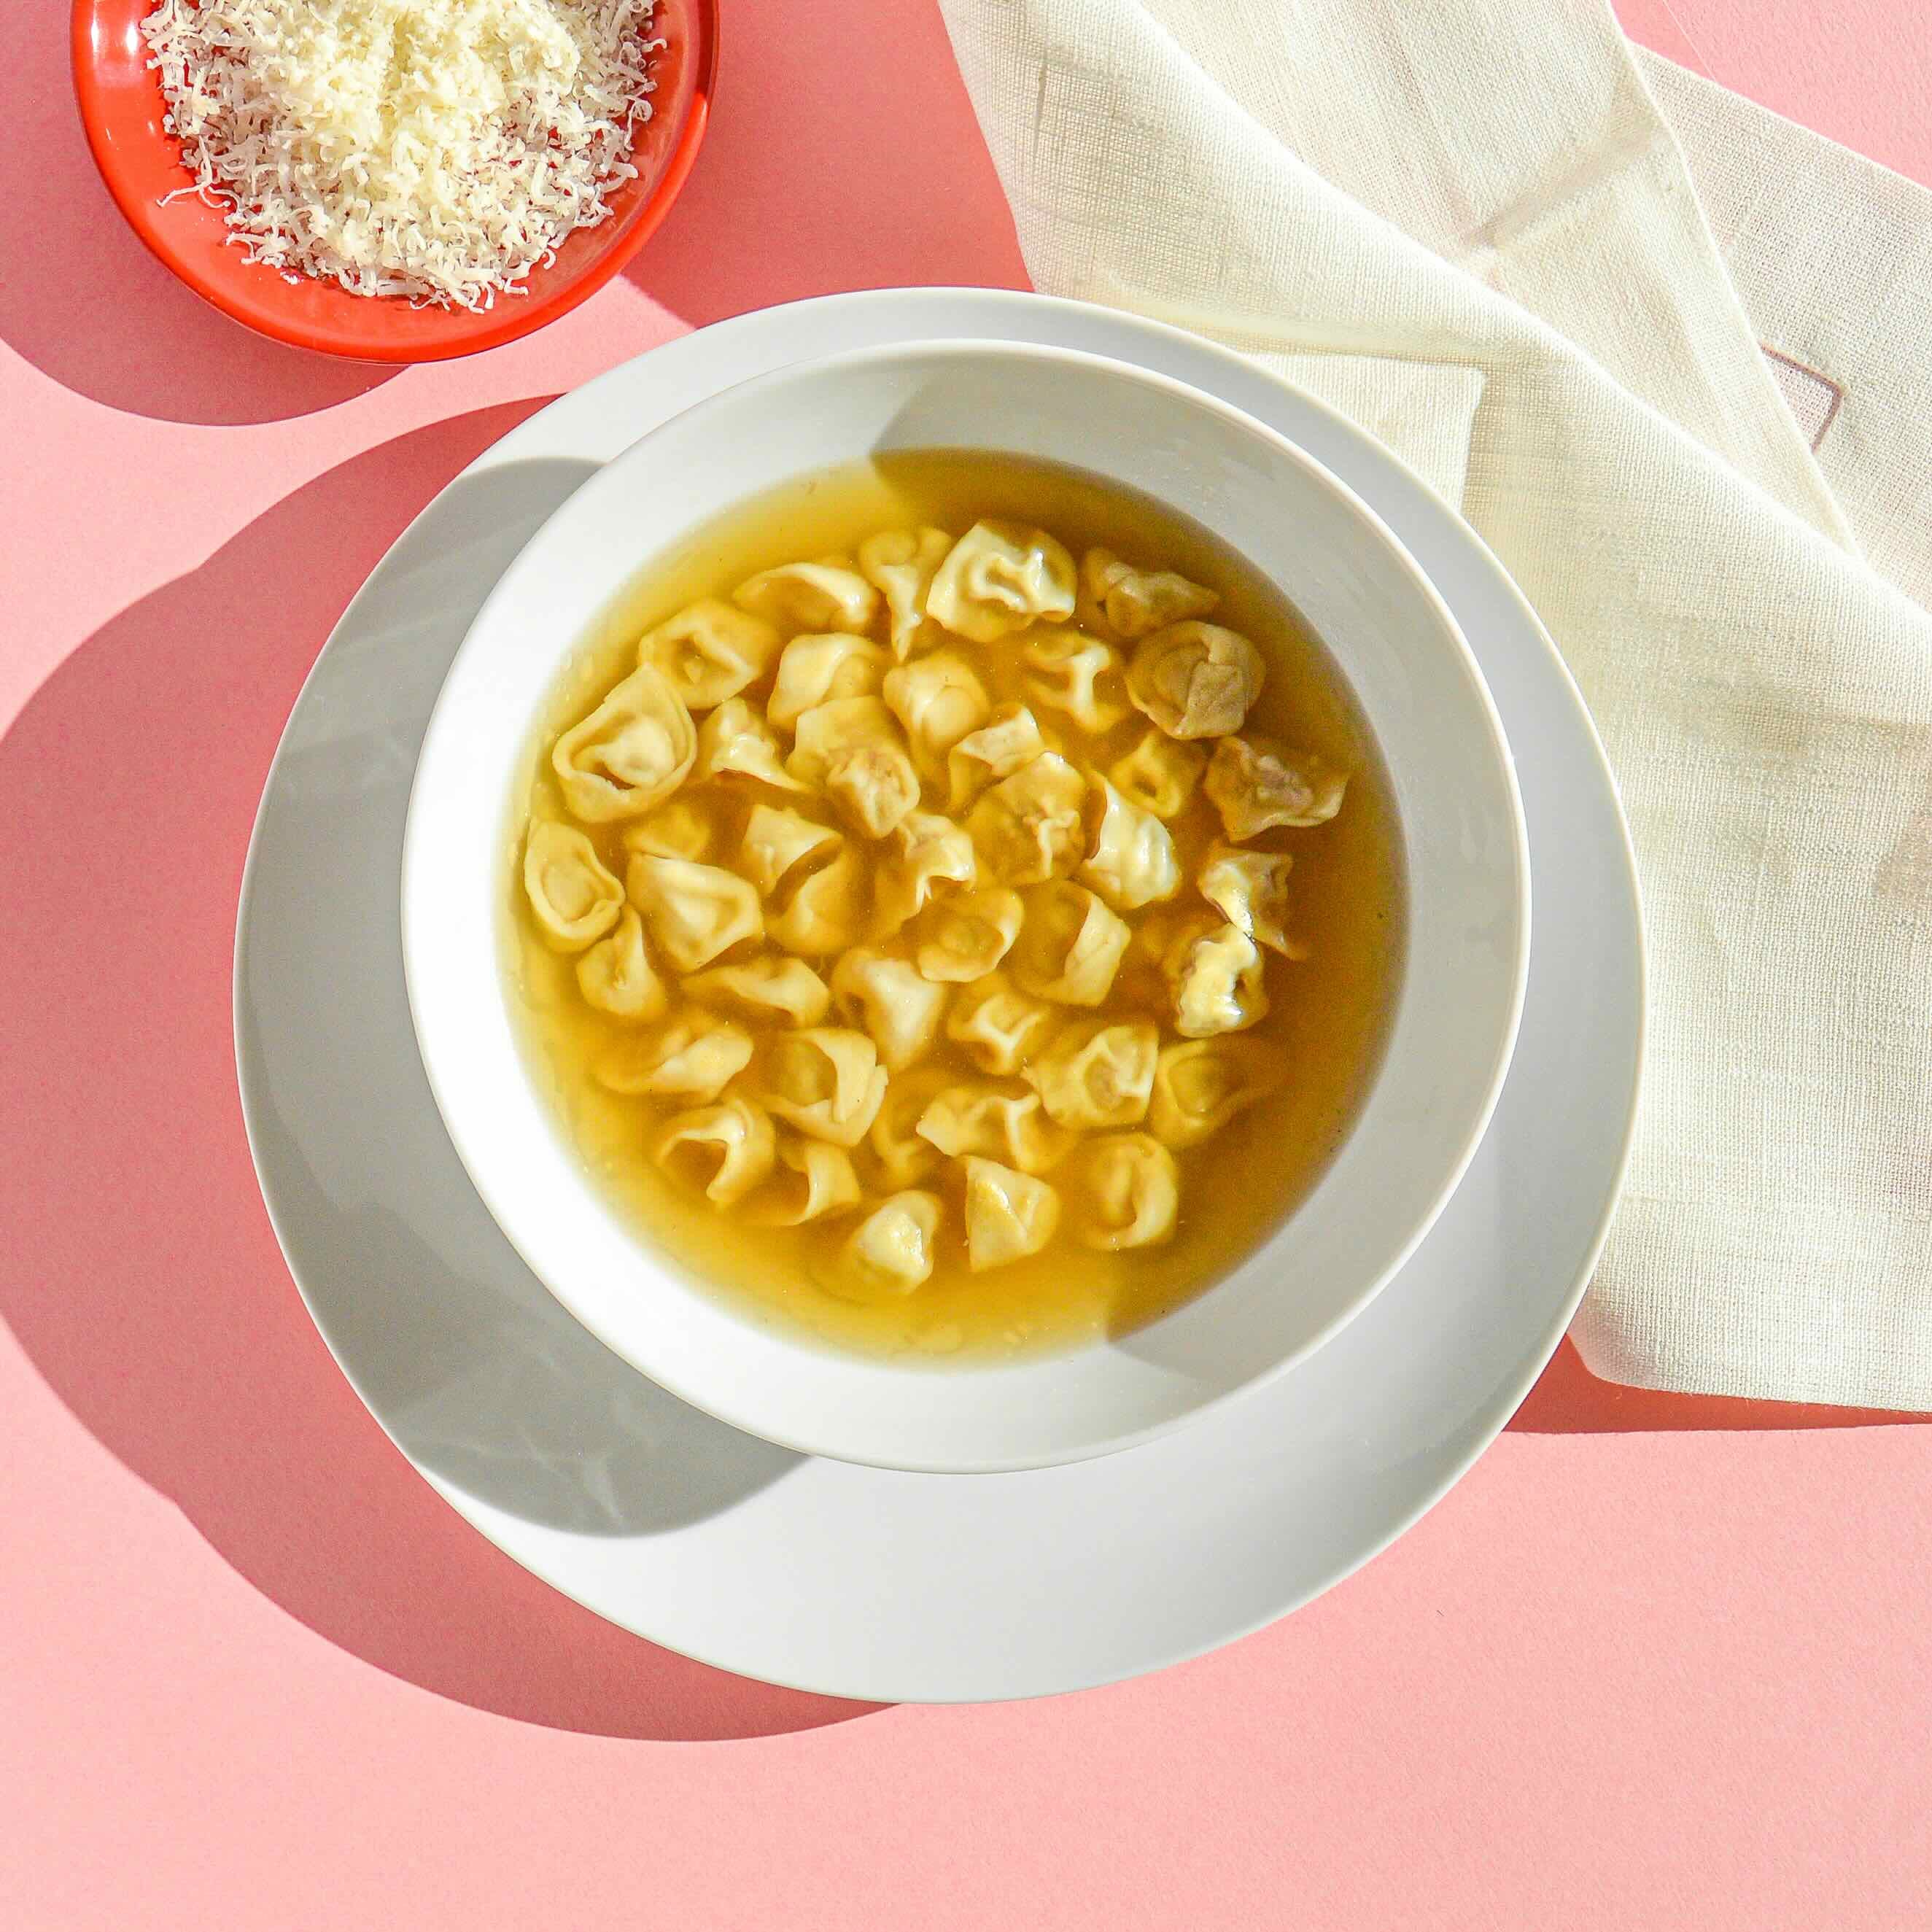
Tortellini in brodo
Serve: 4 portions (about 50 tortellini each)
Ingredients
Dough
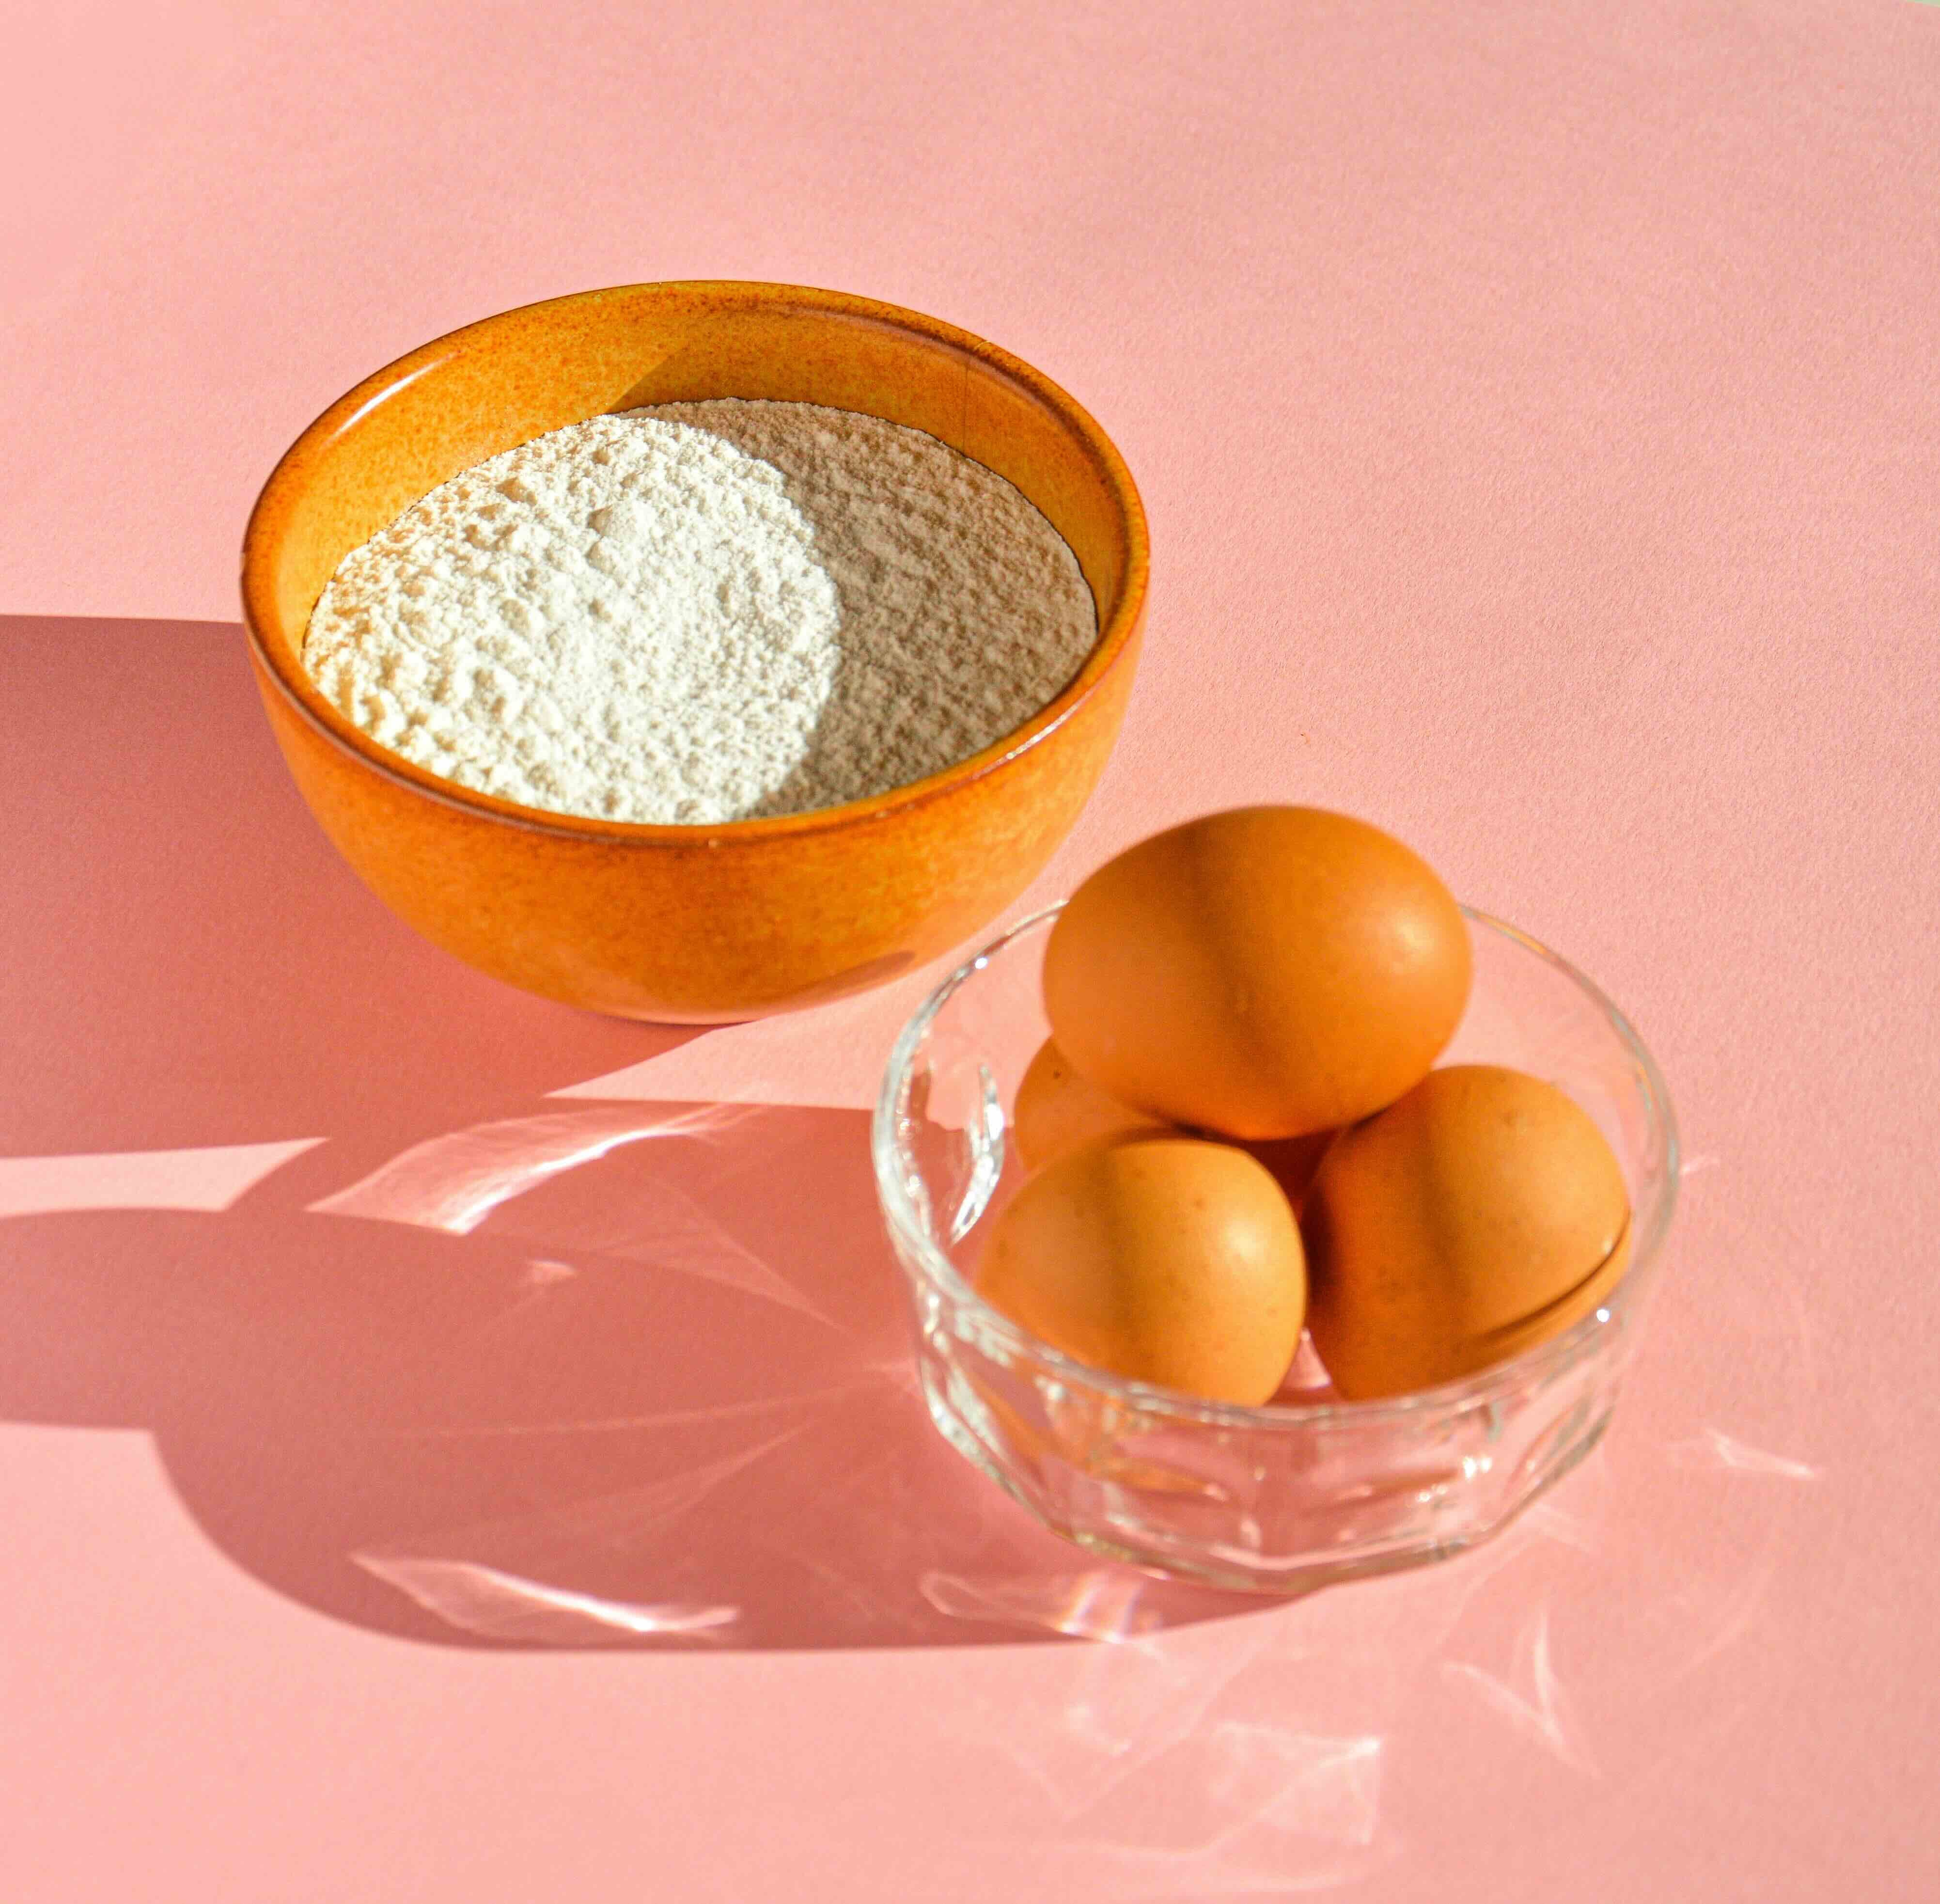
200g 00 flour
2 whole eggs
Filling
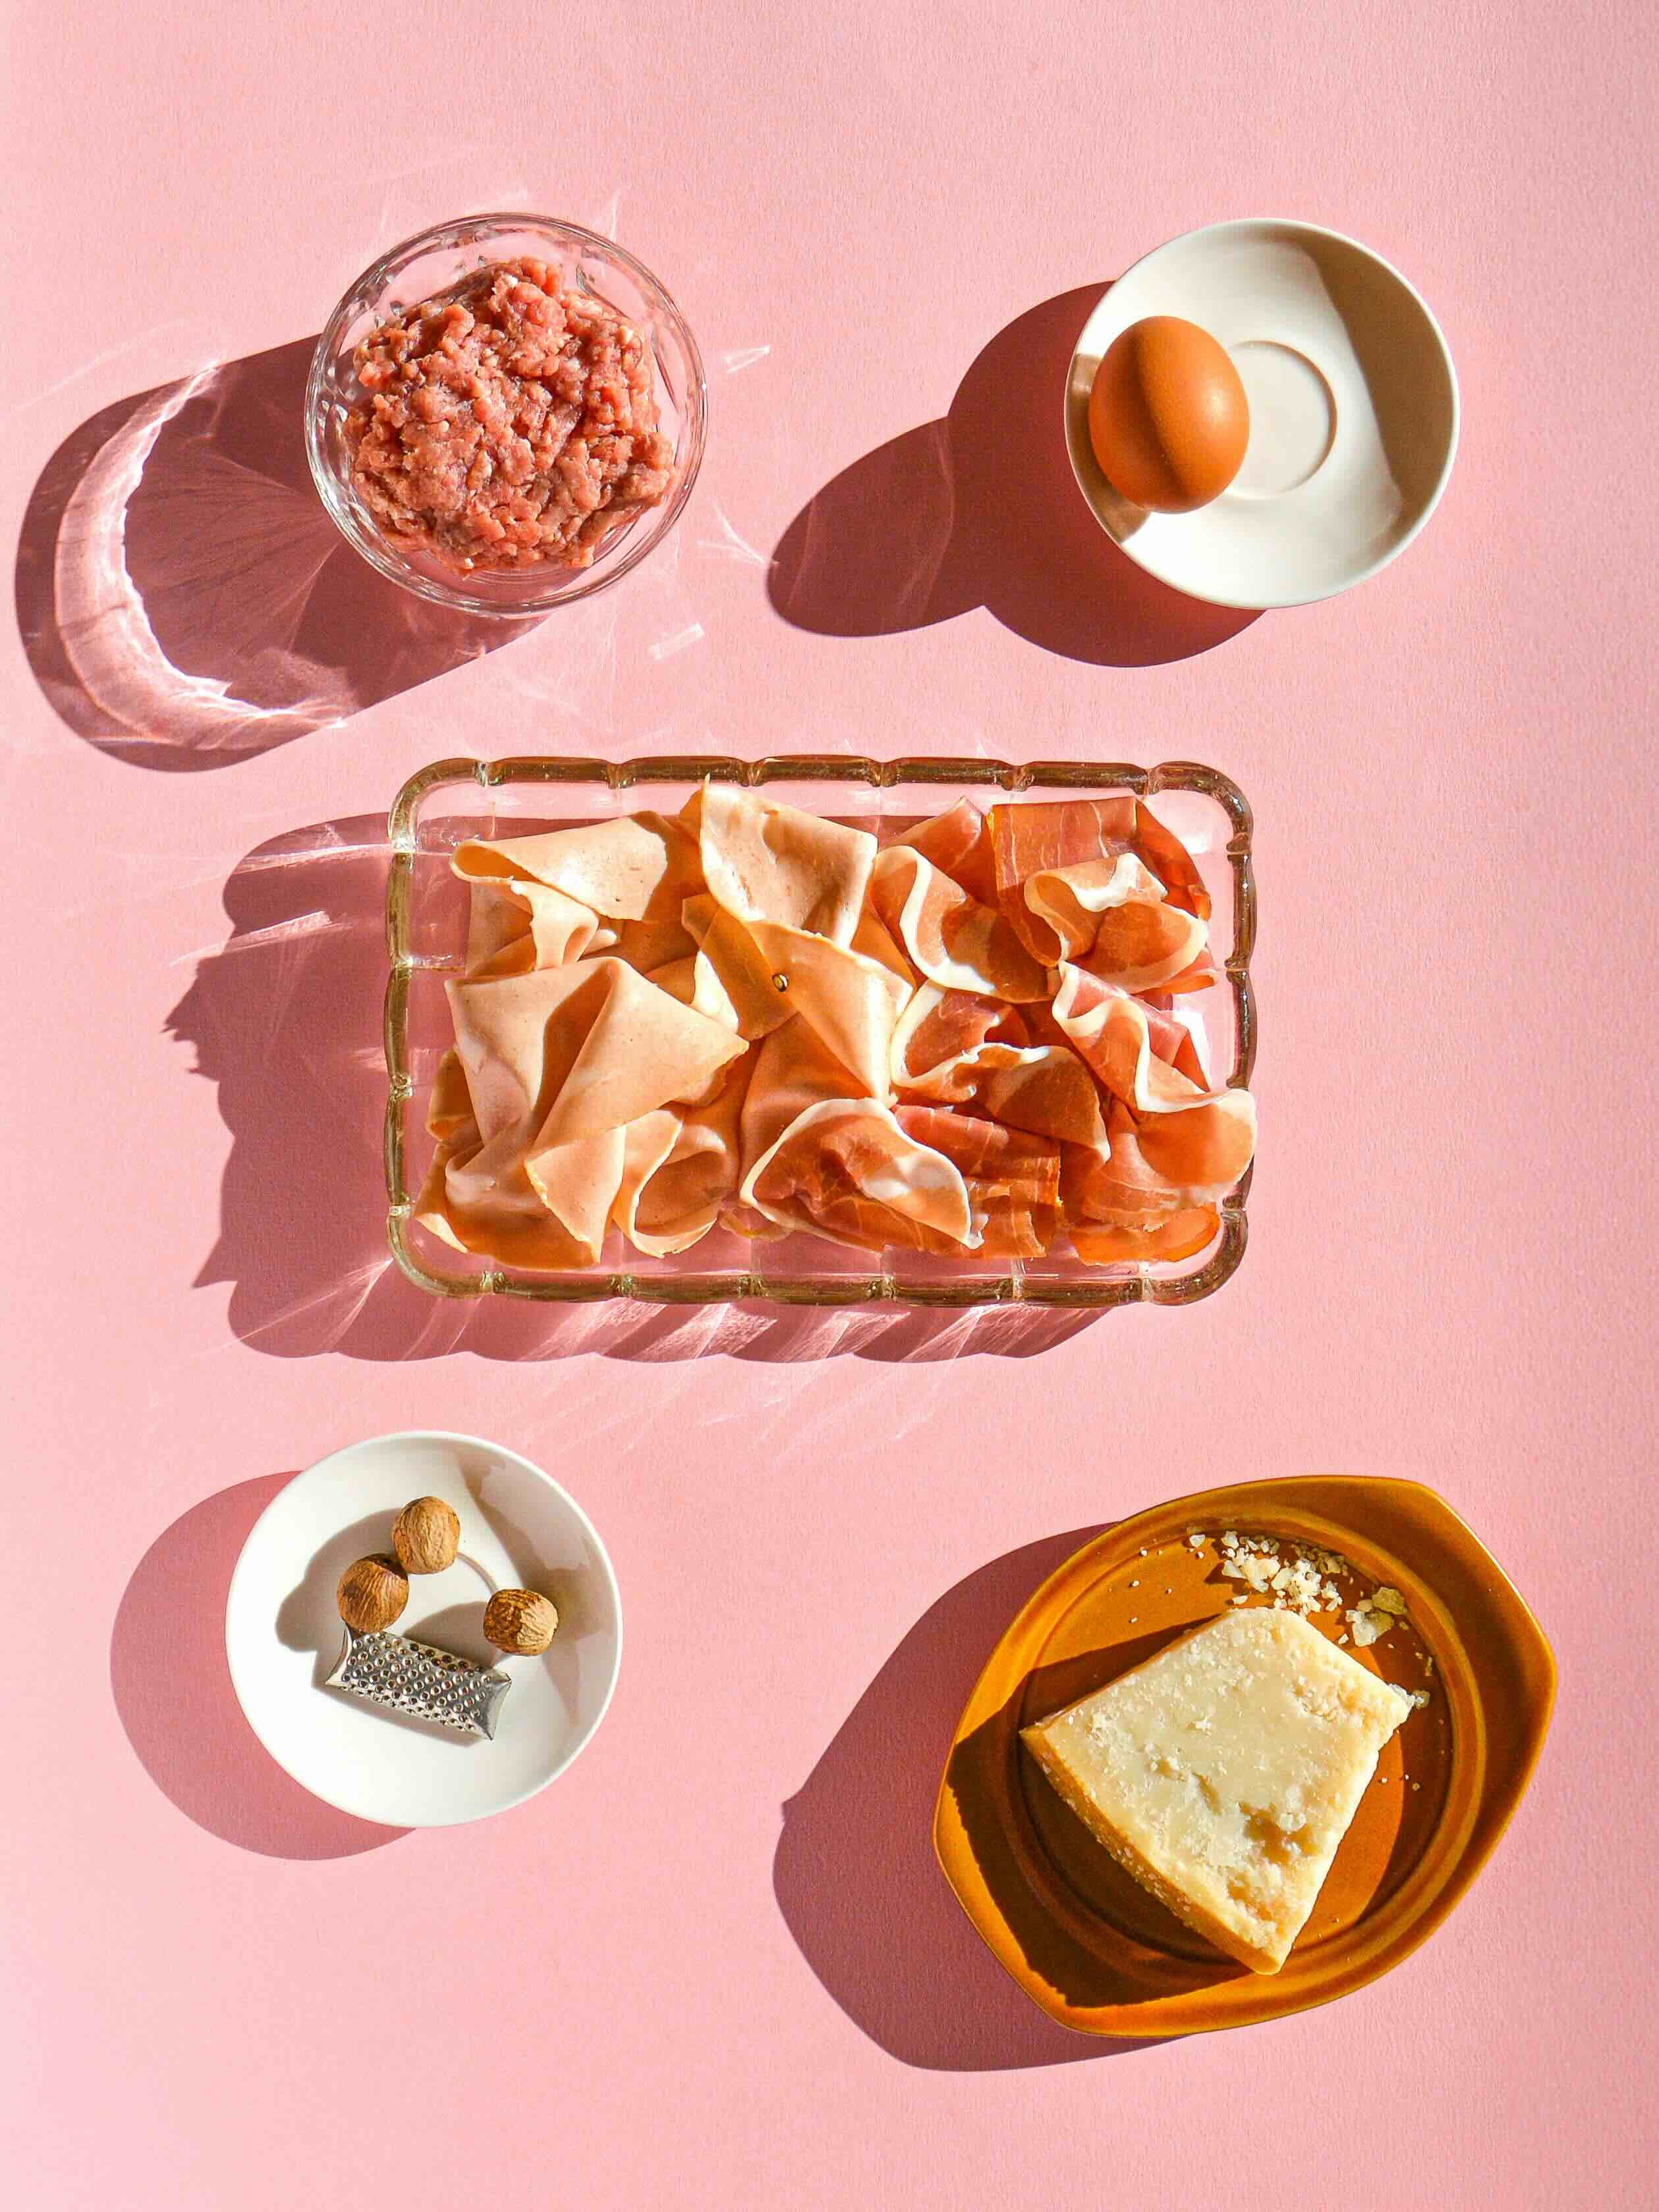
30g mortadella
30g prosciutto di Parma
50g minced pork loin
30g Parmigiano Reggiano + some for serving
1 whole egg
a pinch of nutmeg
a pinch of sea salt
Broth
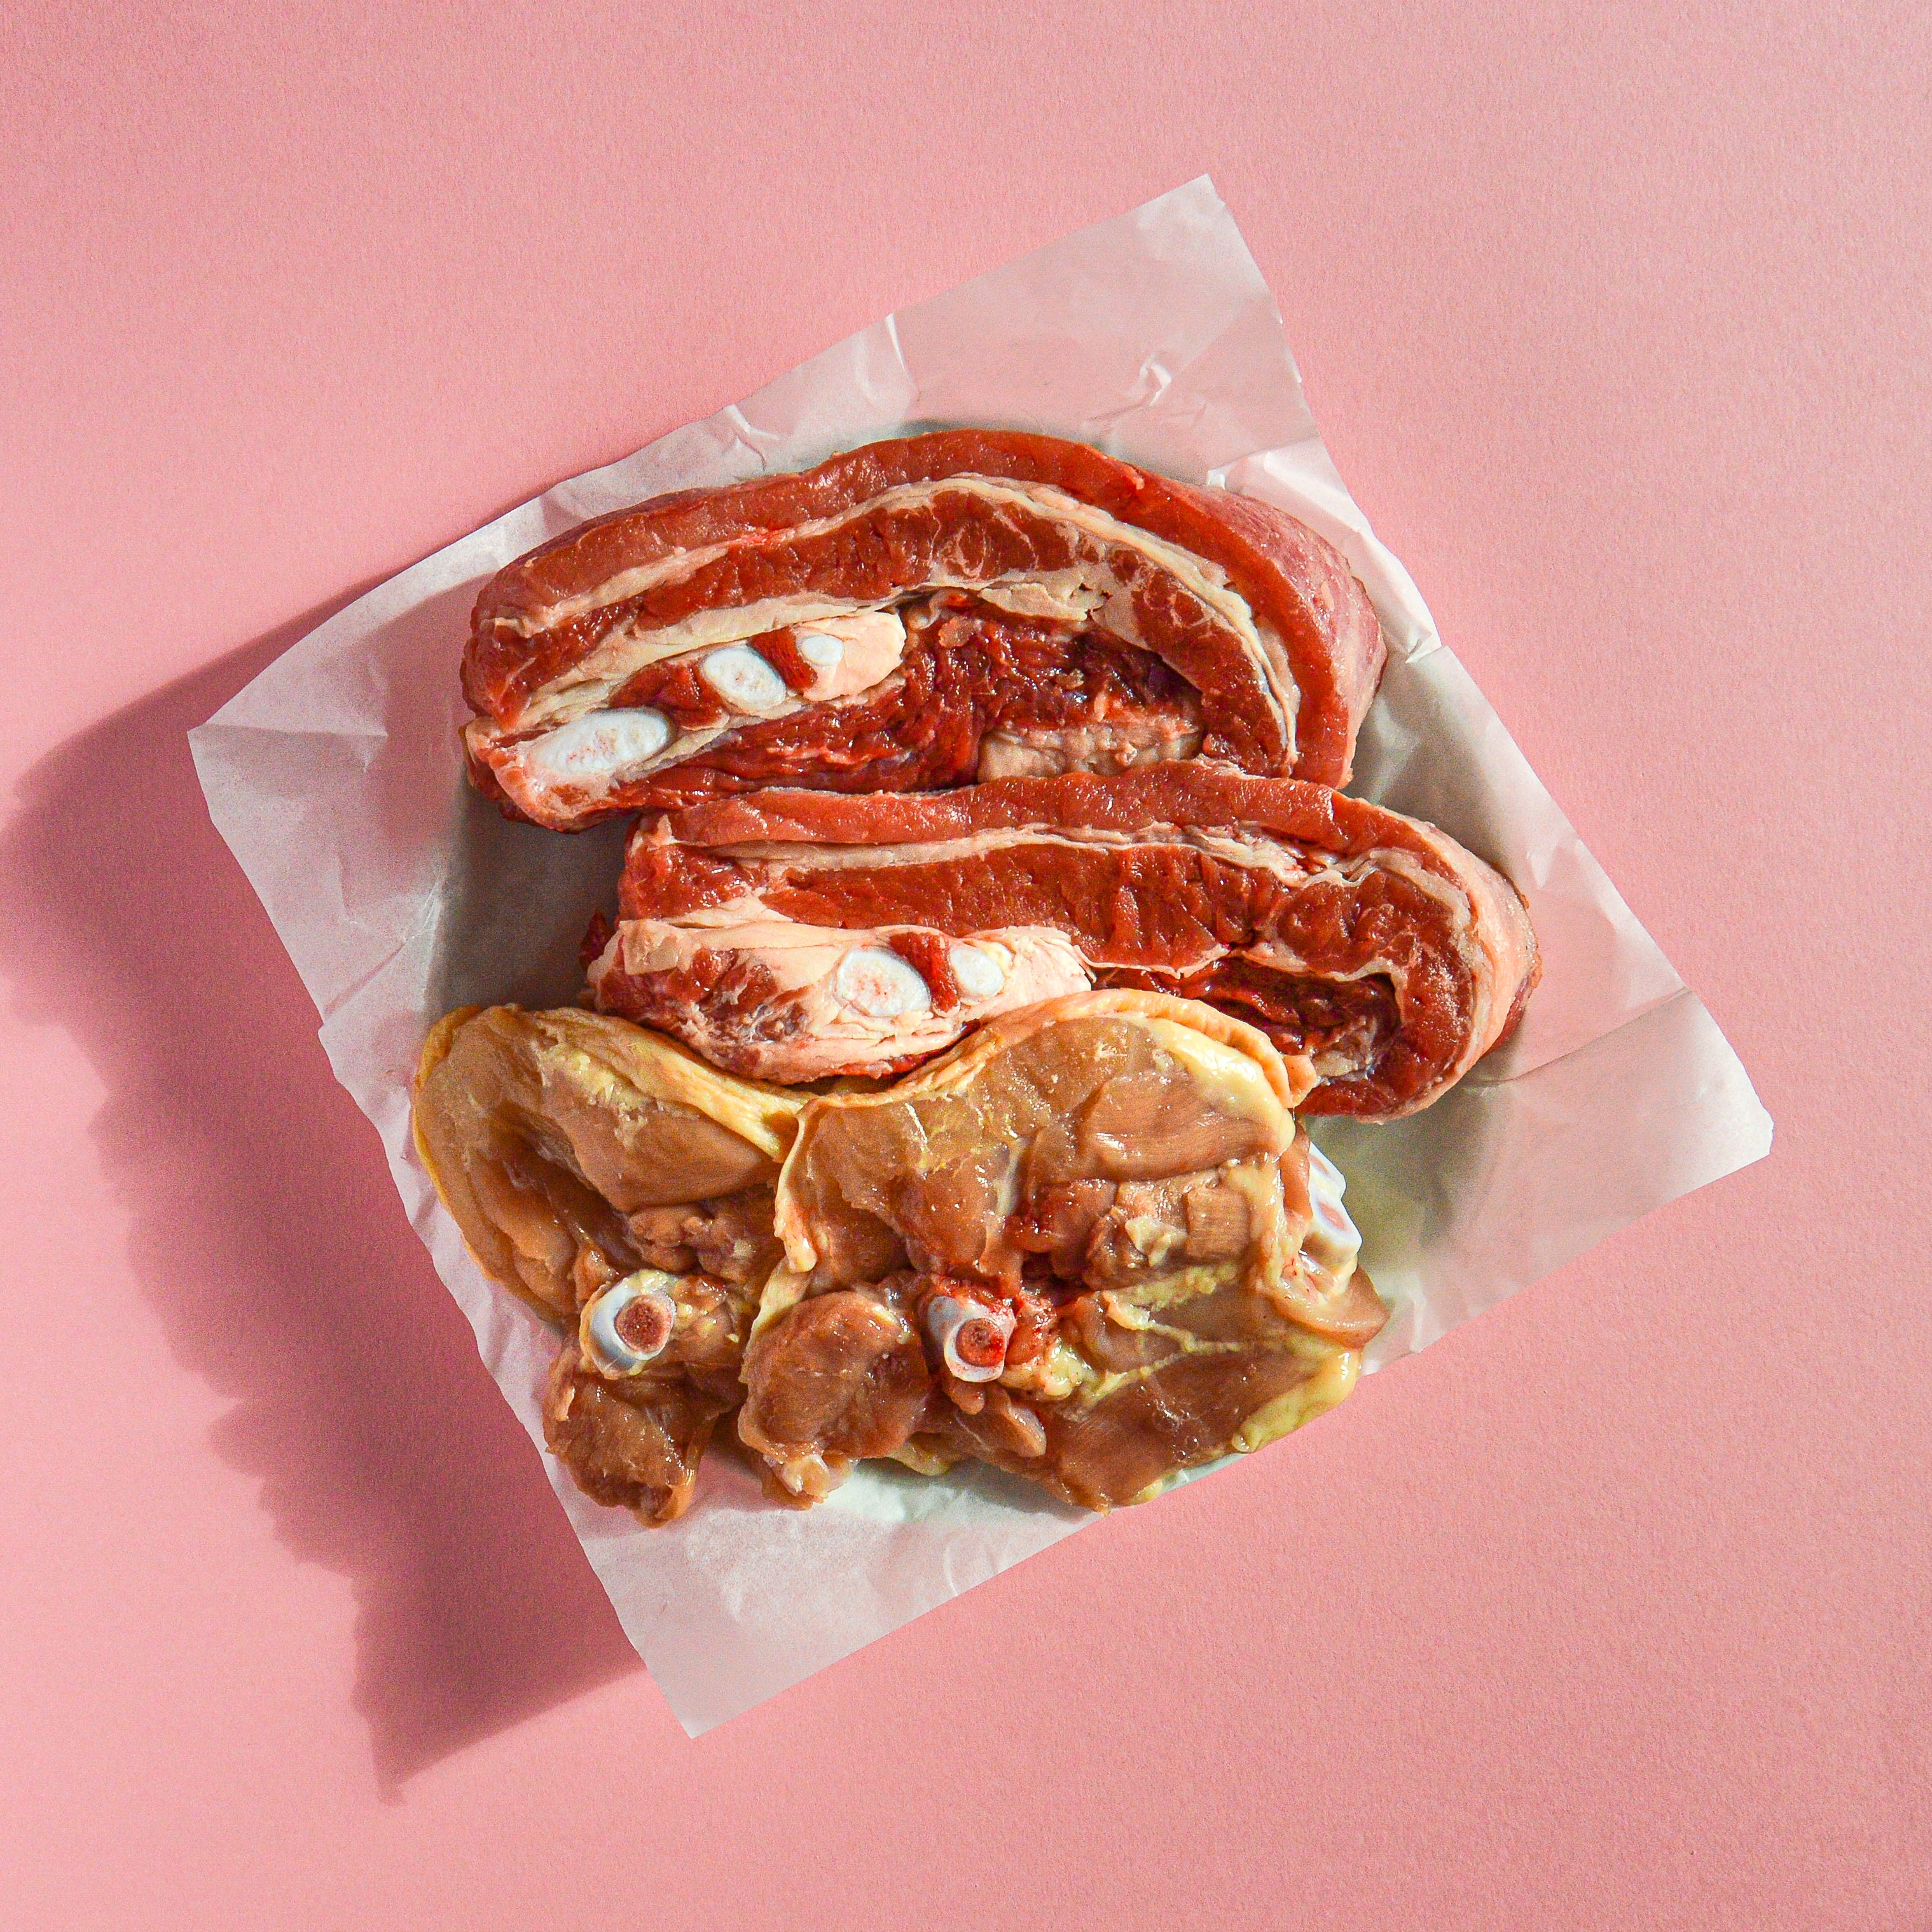
2 chicken thighs
2 beef short ribs (about 1 kg)
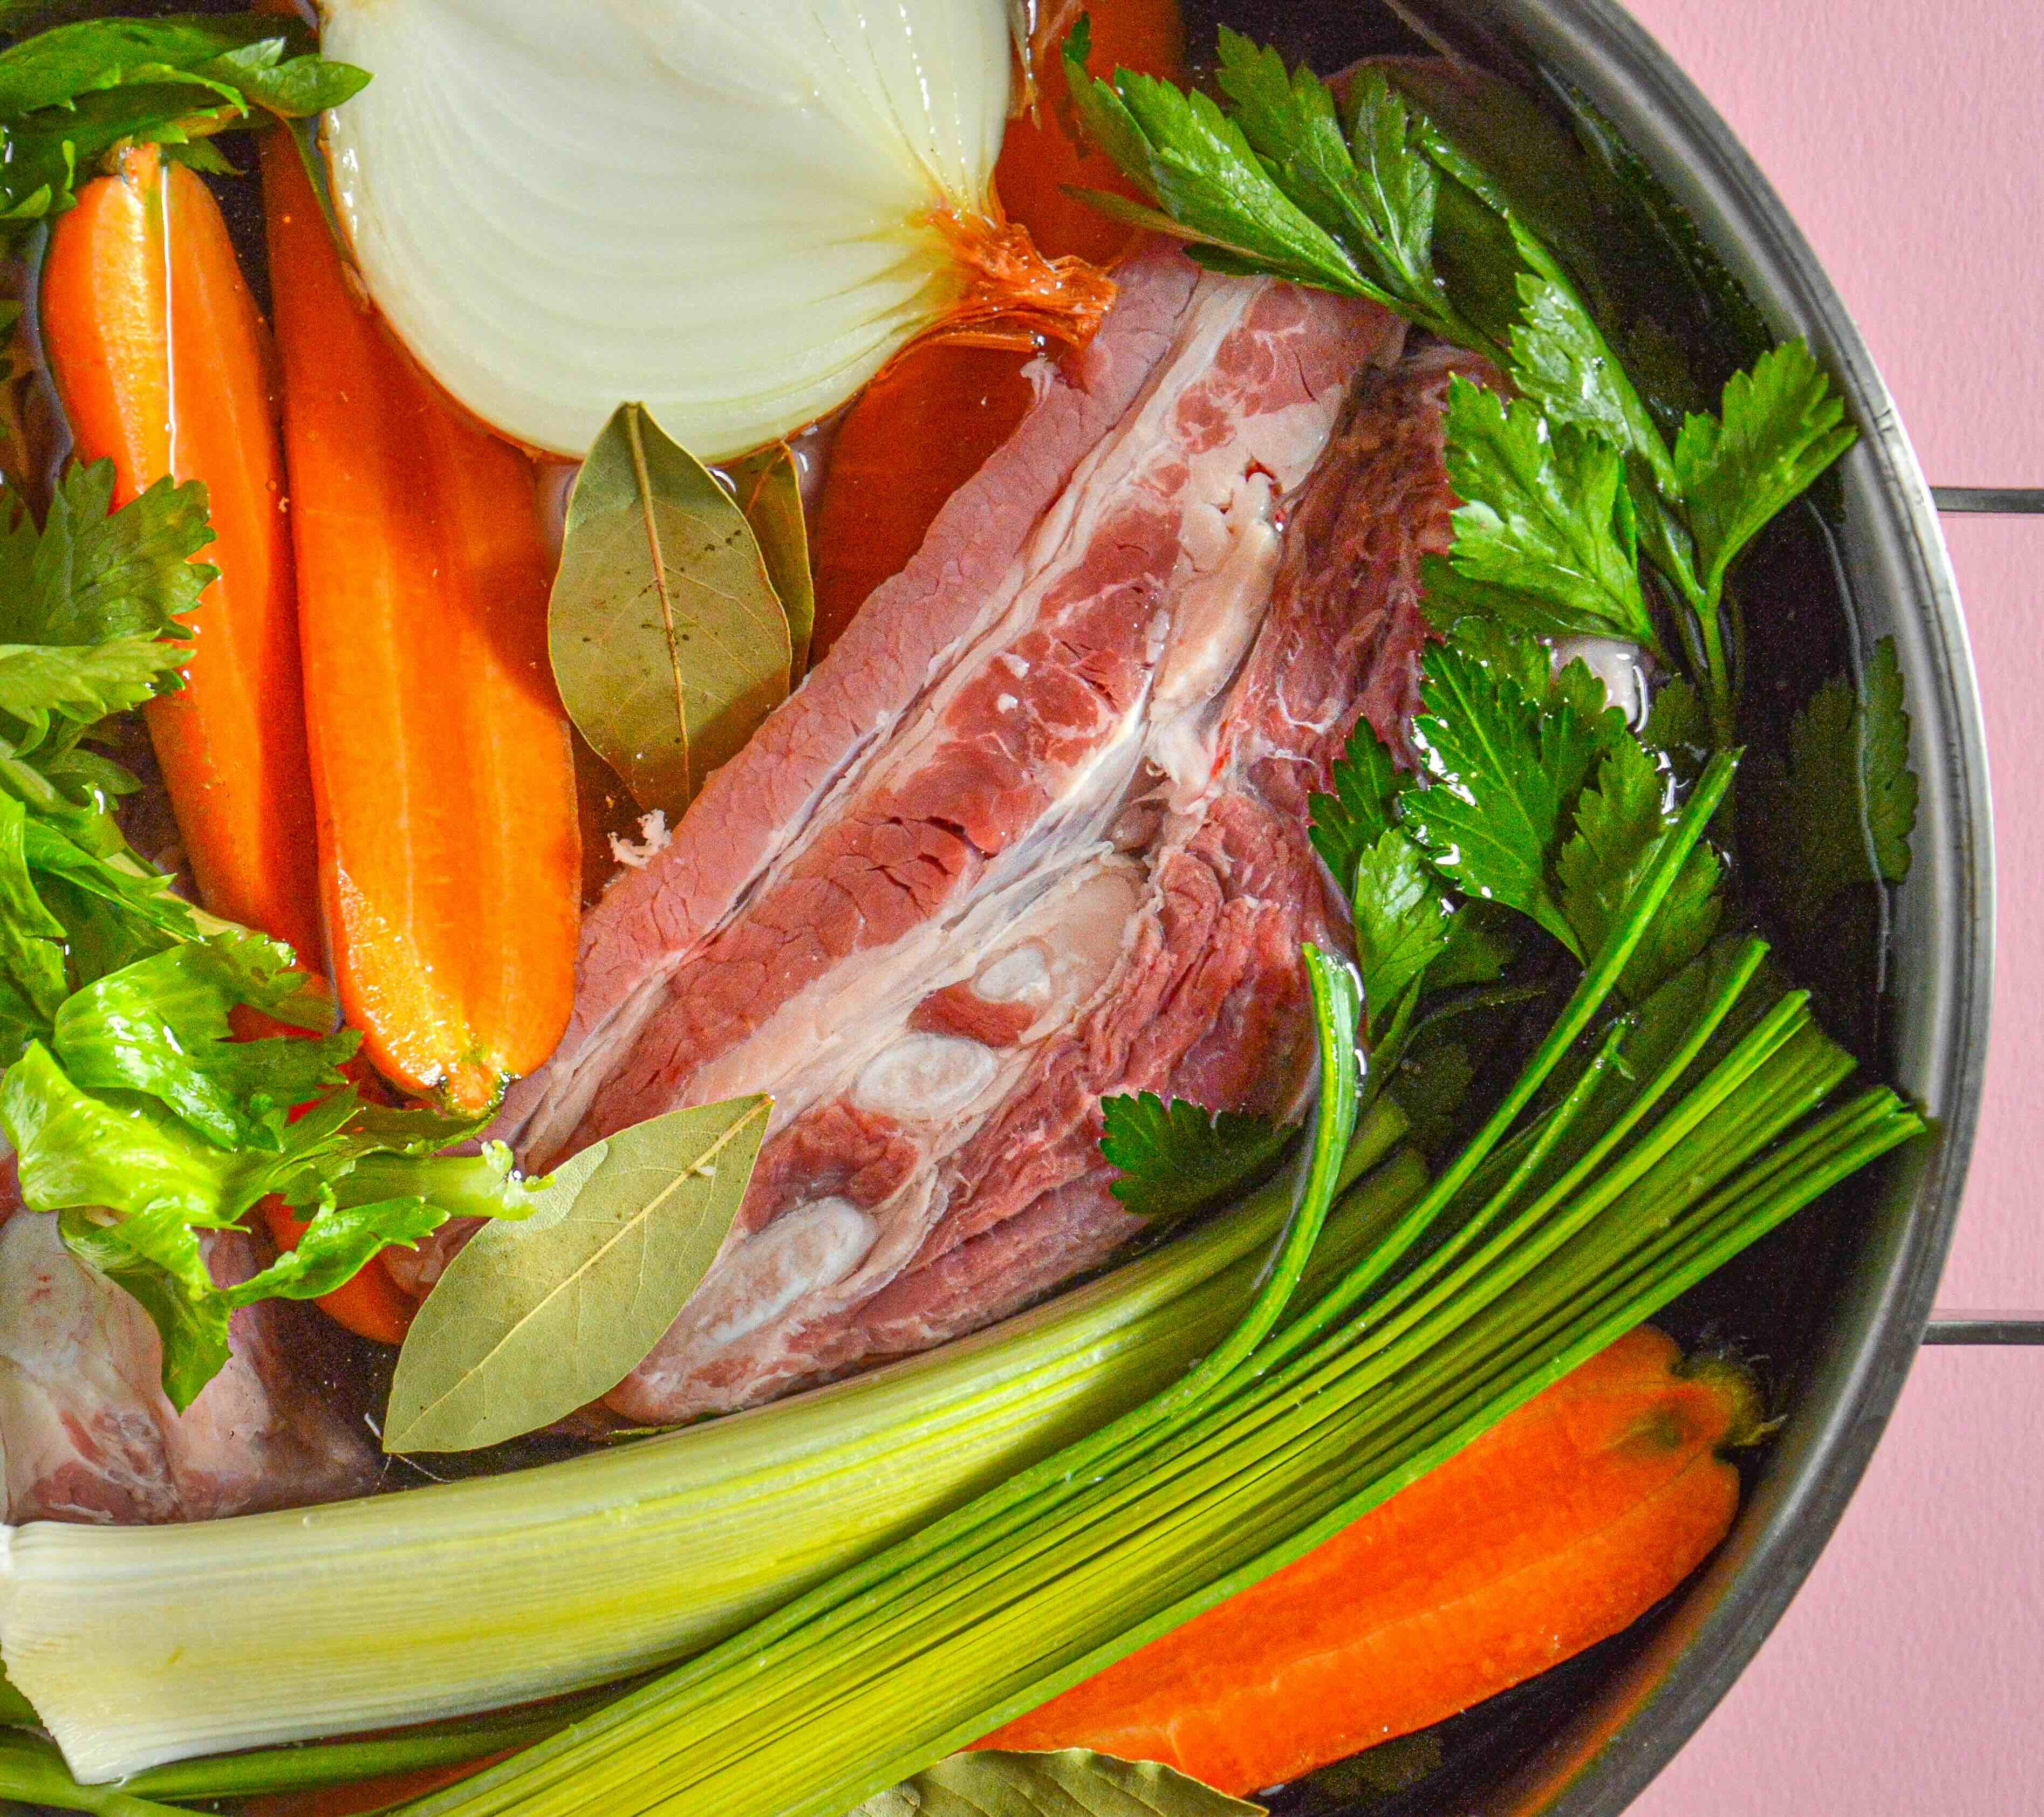
1 white onion
3 carrots
1 leek
1 celery
a bunch of parsley
4 bay leaves
2l water
sea salt

Extra note
The recipe is split across two days. On the first day, you can focus on preparing the broth and the filling. The second day is for finishing the broth, making the dough, and assembling the tortellini
I highly recommend making the broth a day or even two ahead of time. Letting it sit in the fridge overnight allows the flavour to develop further
For the filling, it's key to use high-quality ingredients. Look for mortadella without pistacchios, but if not possible, simply remove them by hand
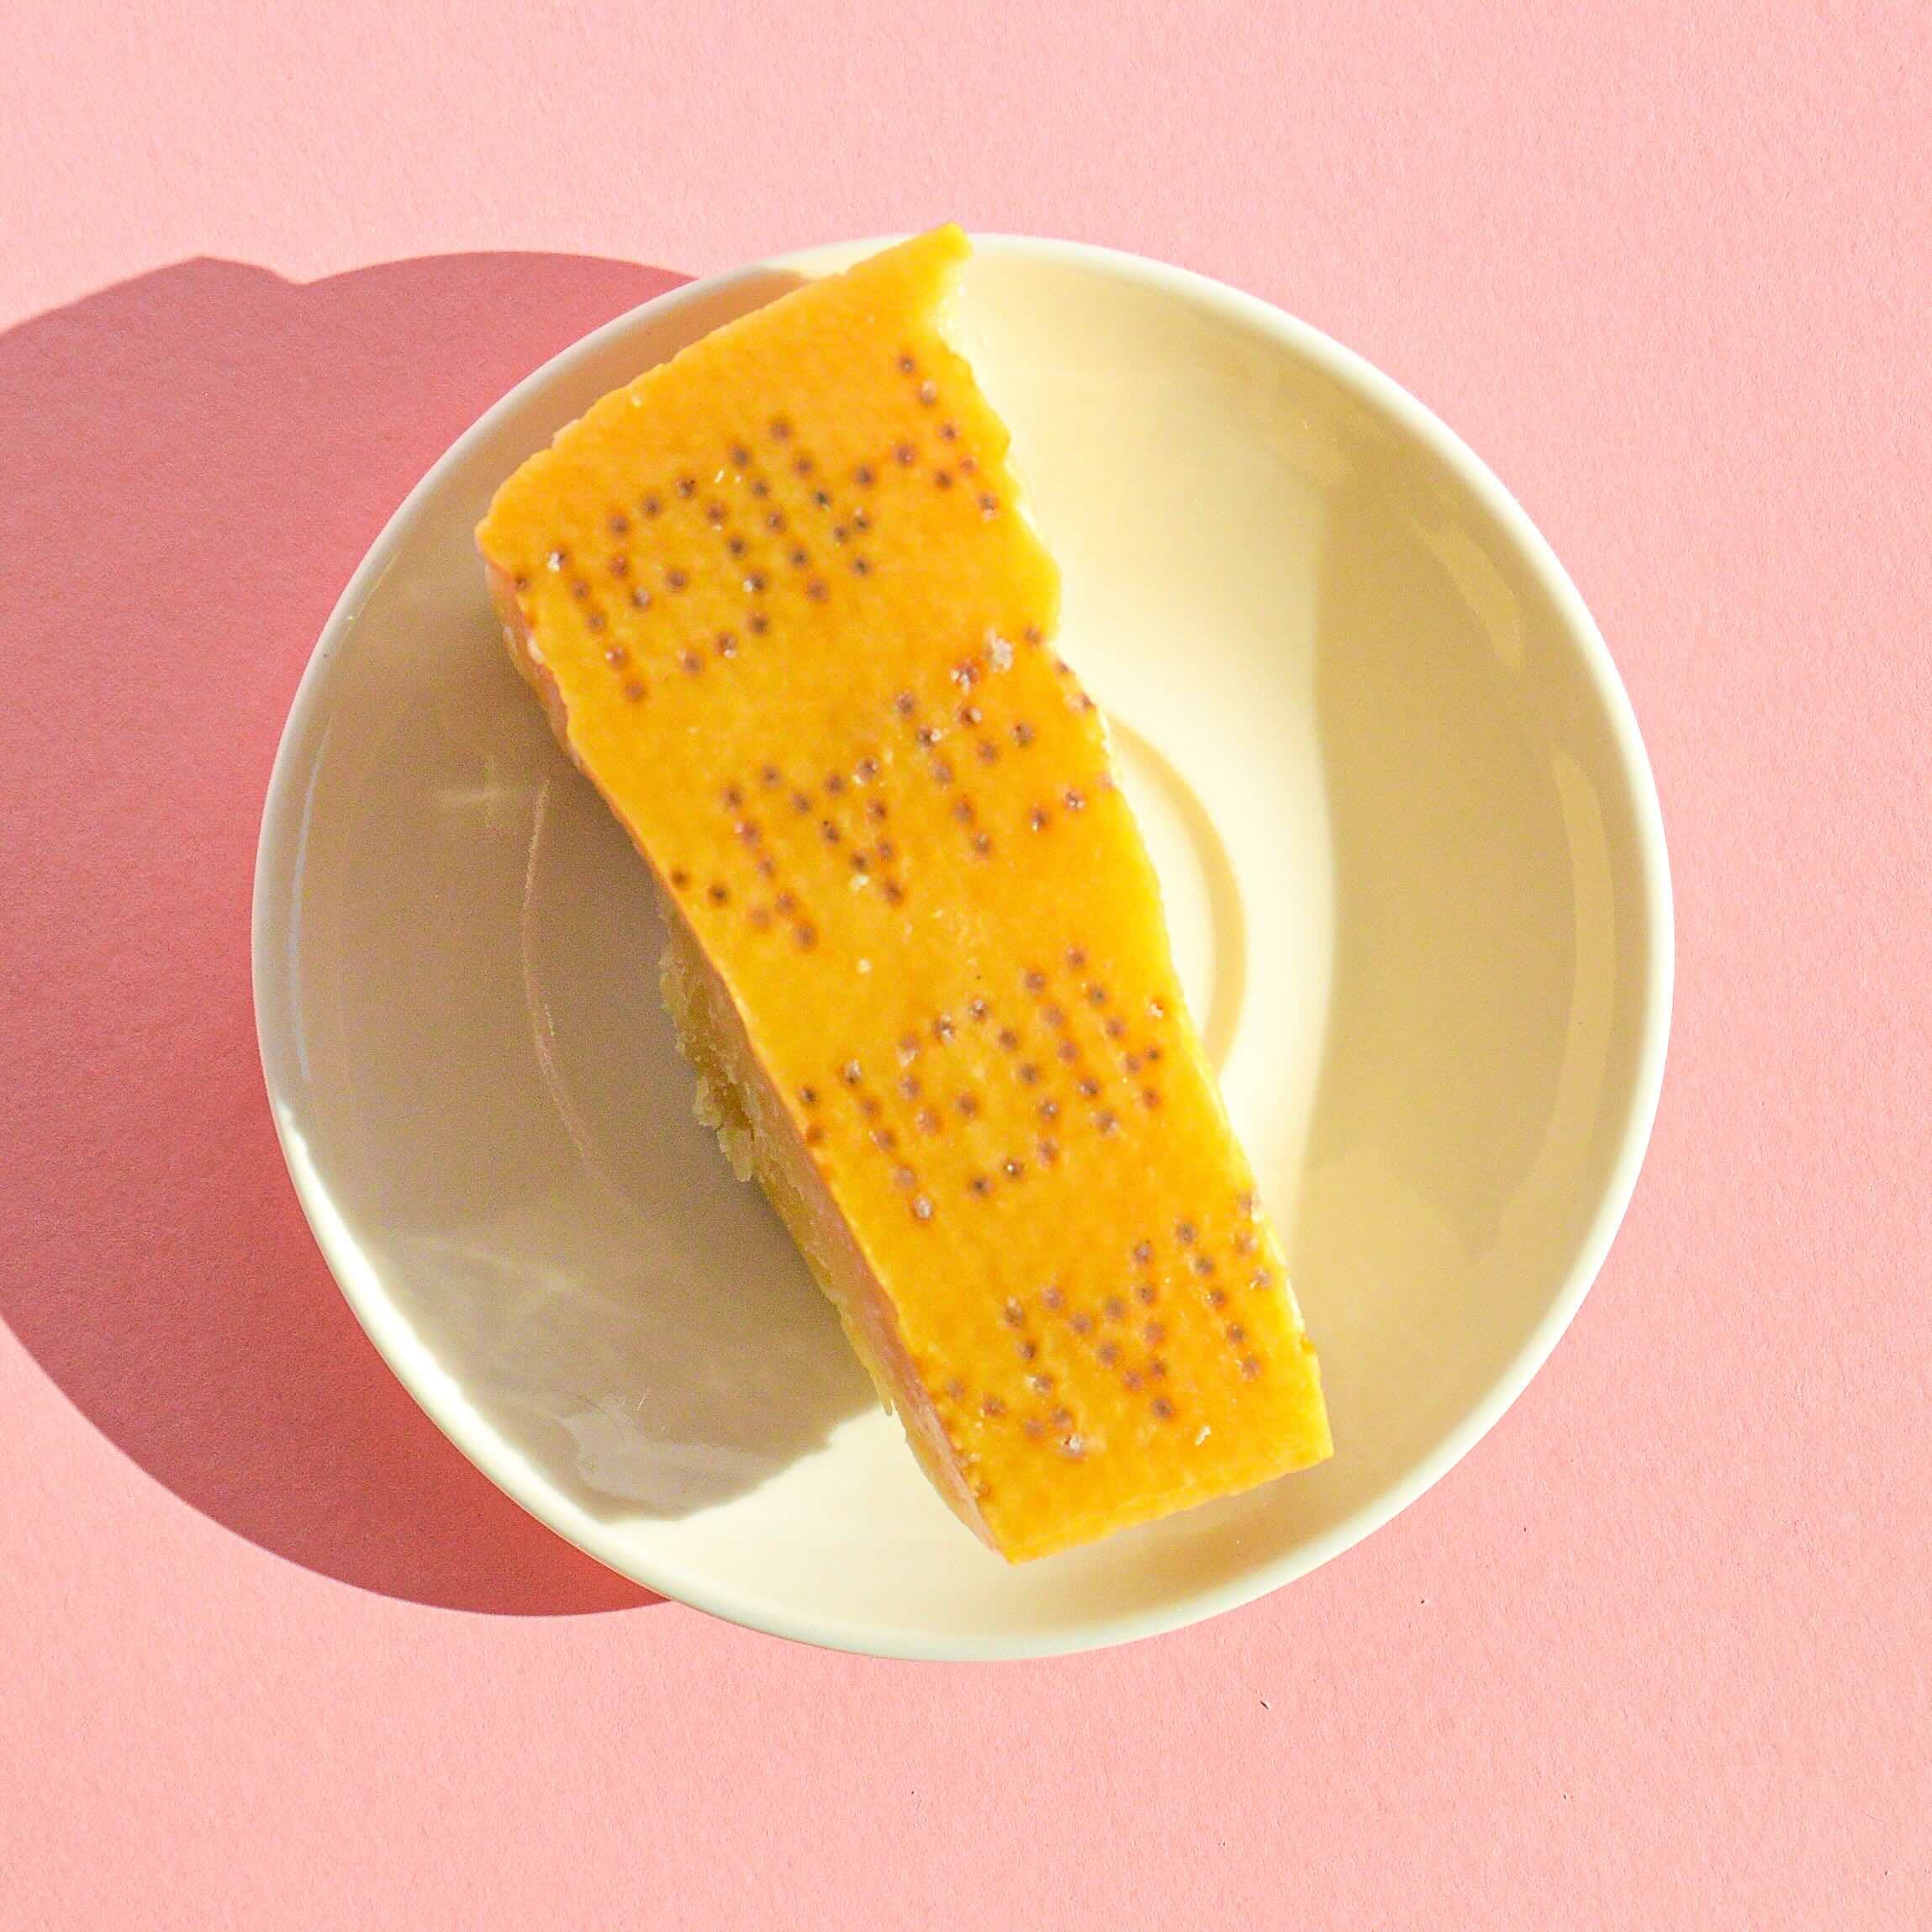
Buy ungrated Parmigiano Reggiano, ideally aged for about 30-36 months for the best flavour balance
Most of the recipes for tortellini dough I see online suggest a ratio of 200g of flour and 2 eggs for 2 people, but I find that to be too much. I prefer my tortellini delicate and thin, so this amount of dough was enough to make 4 servings in my experience.
Method
FIRST DAY
Prepare the broth
Cut the carrots, and white onion in half (no need to peel them). Place them in a large pot, along with the leek, celery, meat and aromatics. Add 2 litres of cold water, or more if needed to fully cover the ingredients. At this stage, hold off on adding any salt.
Cover the pot with a lid and bring the water to a boil. Reduce the heat to low and use a tablespoon to skim off any impurities that rise to the surface. Simmer the soup for about 3 hours, keeping the lid slightly ajar and checking on it every 30 minutes. After 3 hours, season with salt and stir. Taste, and adjust the saltiness if needed. Once you're happy with the flavour, allow it to cool at room temperature before placing it in the fridge to chill overnight.
Filling for the tortellini
Grate Parmigiano Reggiano and set it aside.
Add slices of mortadella and prosciutto to the food processor.
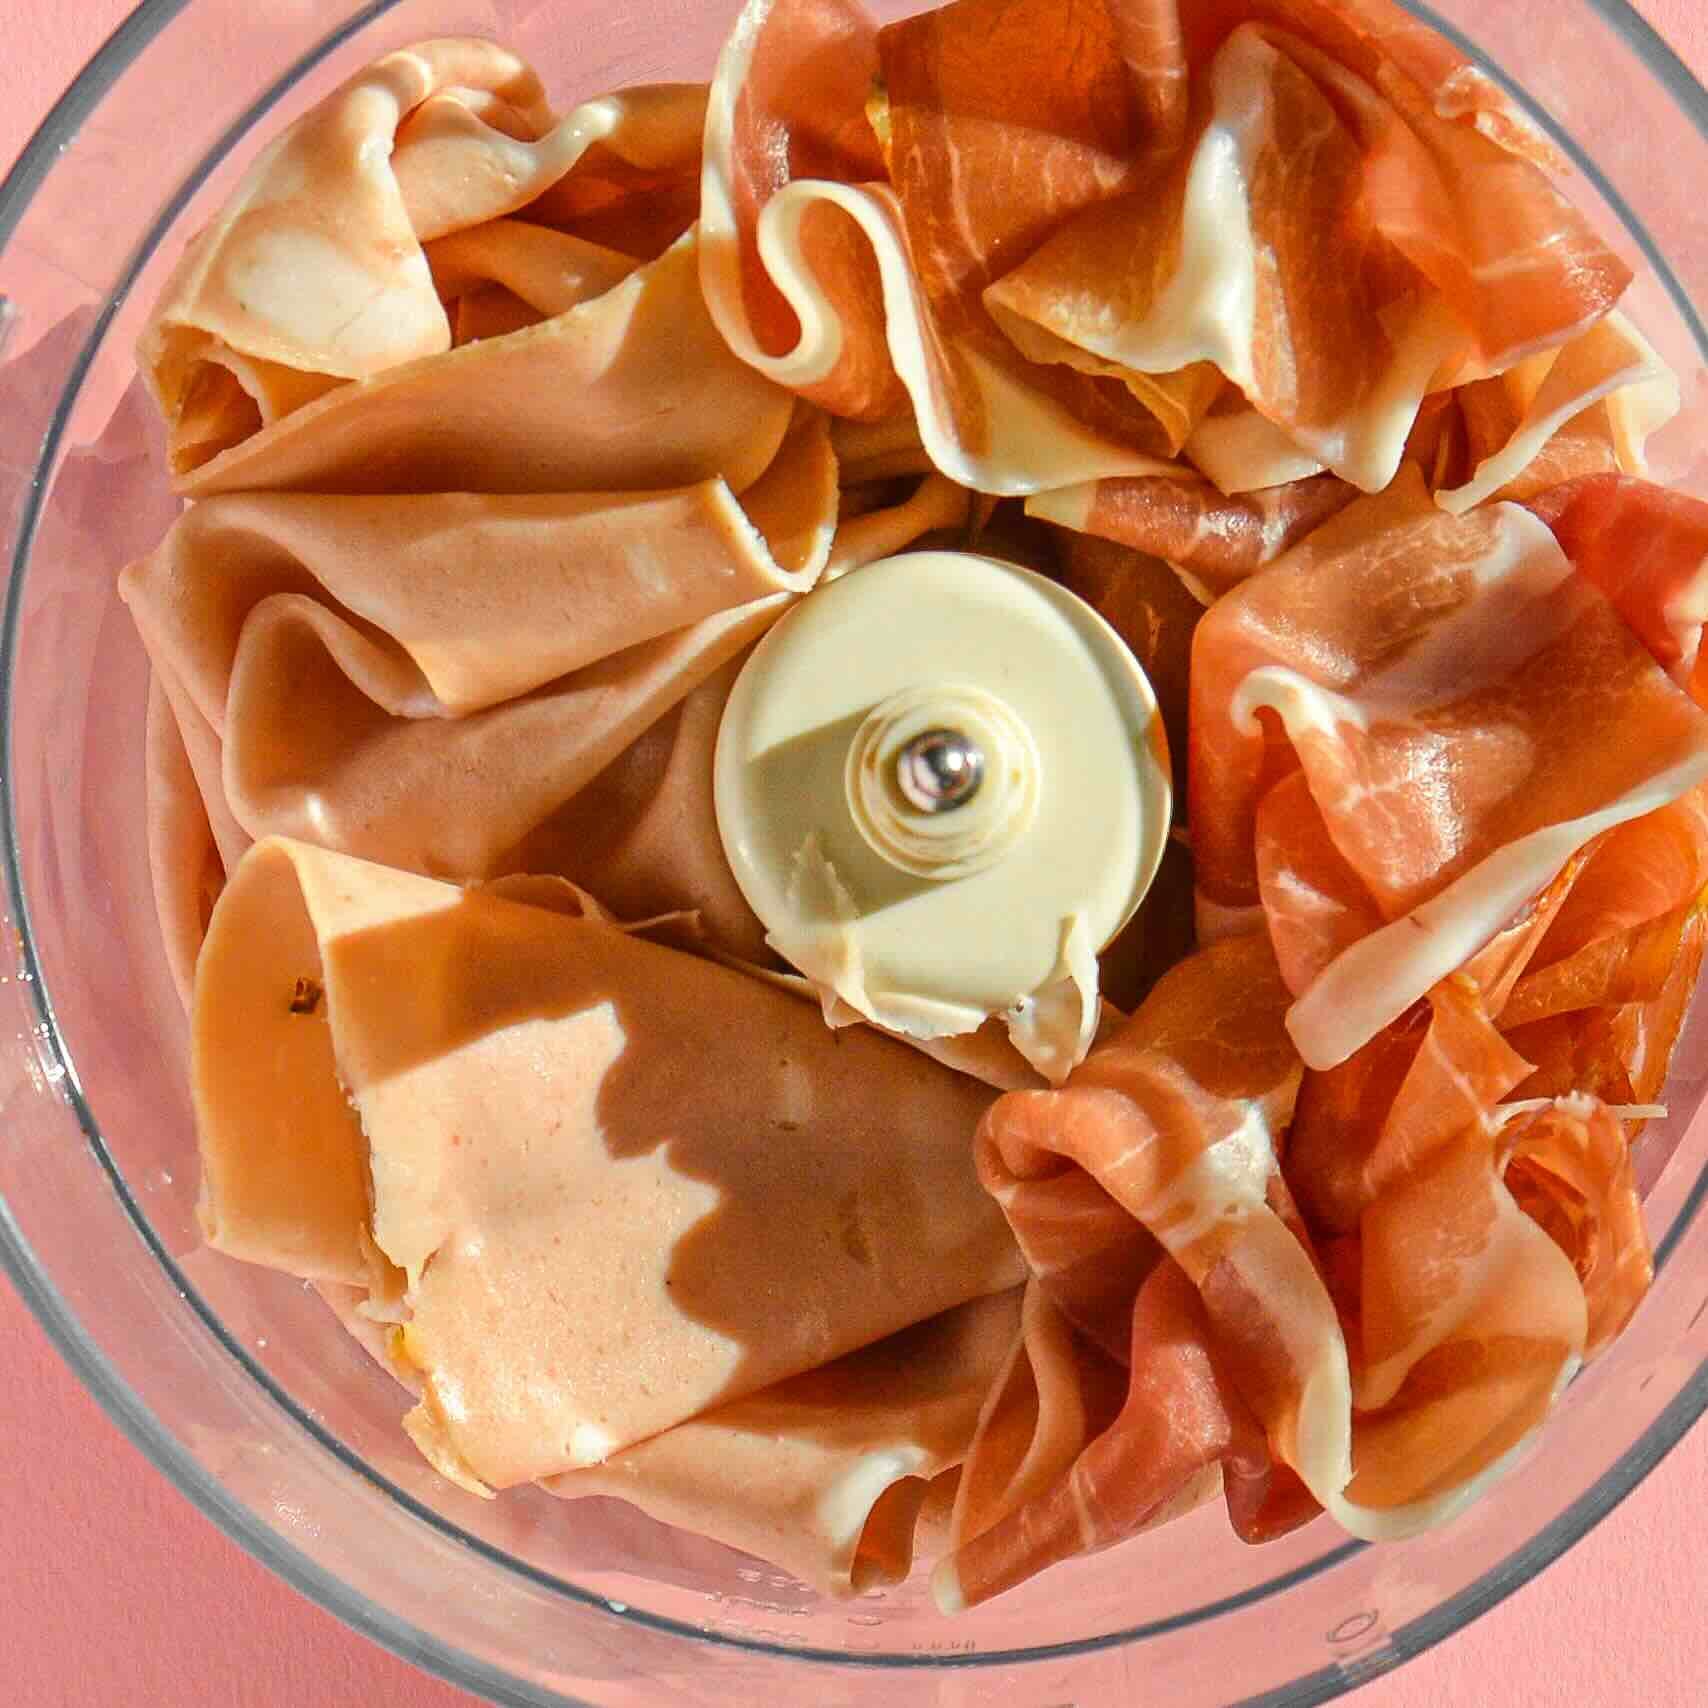
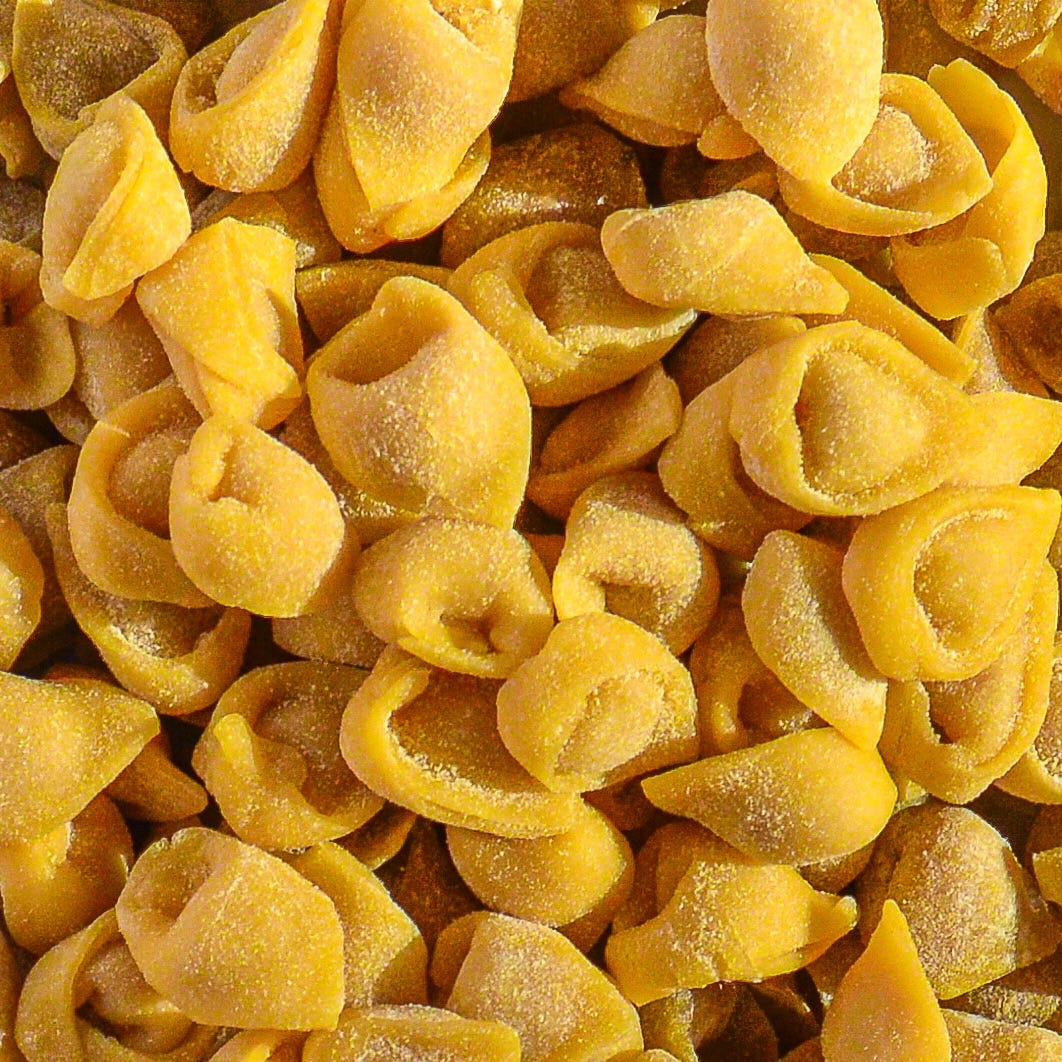
Blitz until it reaches a paste-like consistency as shown below.
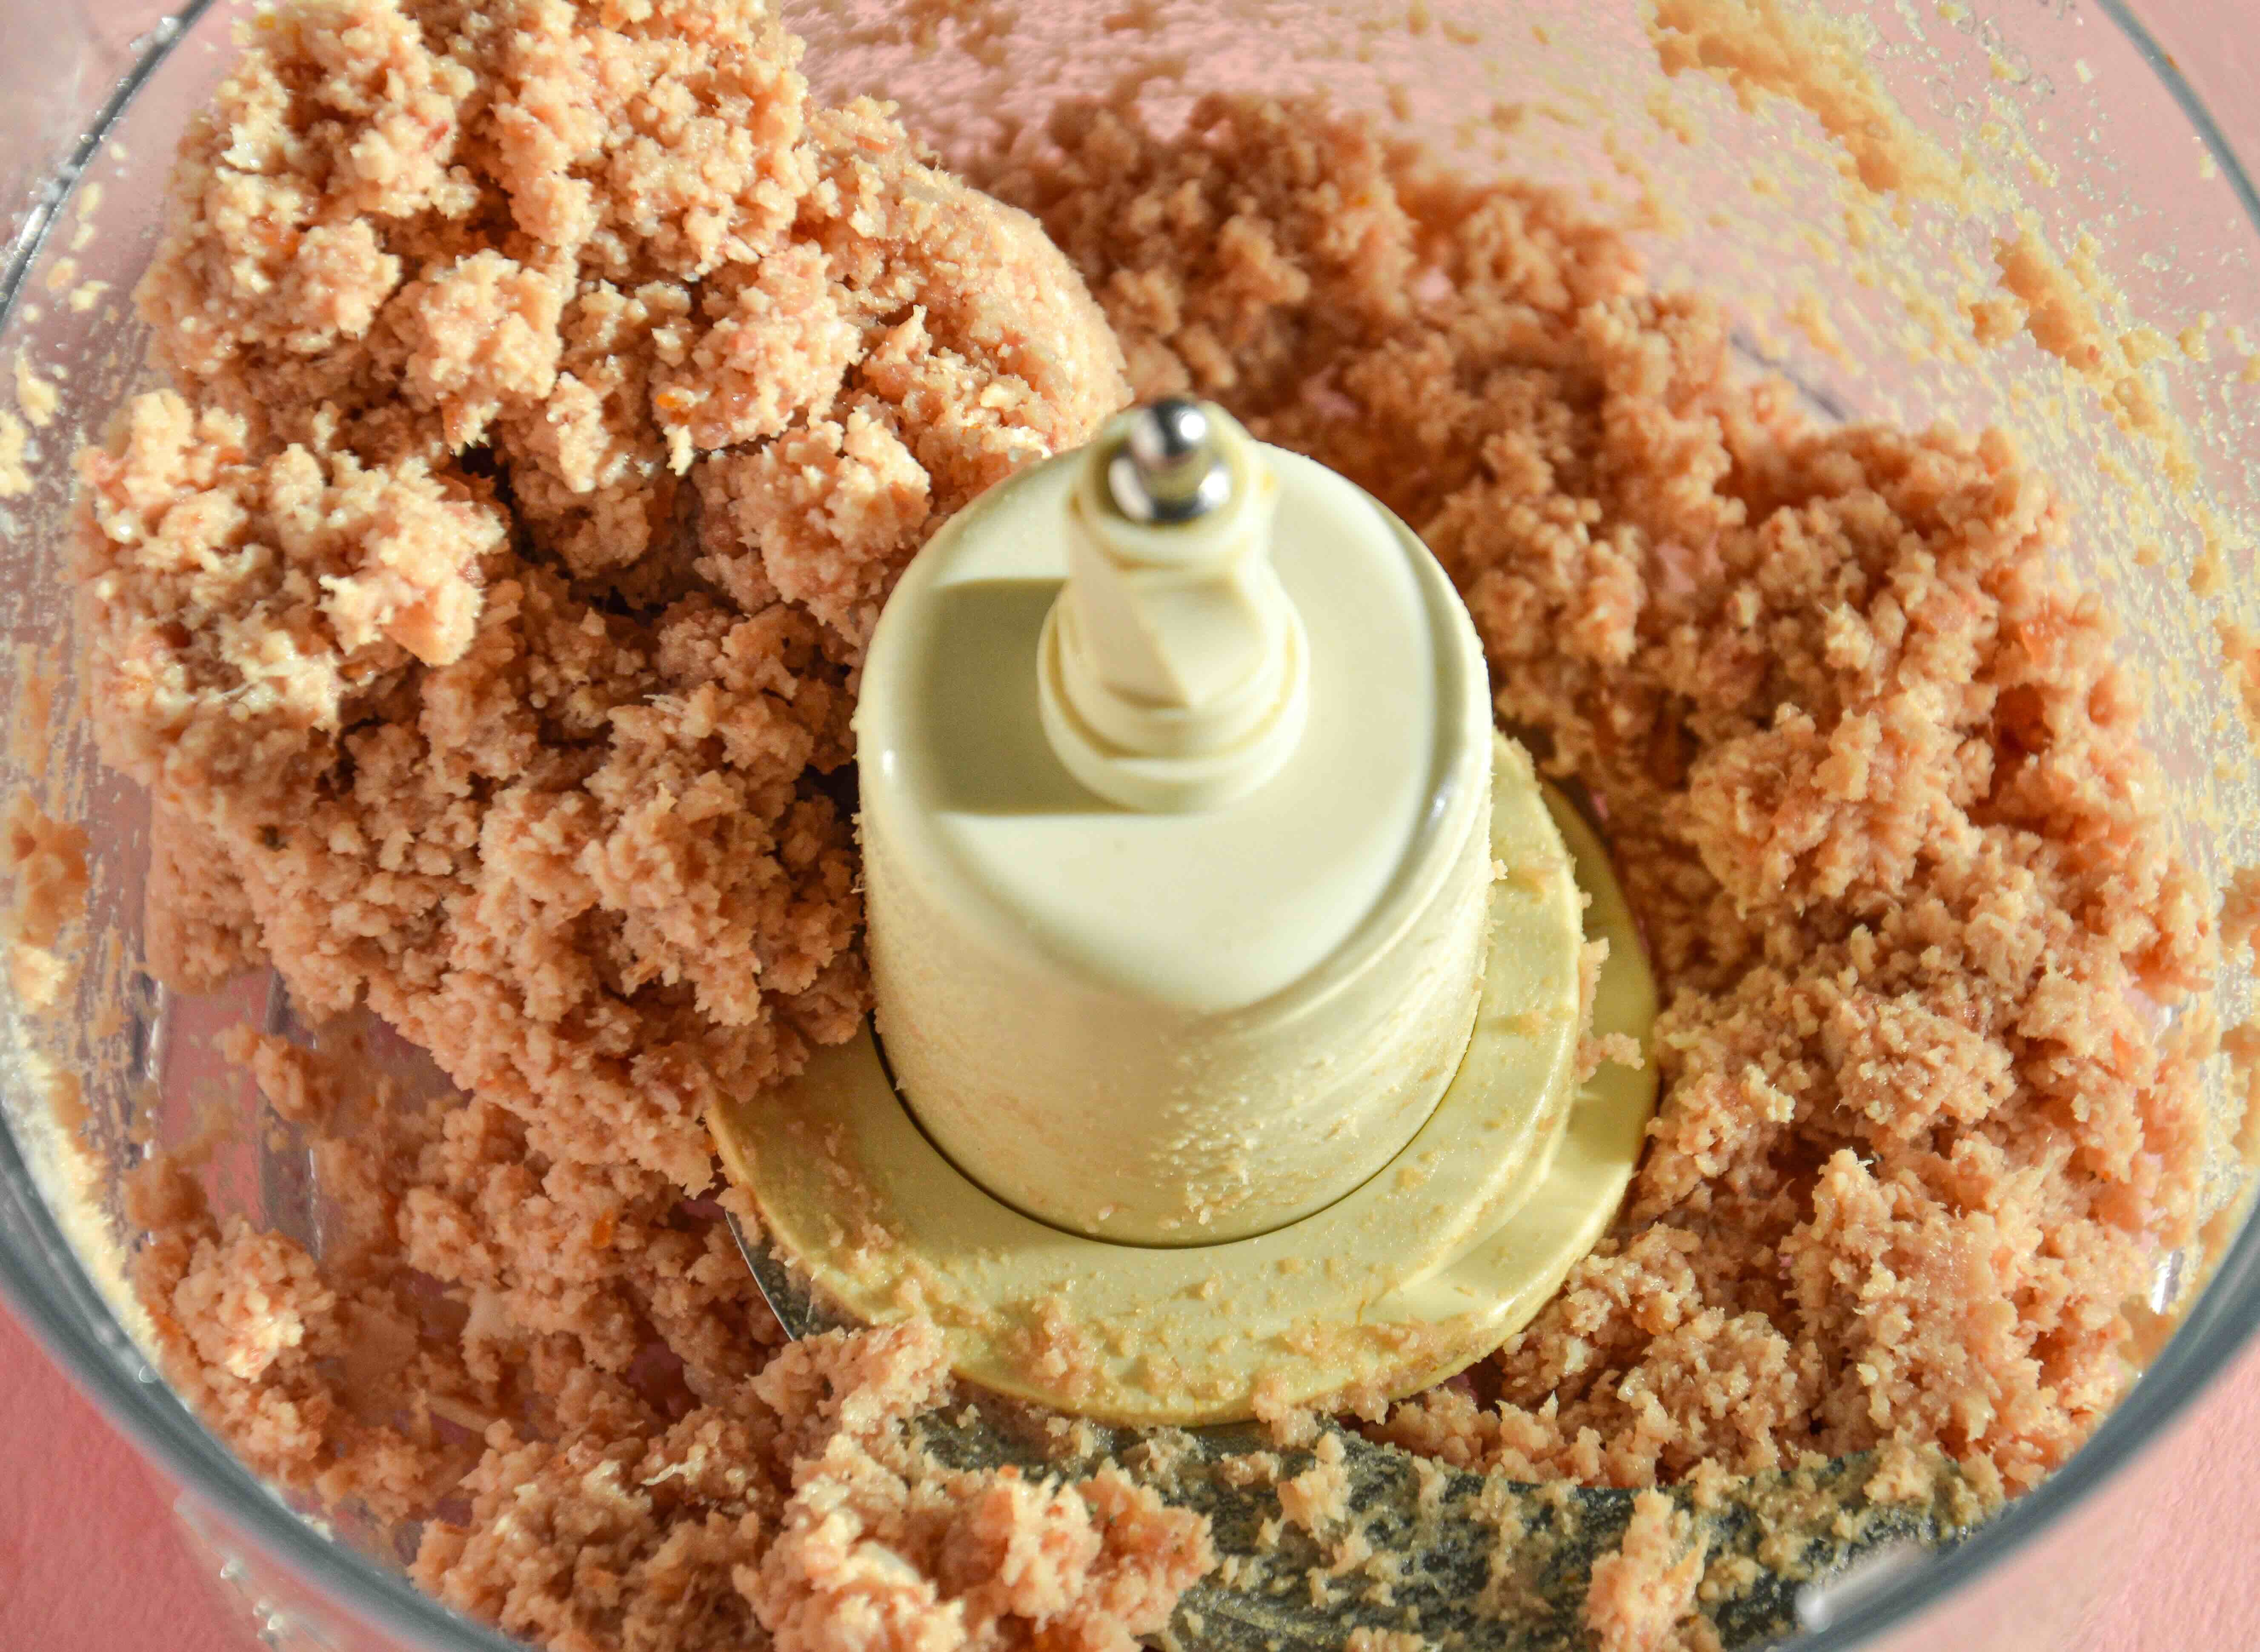
Add minced pork loin, and pulse just to combine - be careful not to overmix it, as it can make the filling too dense.
Transfer the meat paste to a bowl, then add the grated Parmigiano Reggiano, crack in the whole egg, season with a pinch of sea salt, and grate a generous amount of nutmeg over the top.
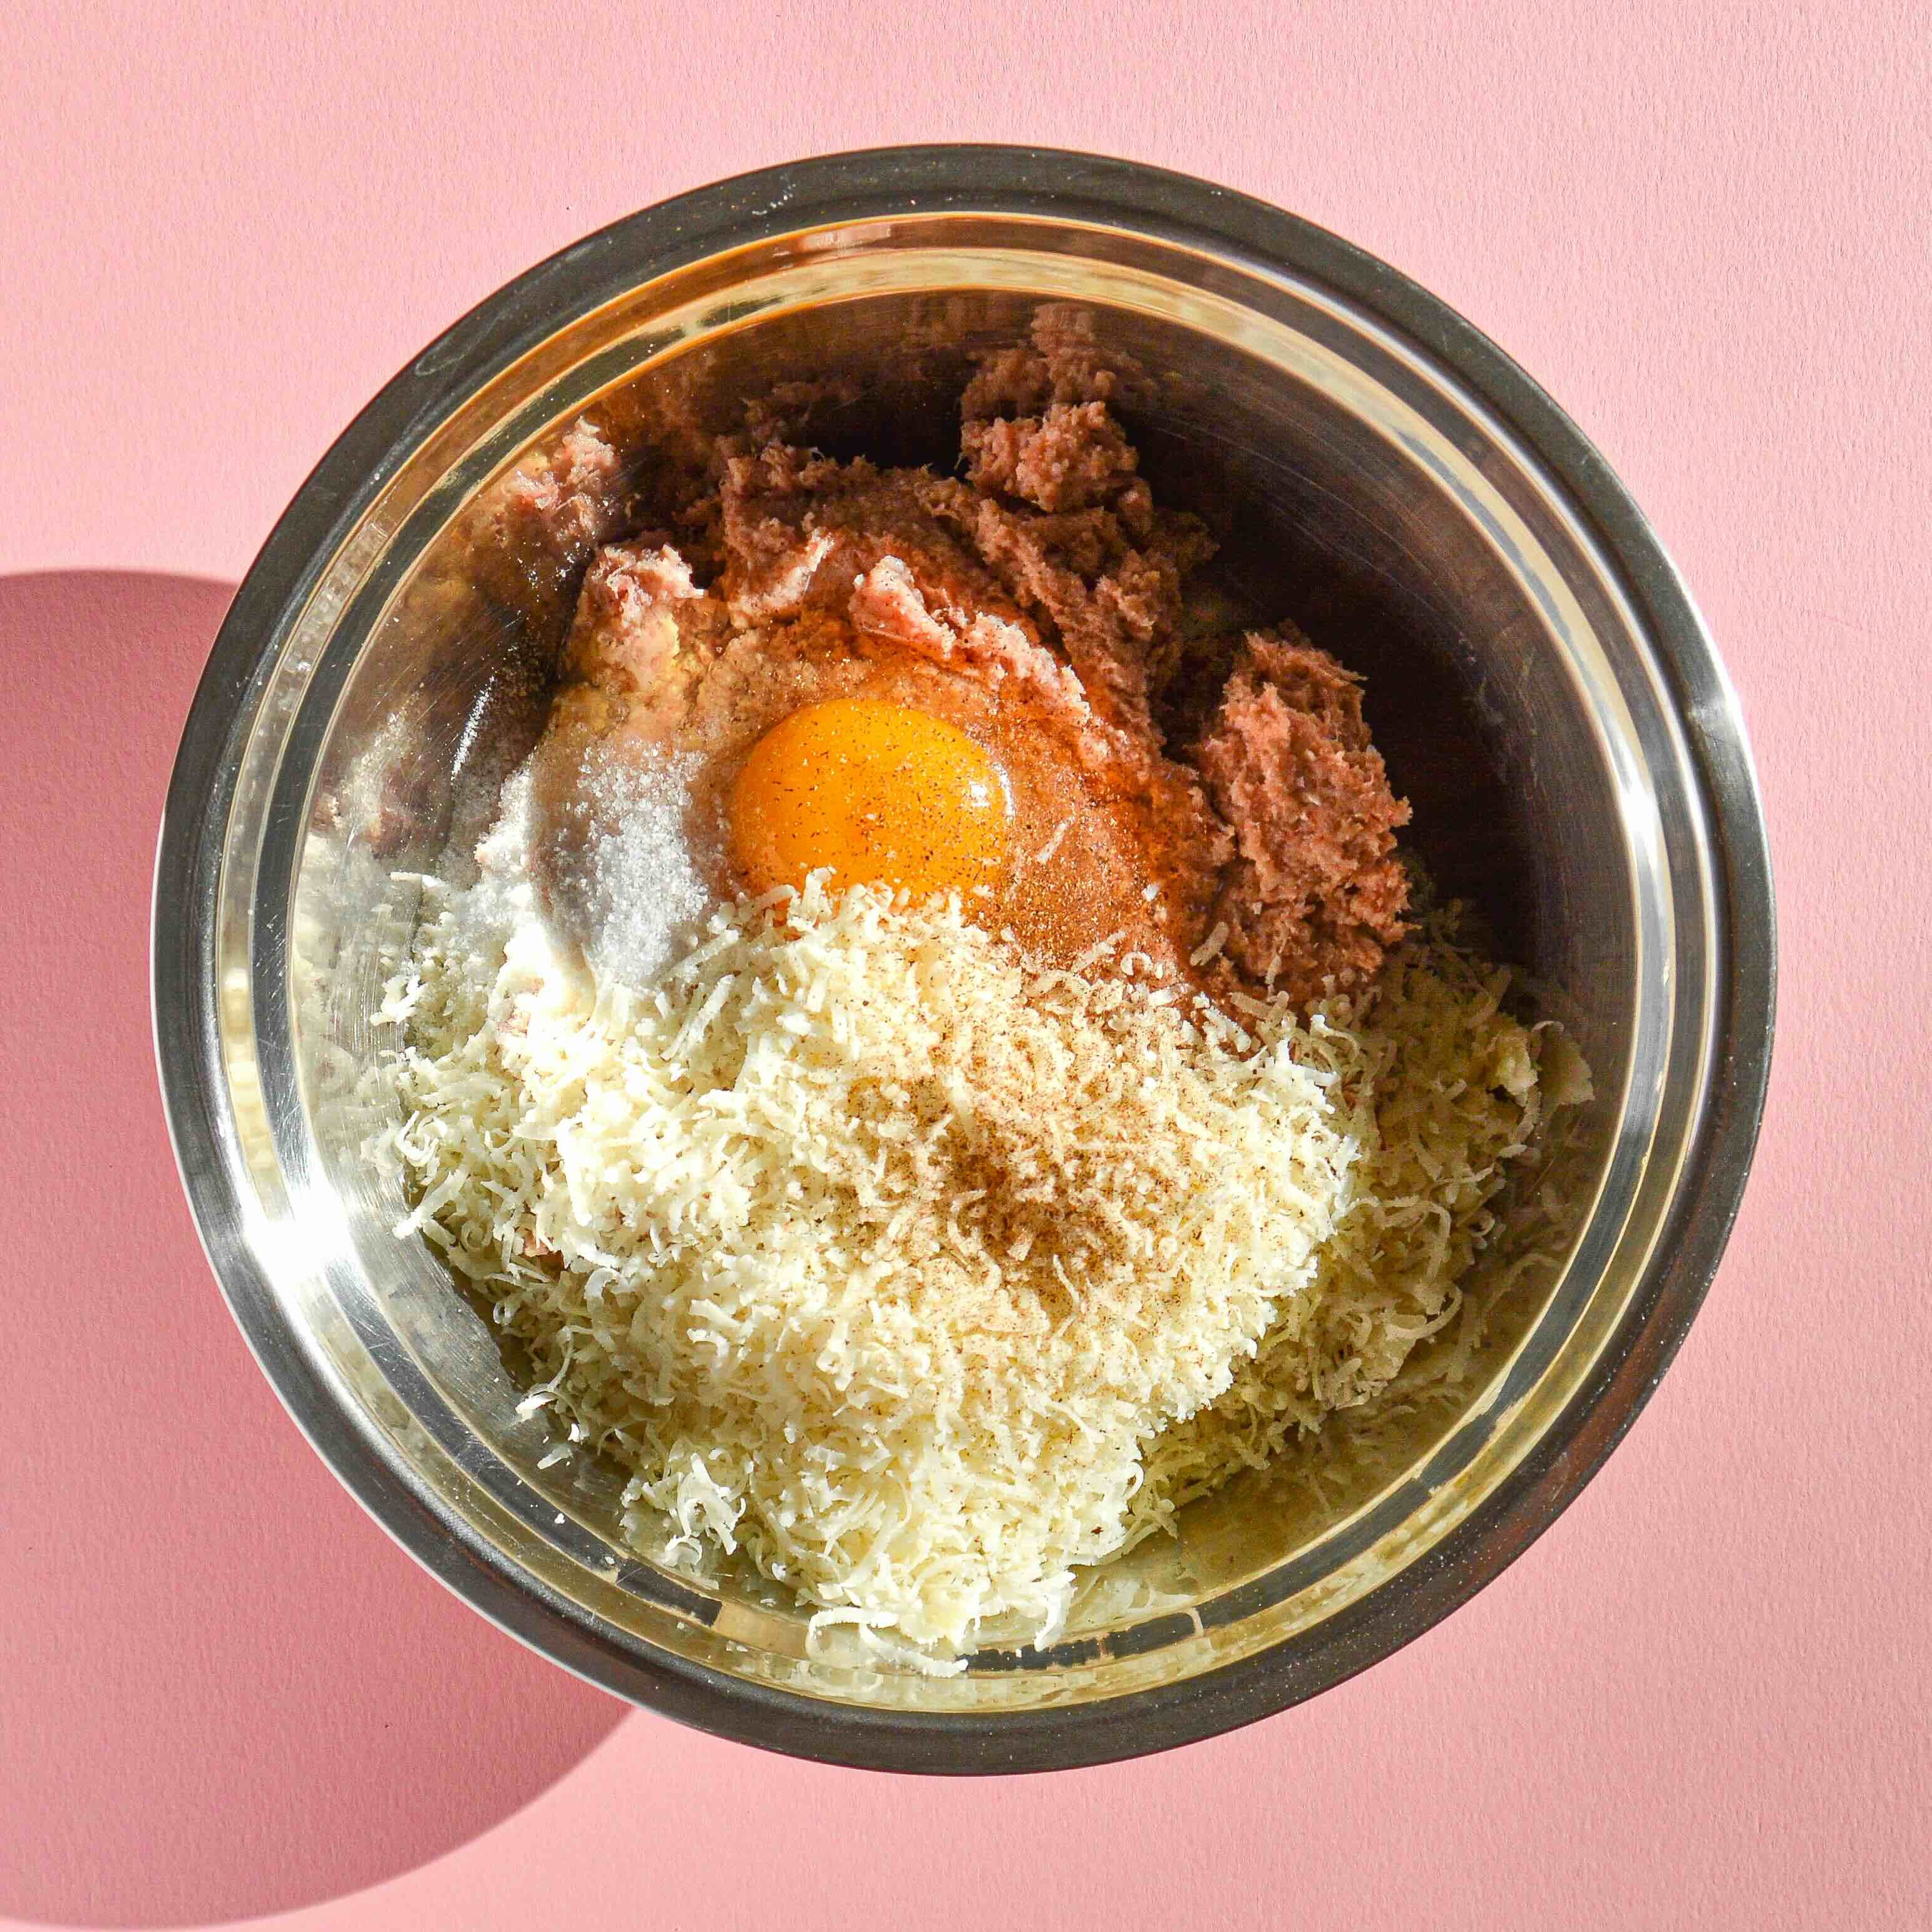
Mix everything well.
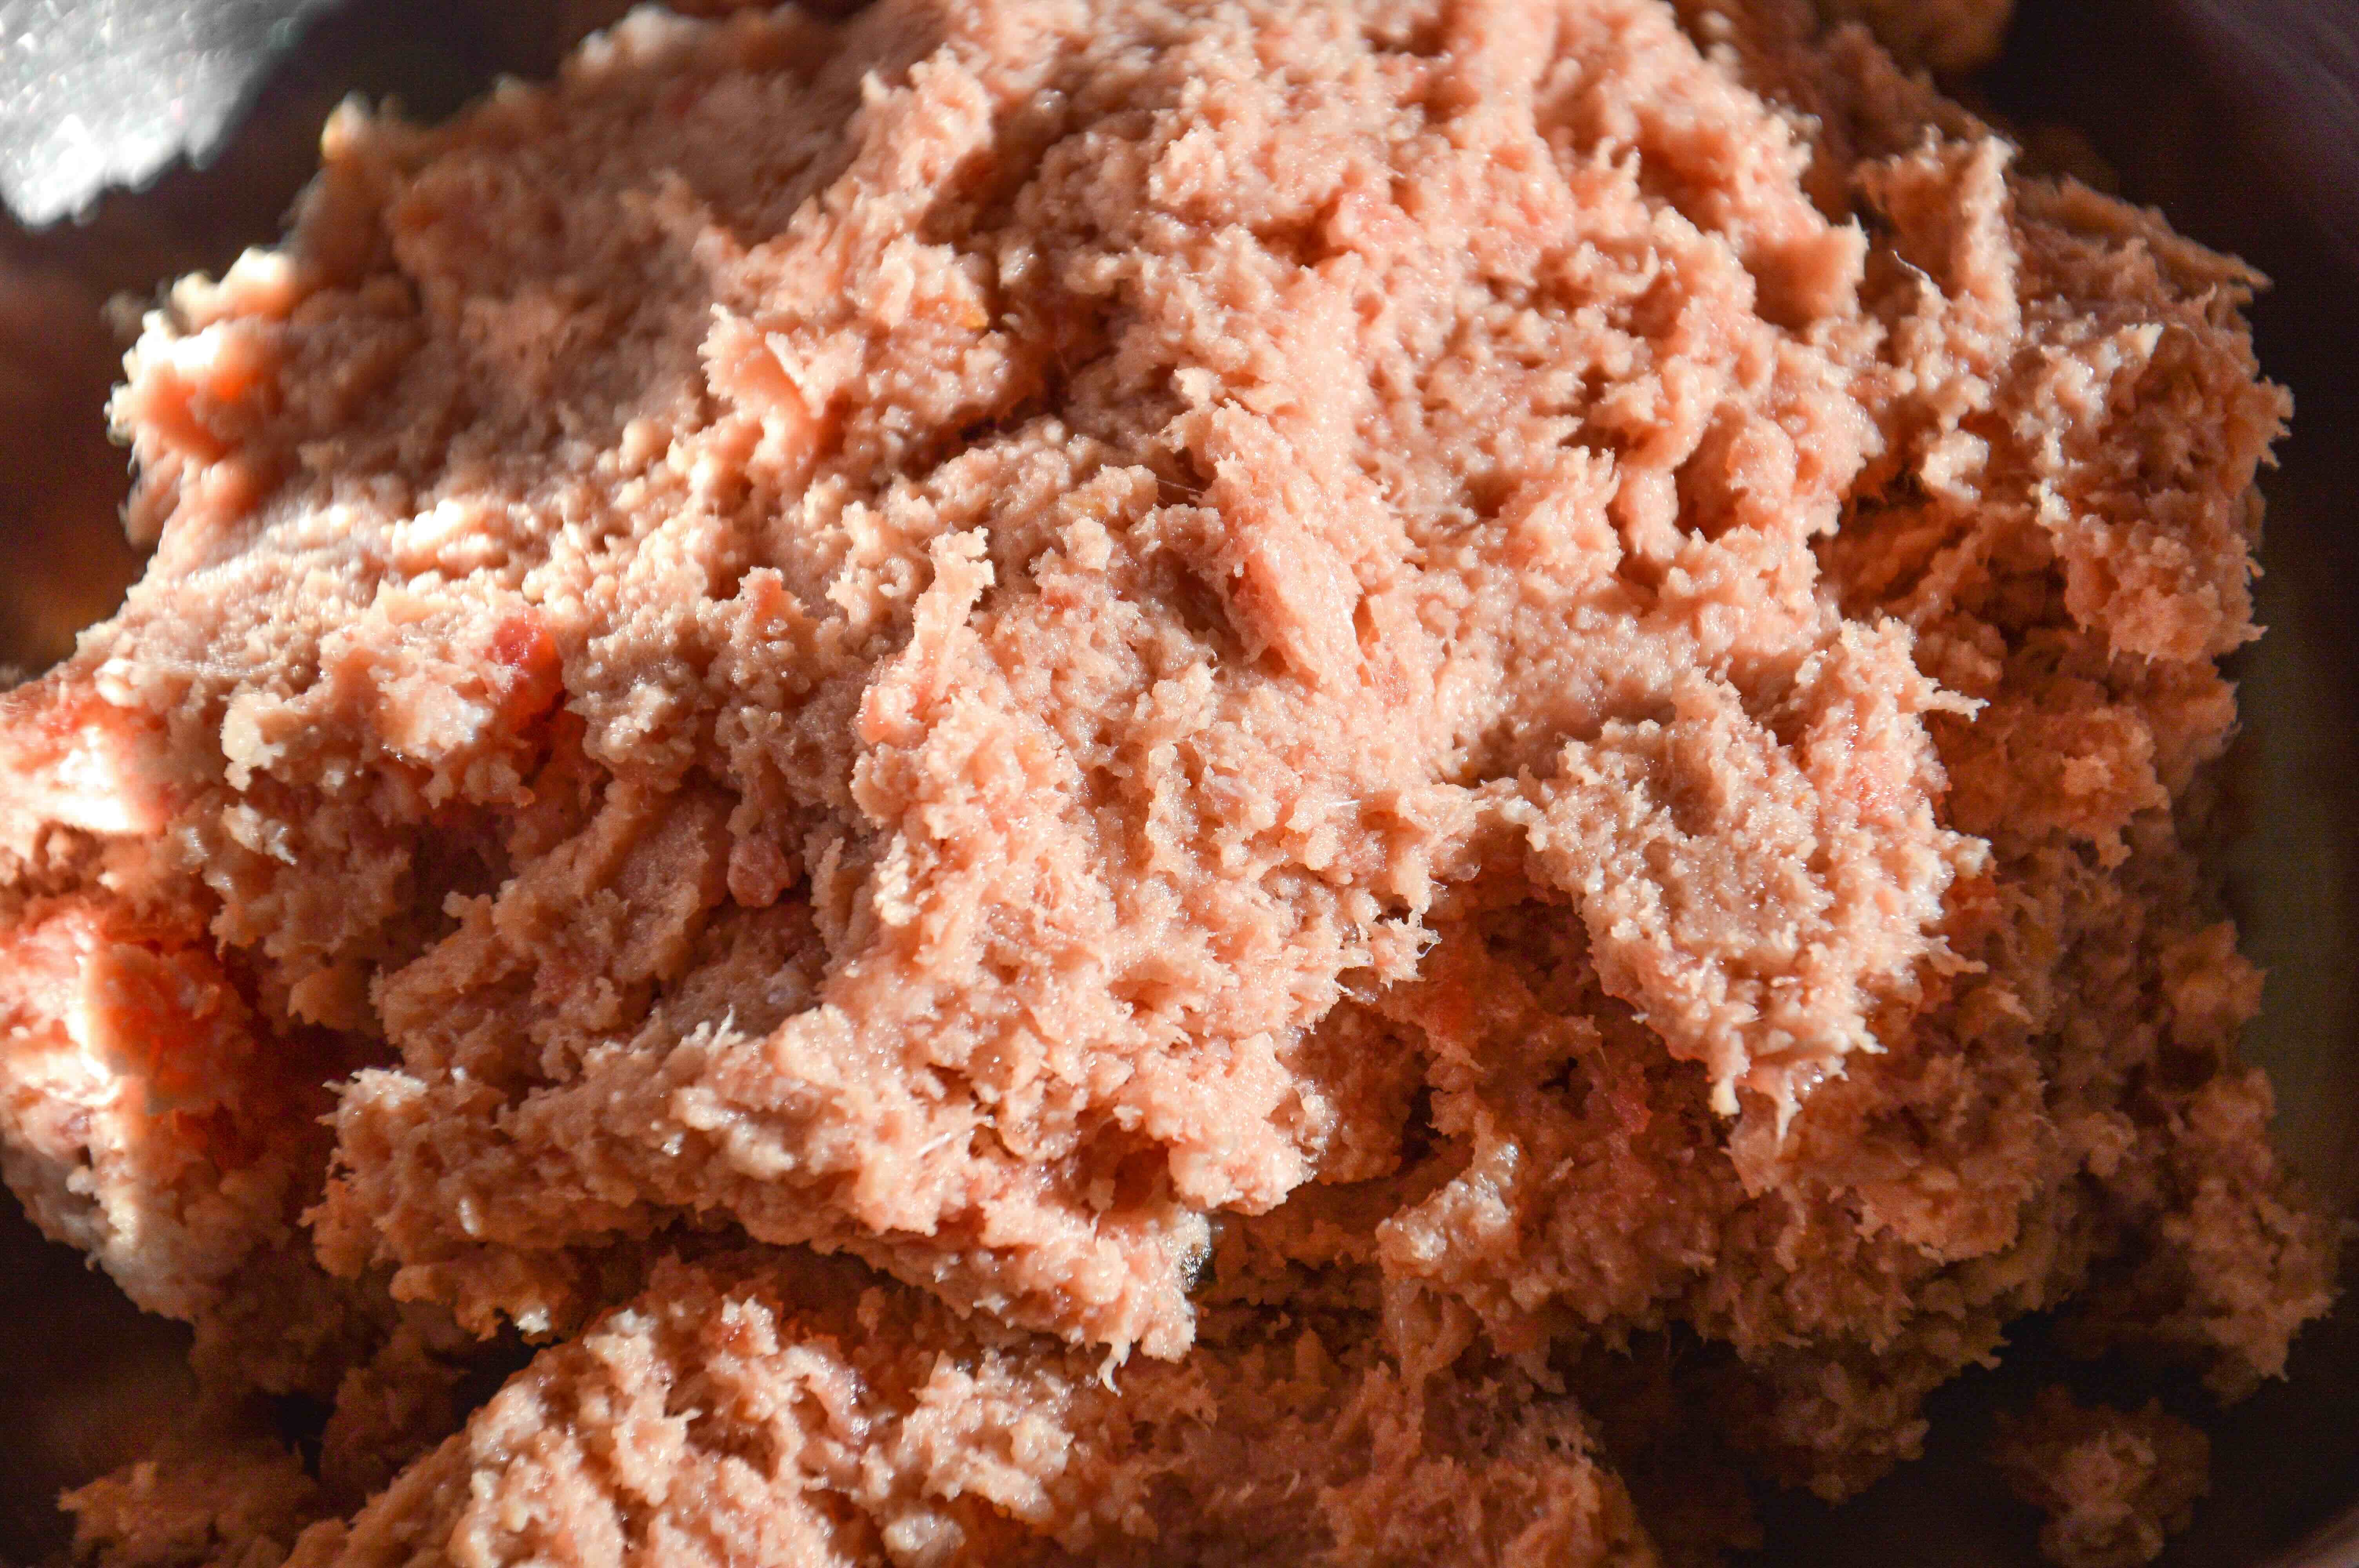
Cover the bowl with clingfilm and refrigerate it on the lowest shelf until you're ready to use it.
NEXT DAY
Dough for tortellini
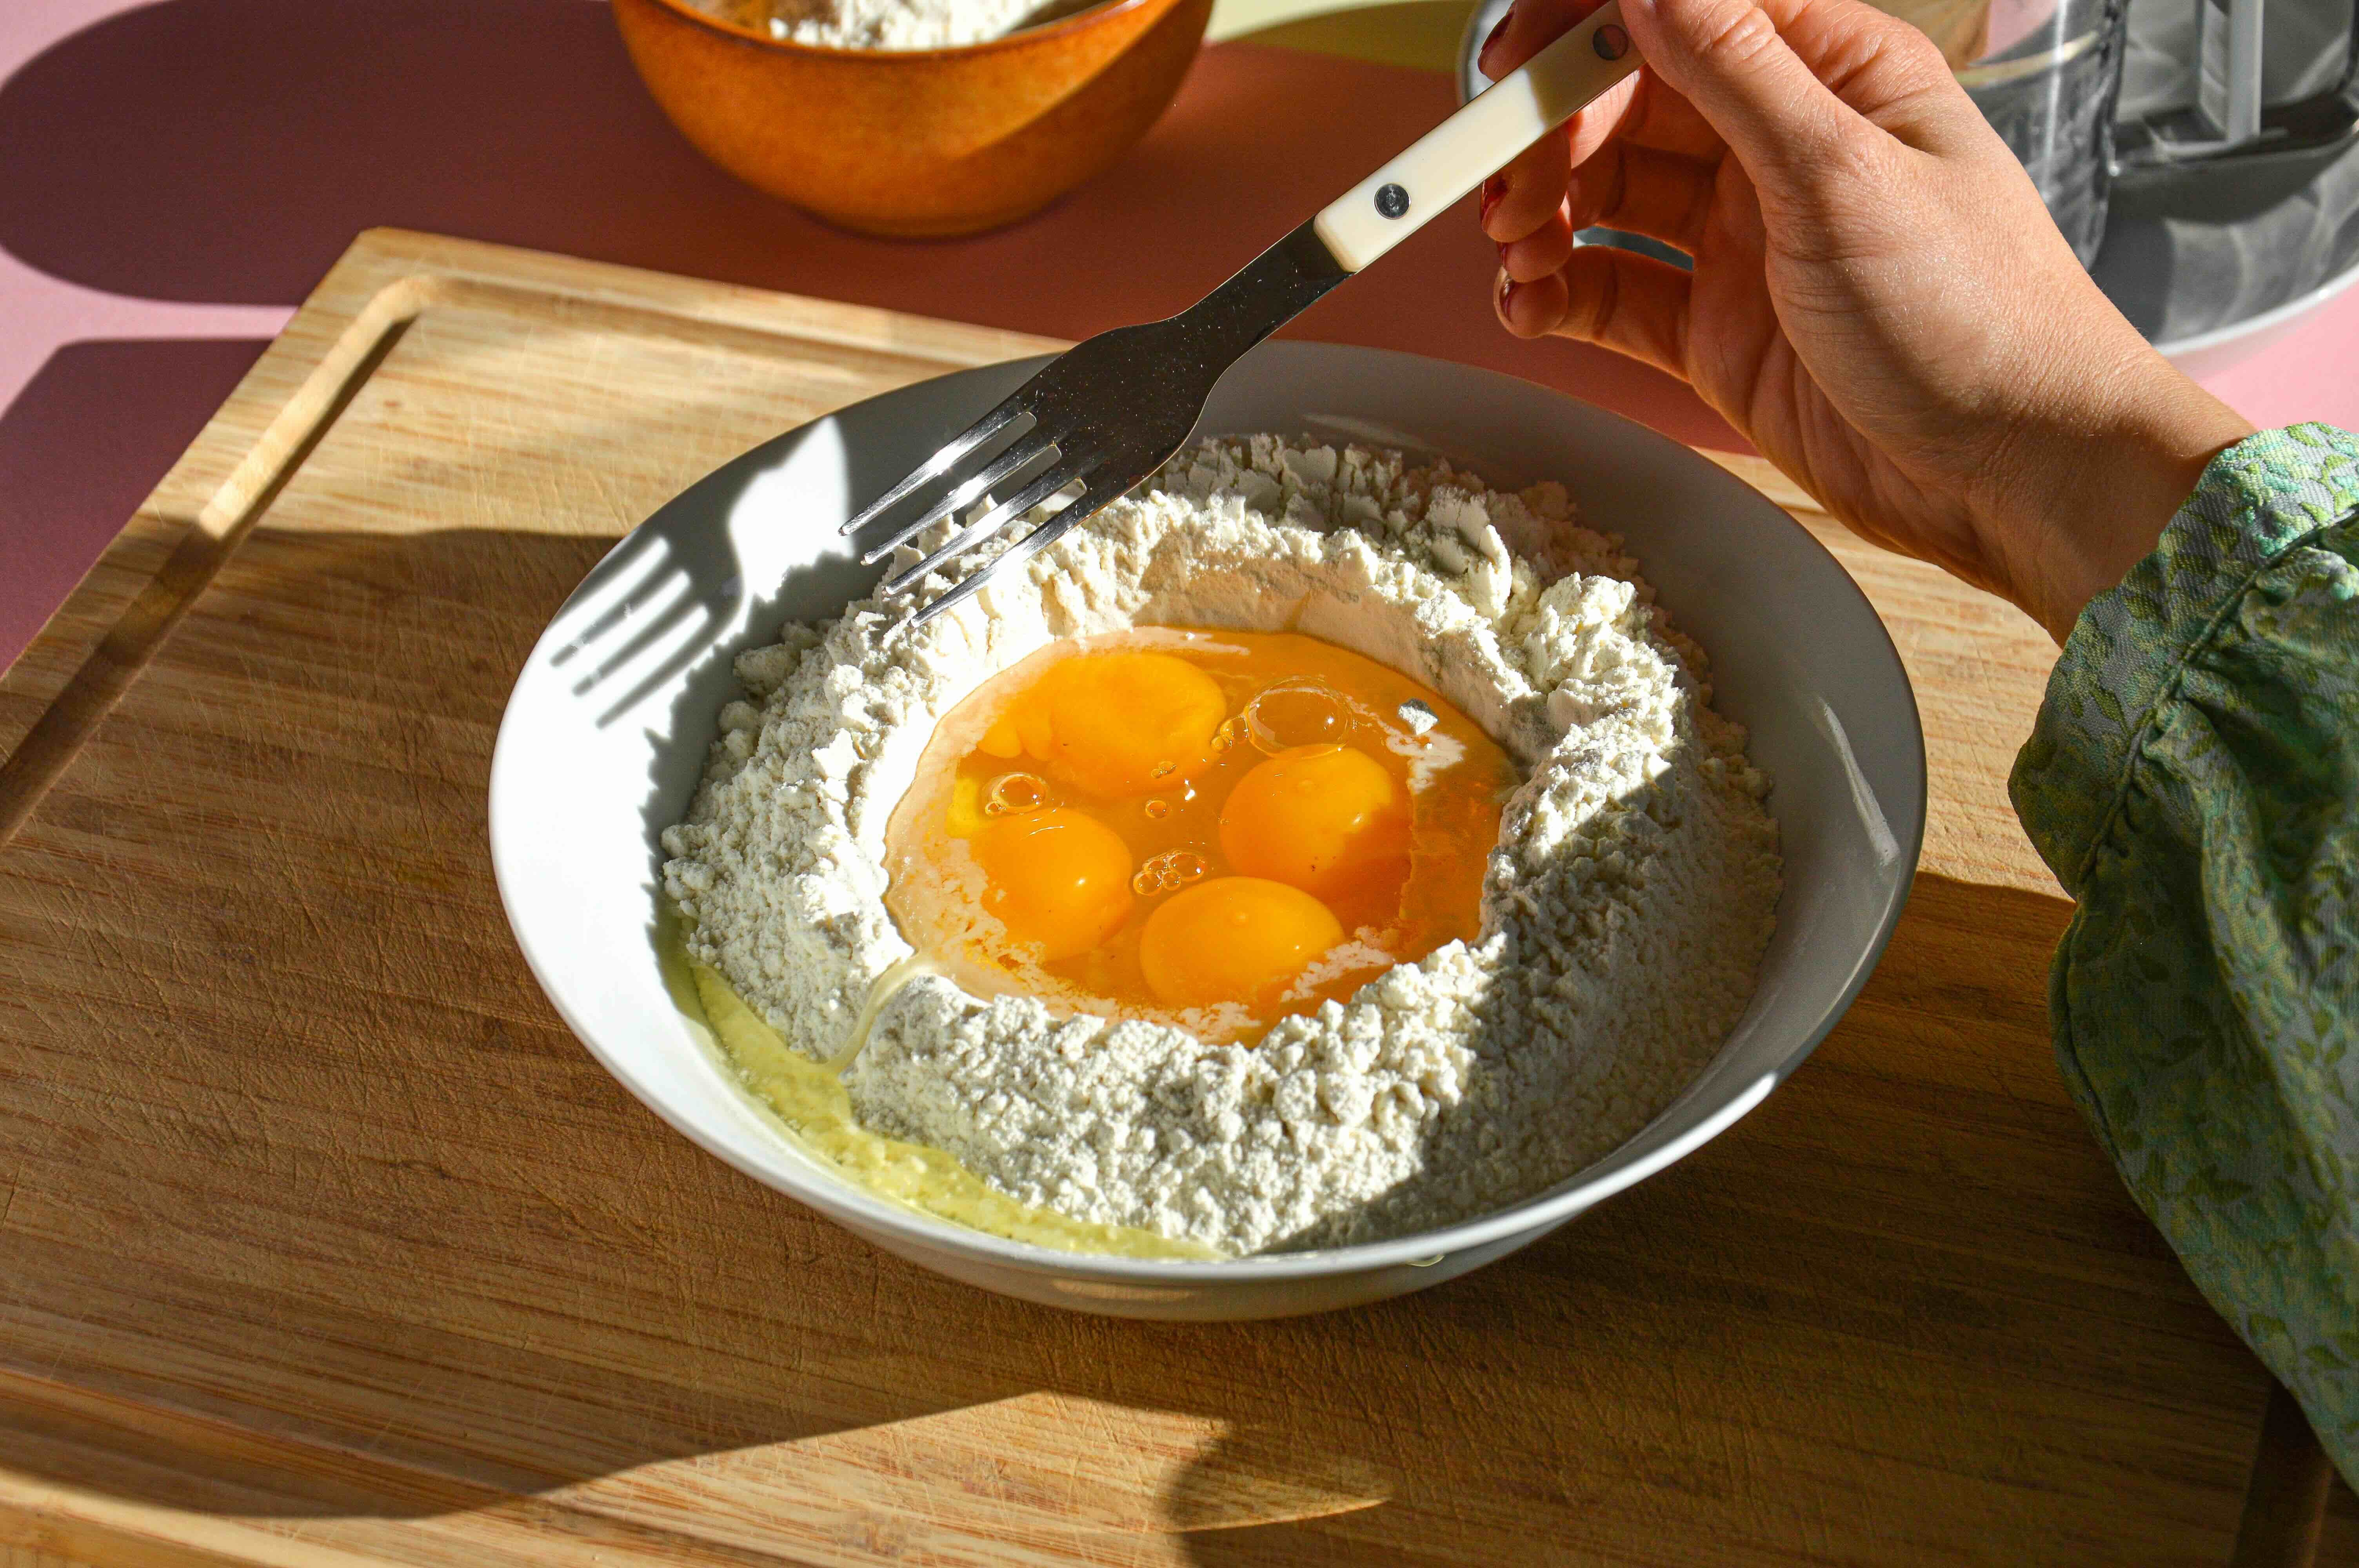
Sift 200g of 00 flour into a wide bowl, then make a well in the centre. Crack two eggs into the well.
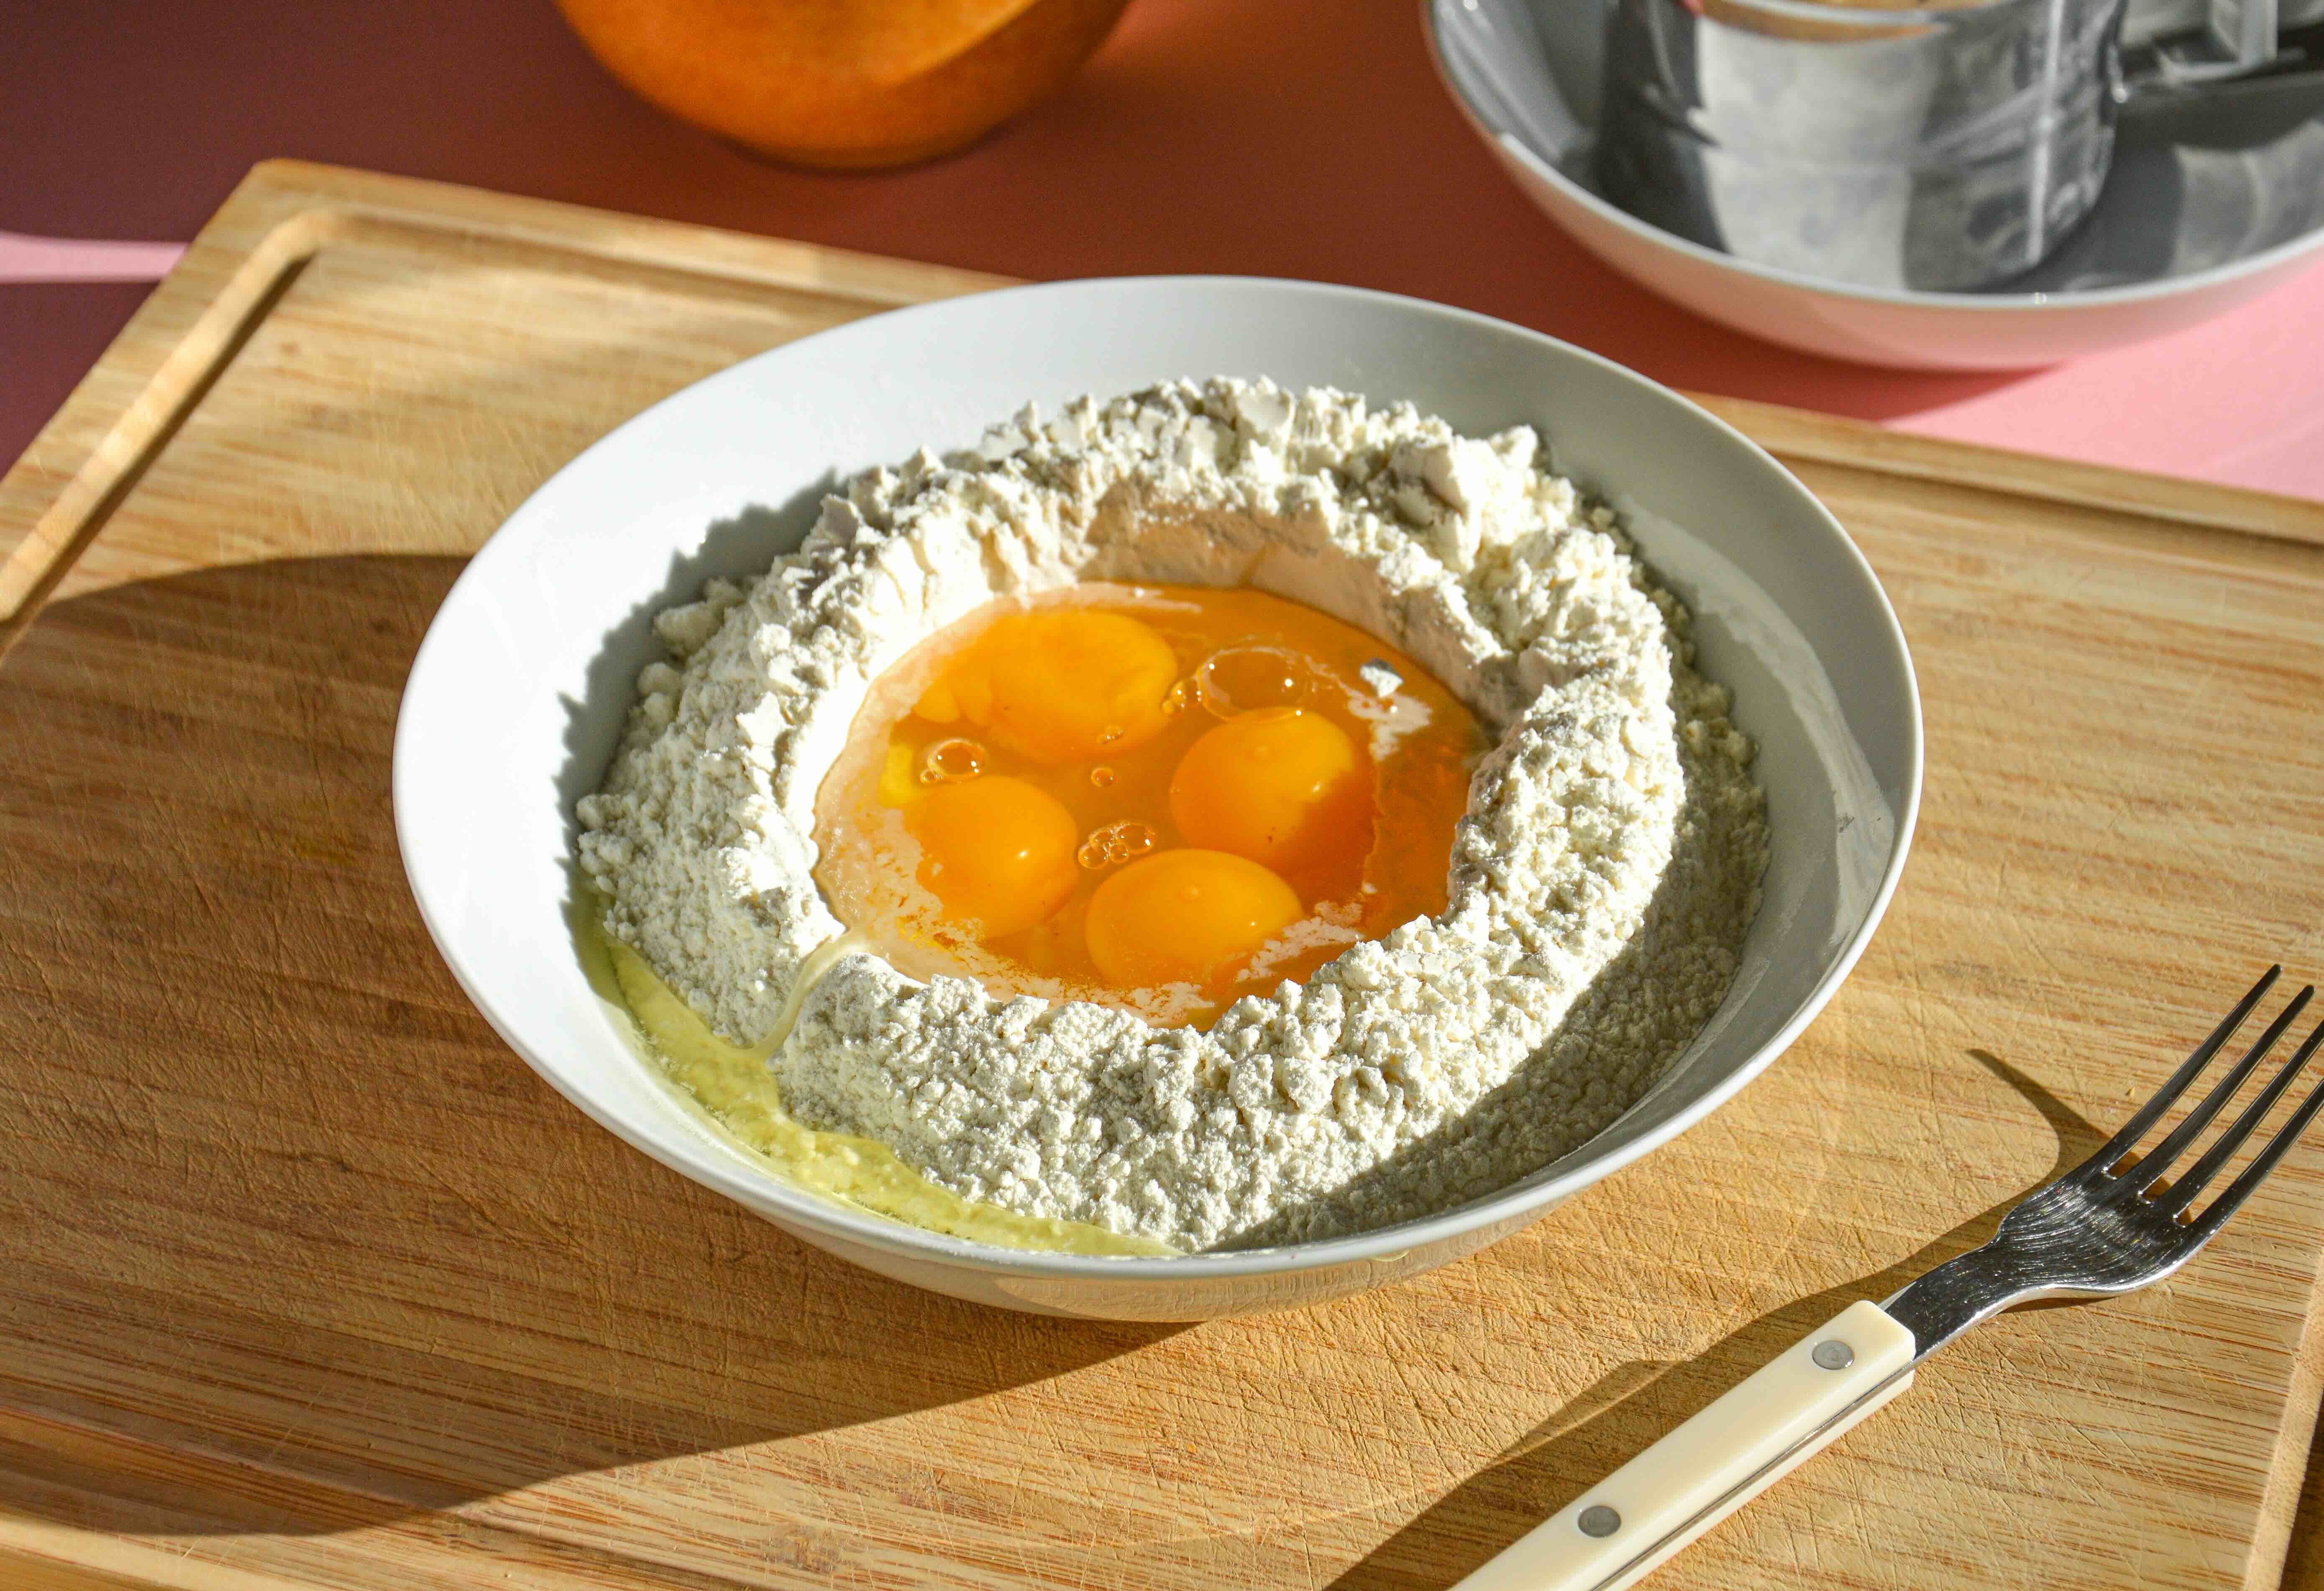
Whisk the eggs with a fork. Gradually start stirring the eggs into the flour in circular motions, still using the fork.
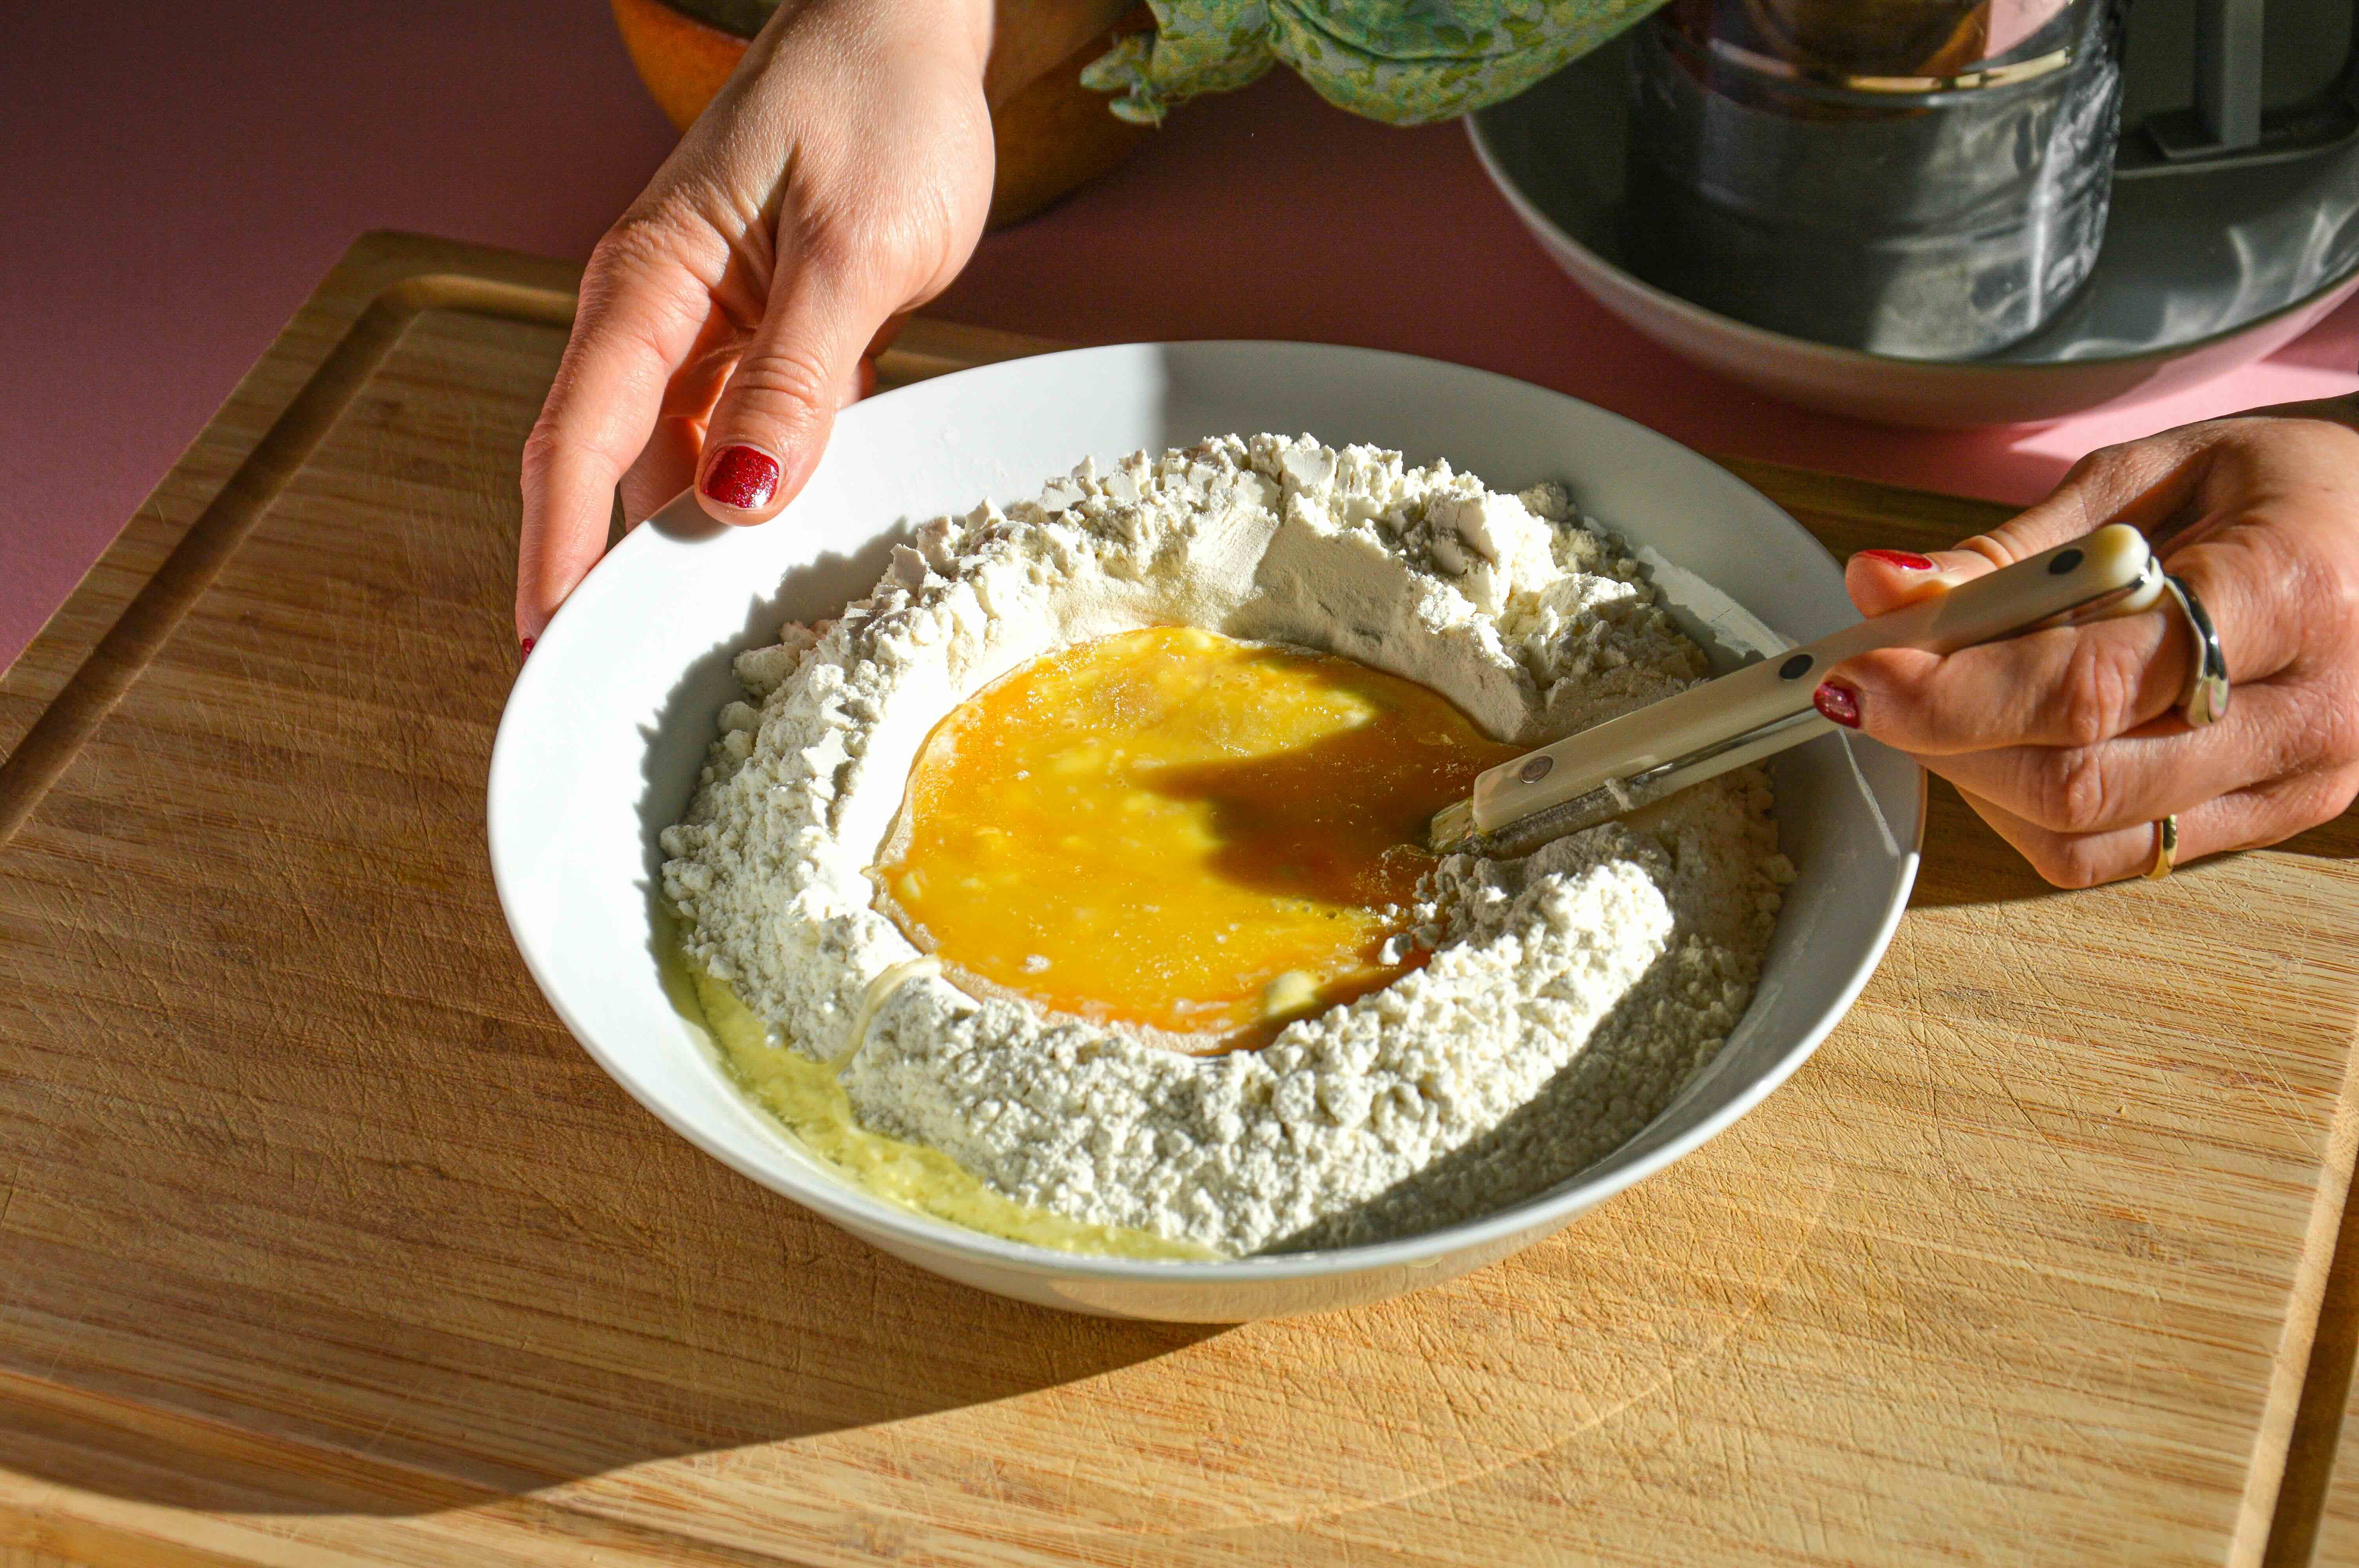
Keep at stirring.

Once the dough becomes too thick to handle with a fork, transfer it to a clean surface.
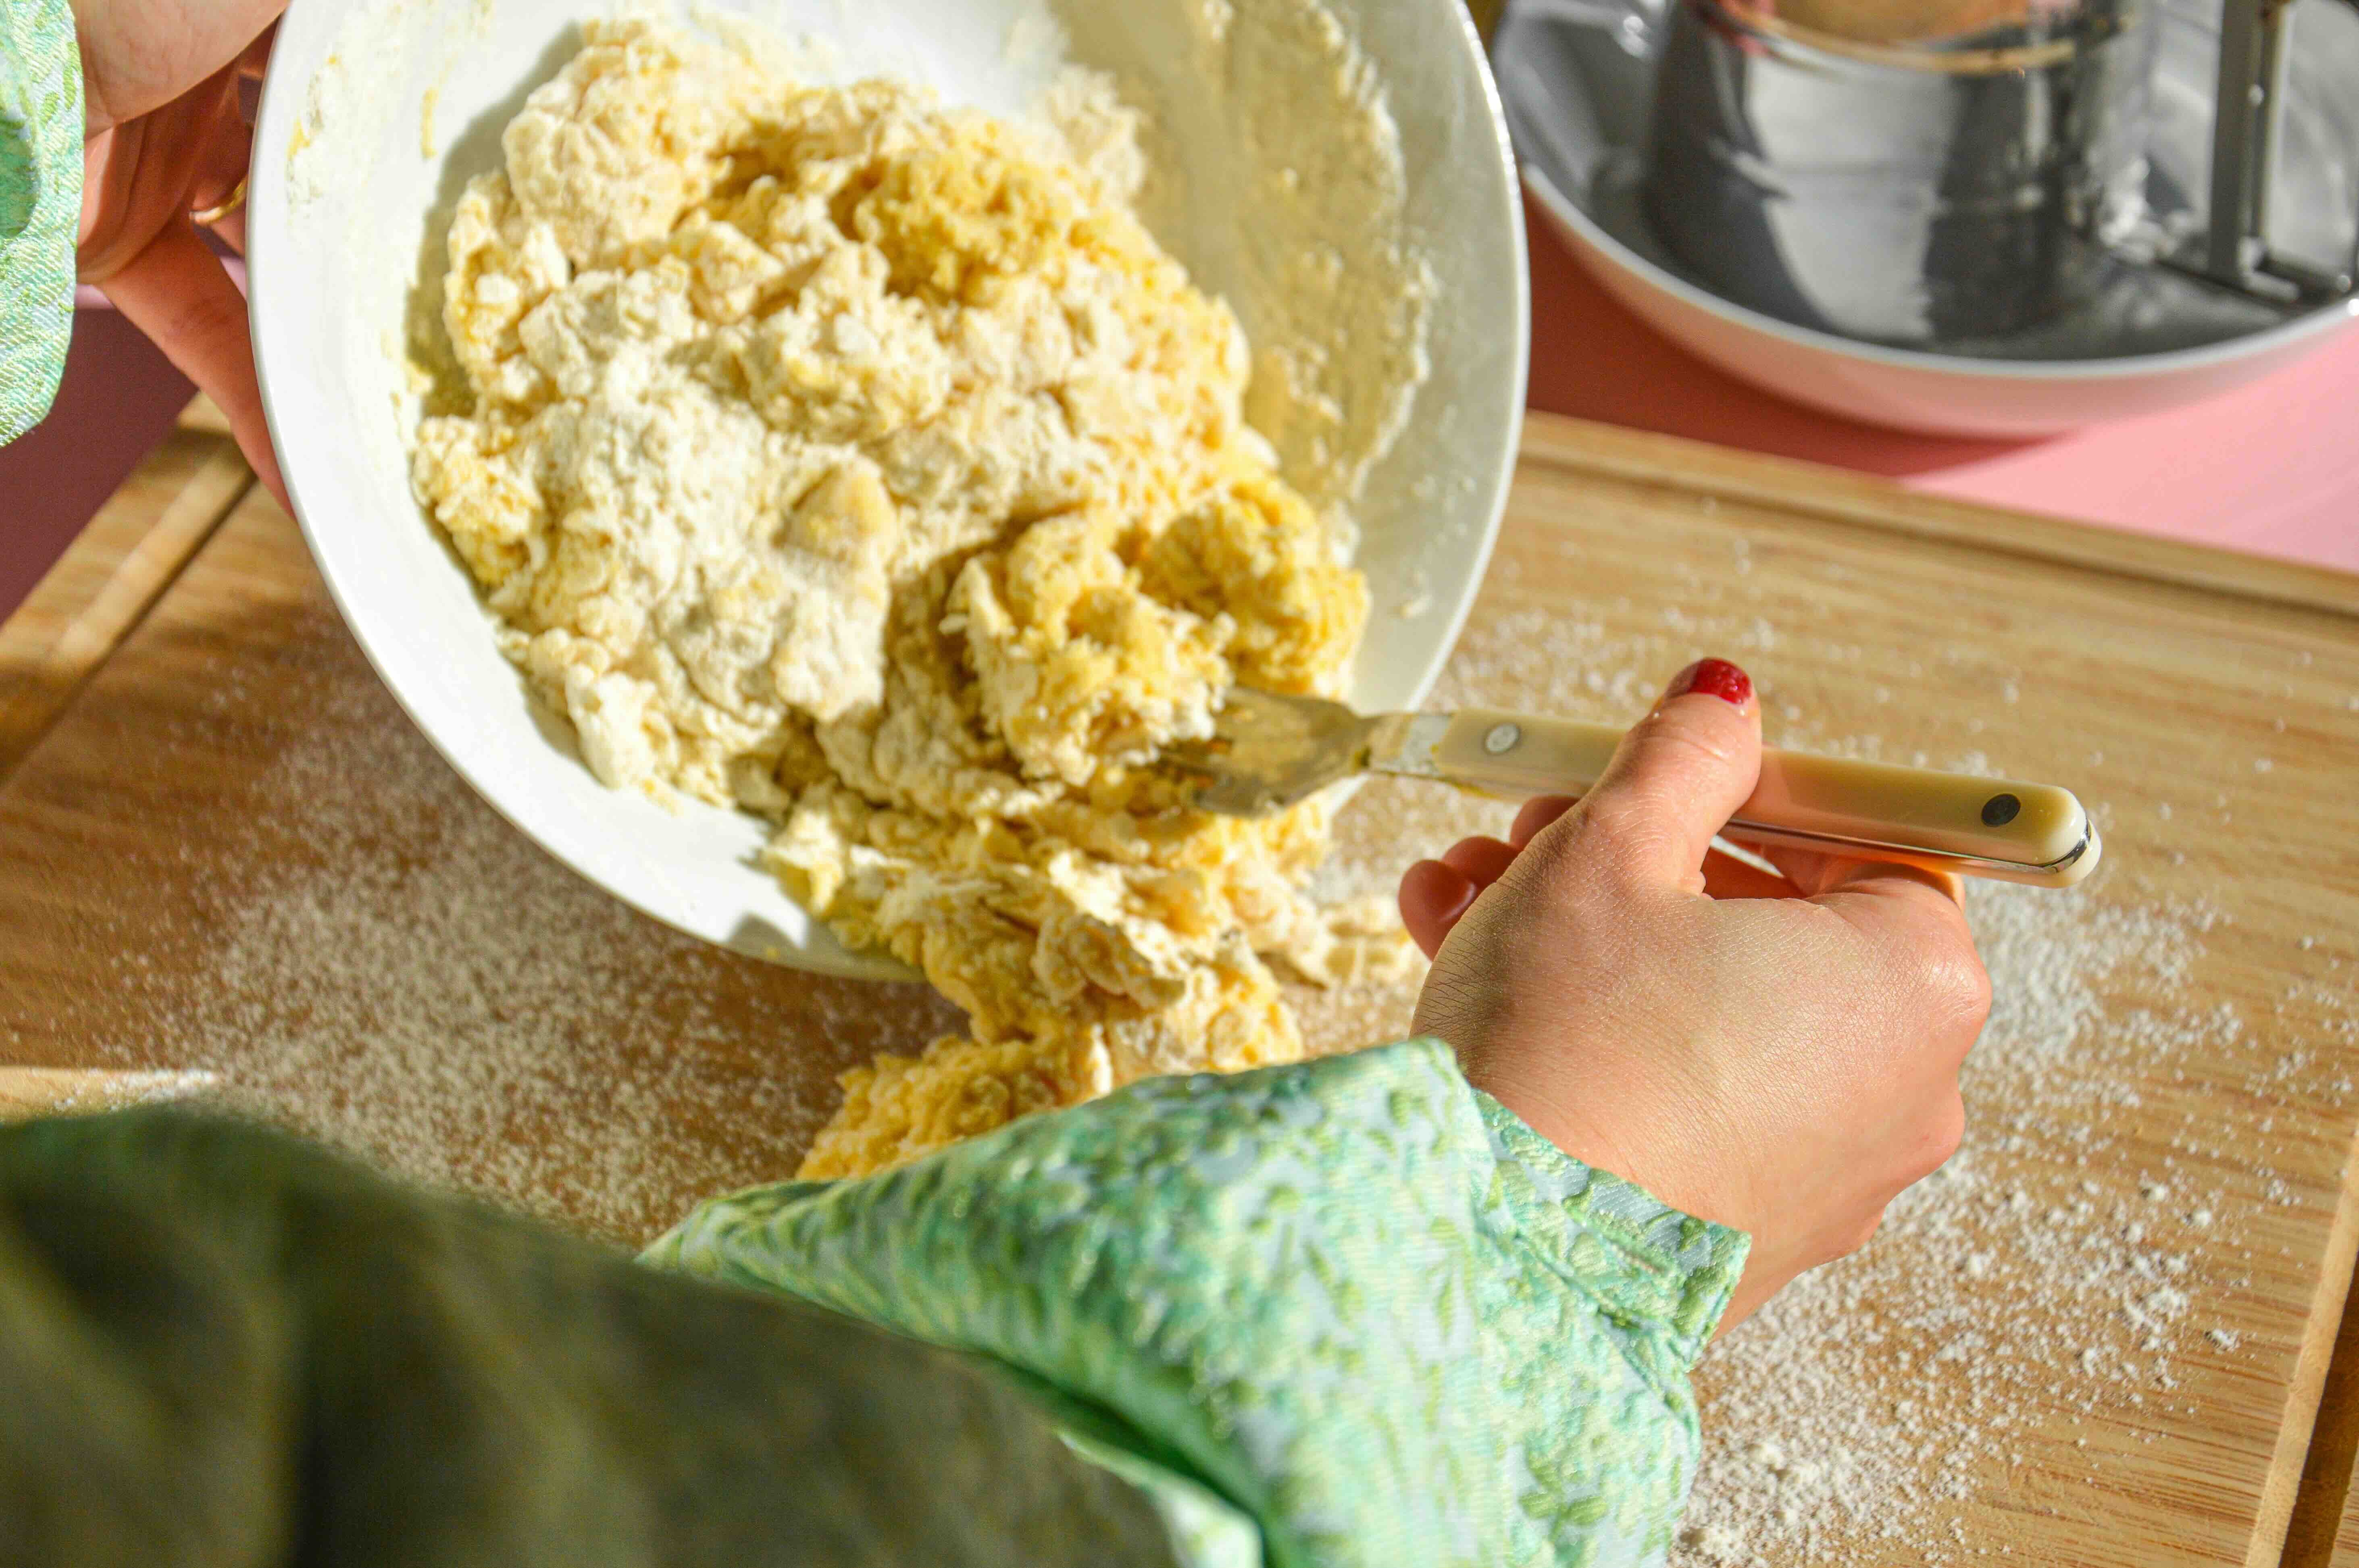
Begin bringing the dough together with your hands. At first, the dough looks quite shaggy and sticky, but give it a bit of time and it will start to come together.
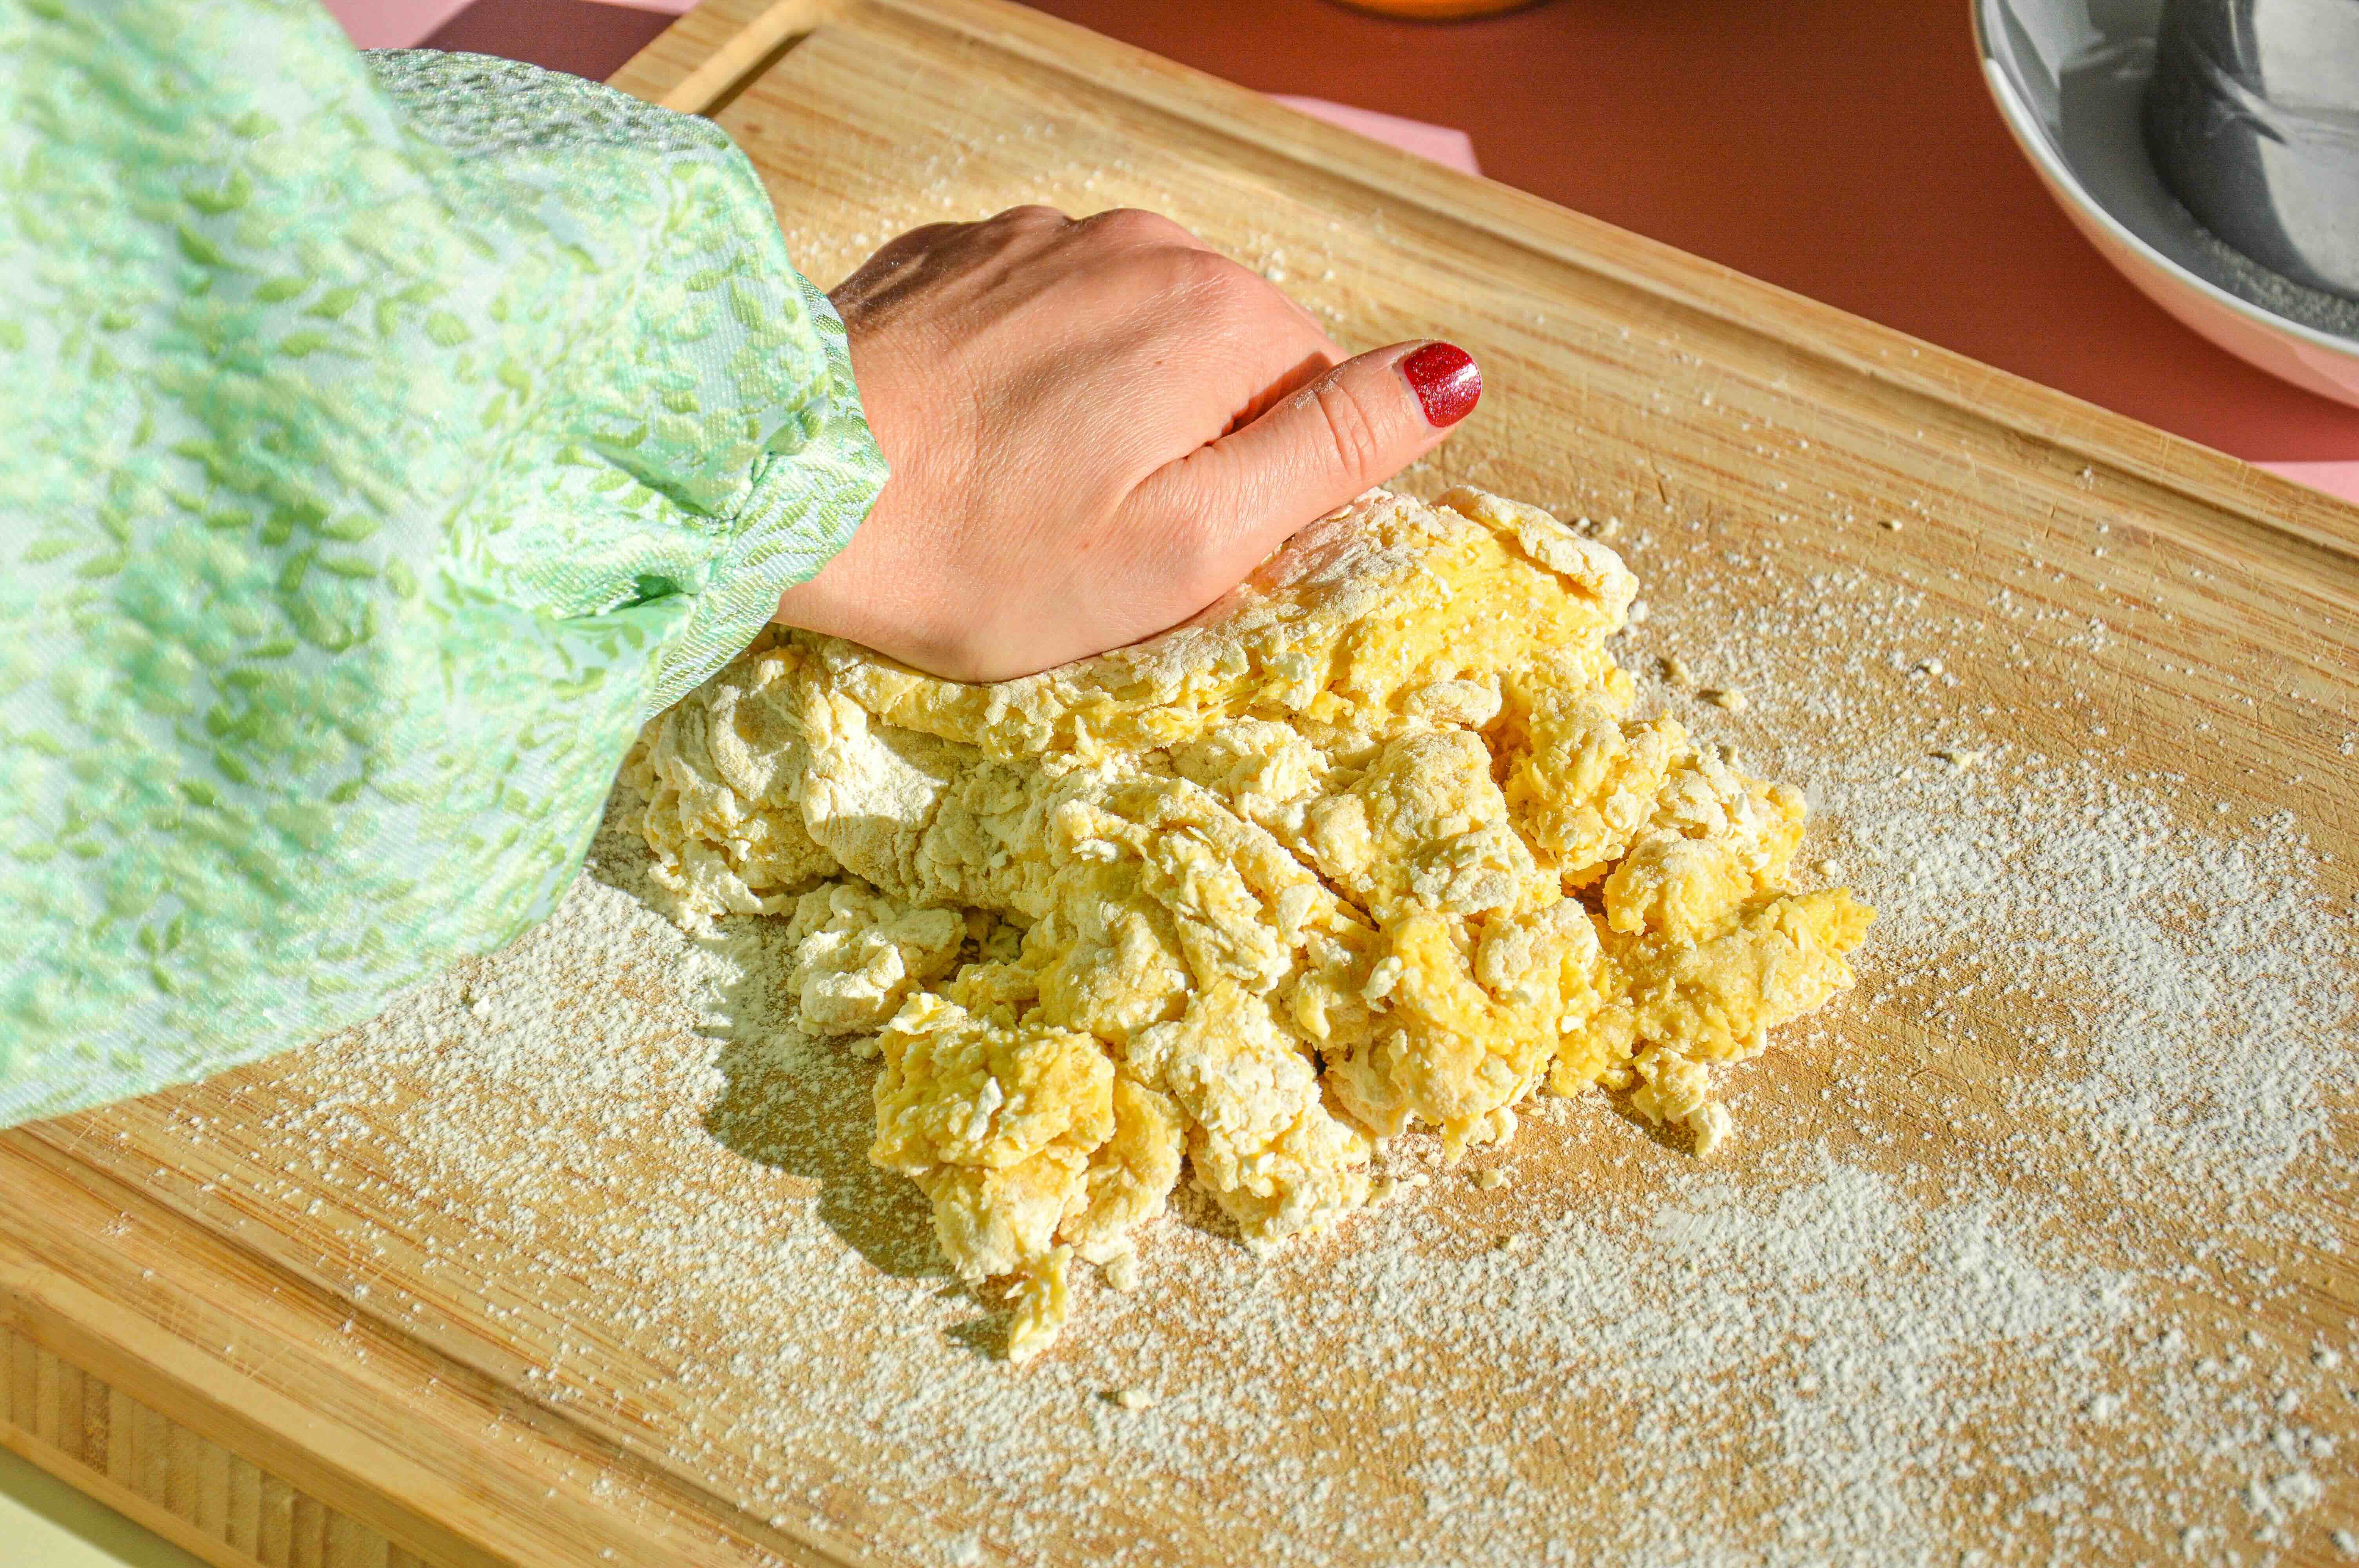
Clear any dry bits from your working surface and begin kneading. Press the heel of your palm in the middle of the dough, stretching it away from your body. Fold the dough over, press it down and rotate it.
Repeat this process until the dough becomes more pliable and noticeably smoother (though it won’t be perfect just yet).
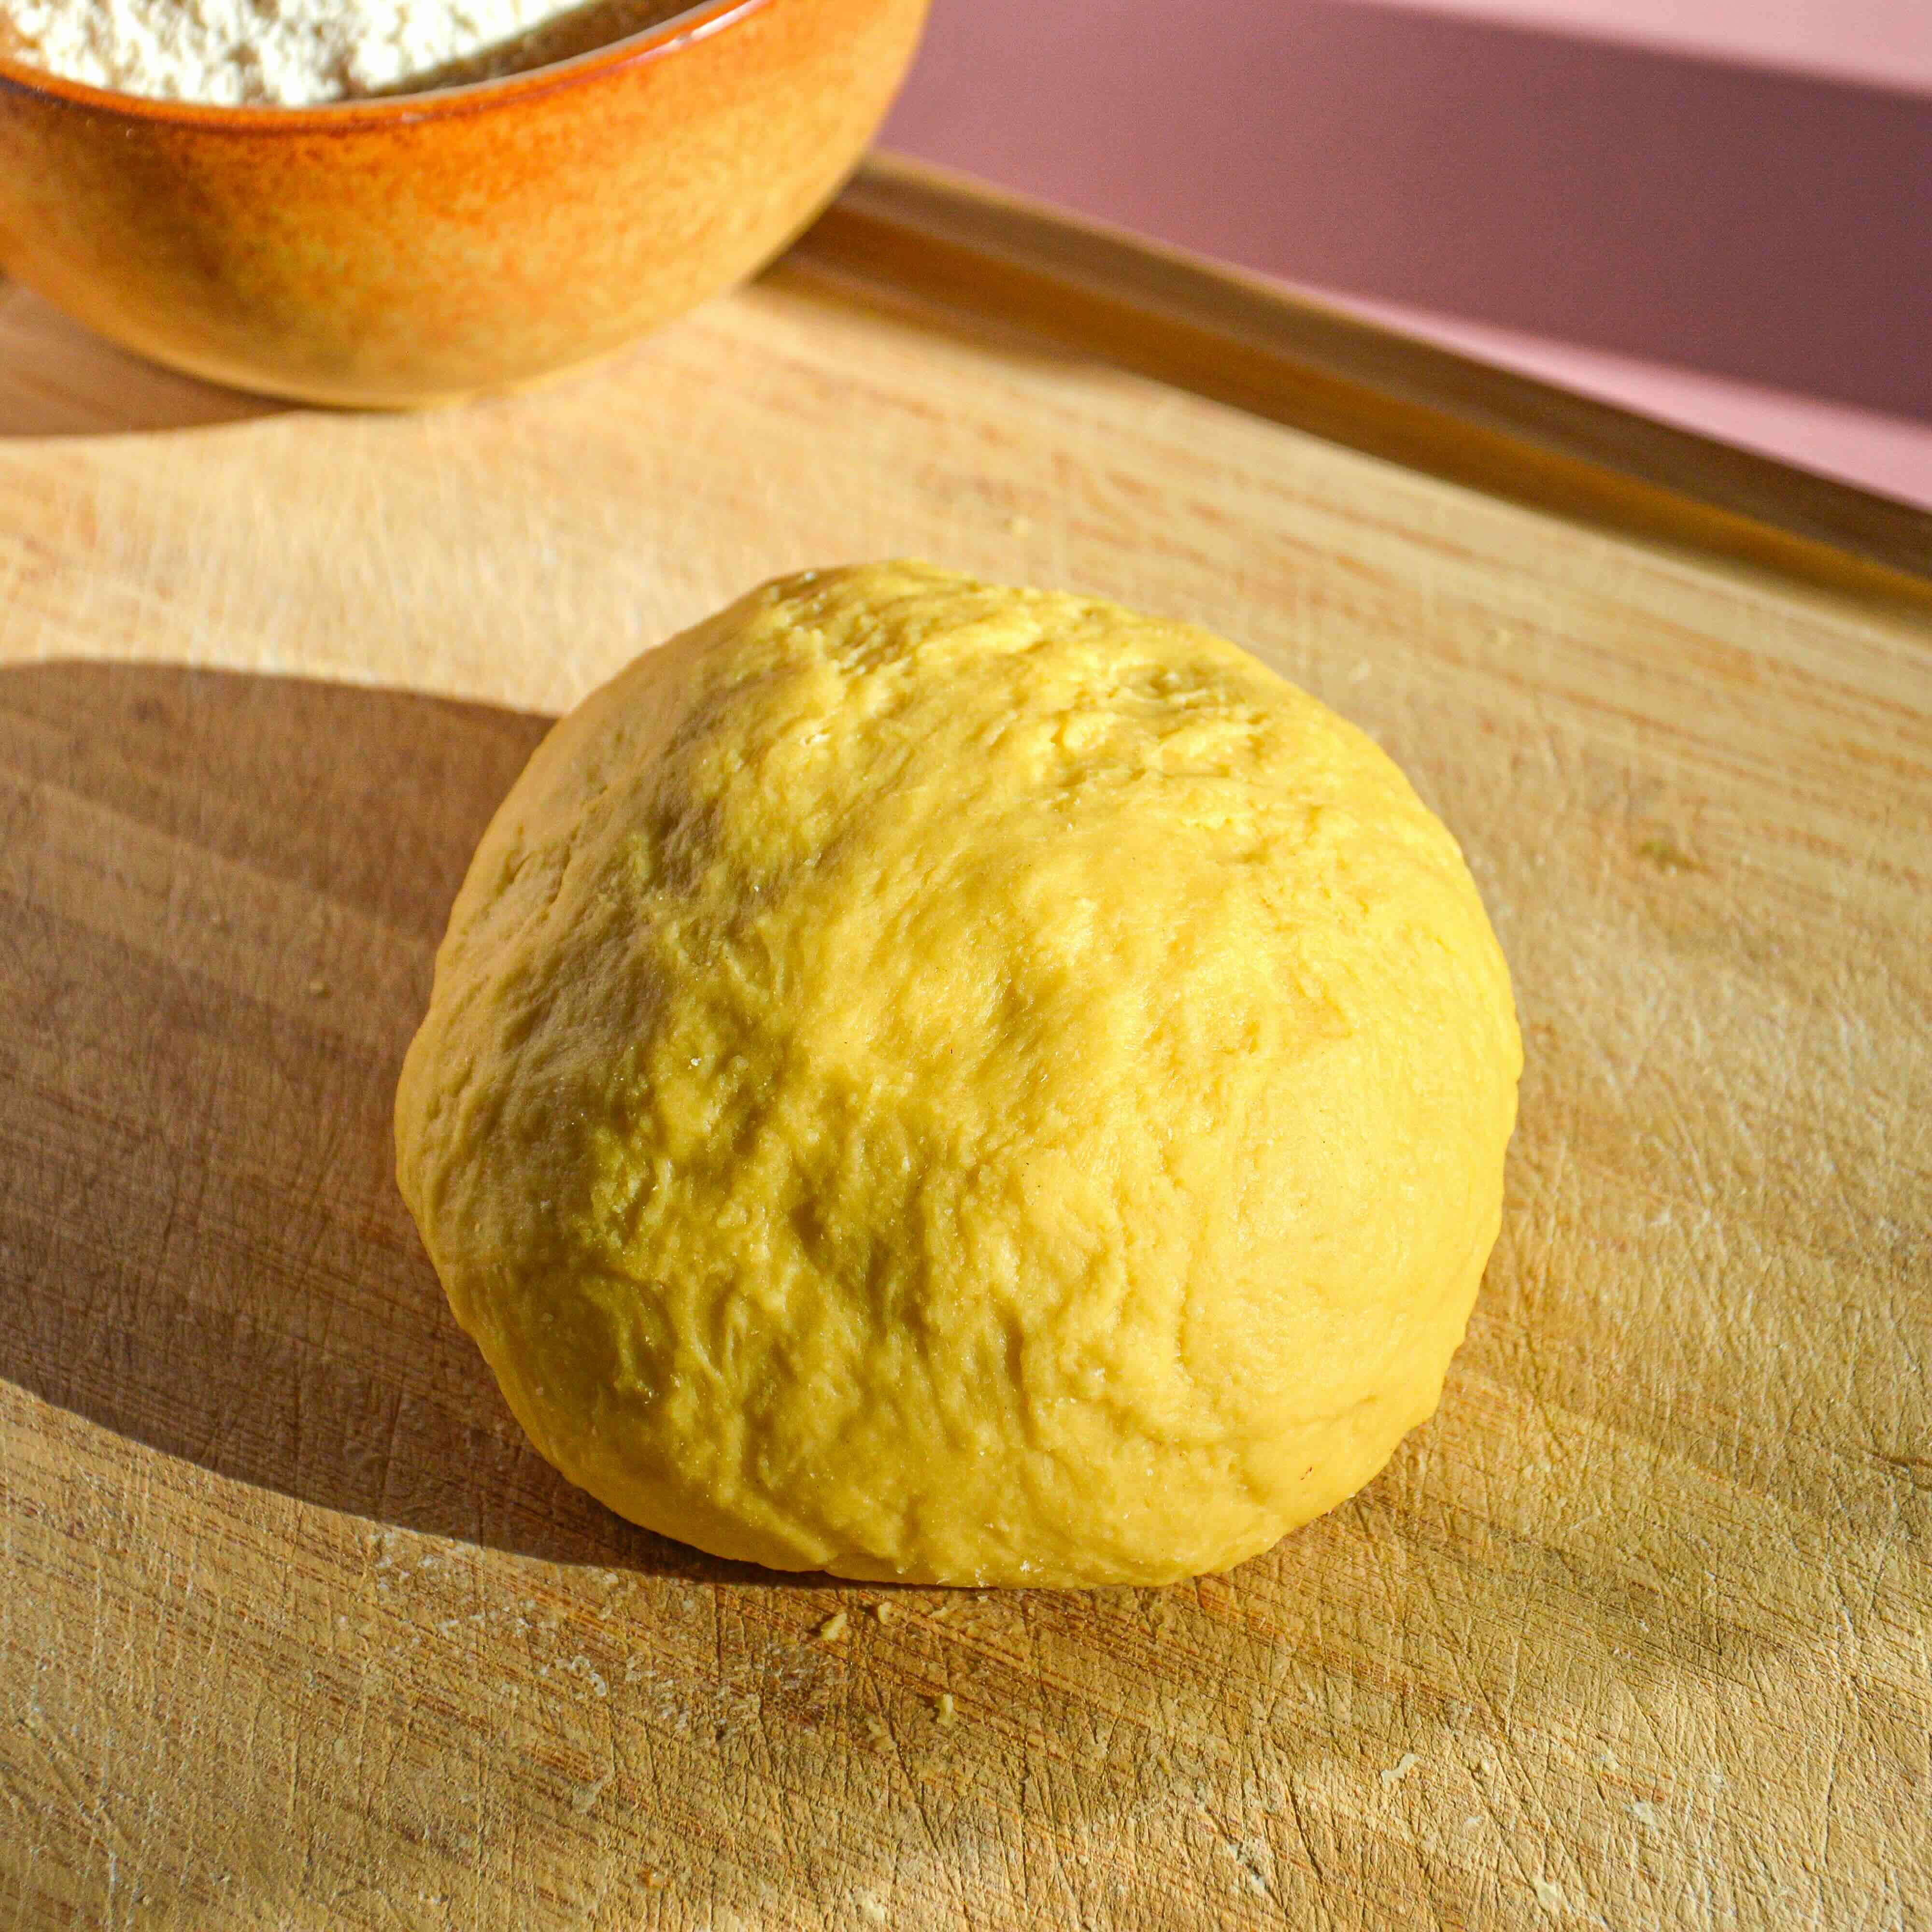
Flatten the dough out, then wrap it in a plastic bag or cover with clingfilm. Let the dough rest at room temperature for about an hour.
Check the broth
In the meantime, take the broth out of the fridge and carefully remove the thin layer of fat that has formed on top using a spoon. If you accidentally break the fat and you leave some behind, don’t worry.
Bring the broth to a gentle simmer and taste it. If it needs more salt, season it further to your liking.
Use a slotted spoon to remove the vegetables and aromatics from the pot, transferring them to a large bowl. Squeeze the ingredients well to release any remaining liquid, and pour the juices back into the broth. Repeat this process twice. Once done, remove the meat and set it aside (I suggest saving it for another meal).
Rolling out the dough and assembling tortellini
Take out the filling from the fridge.
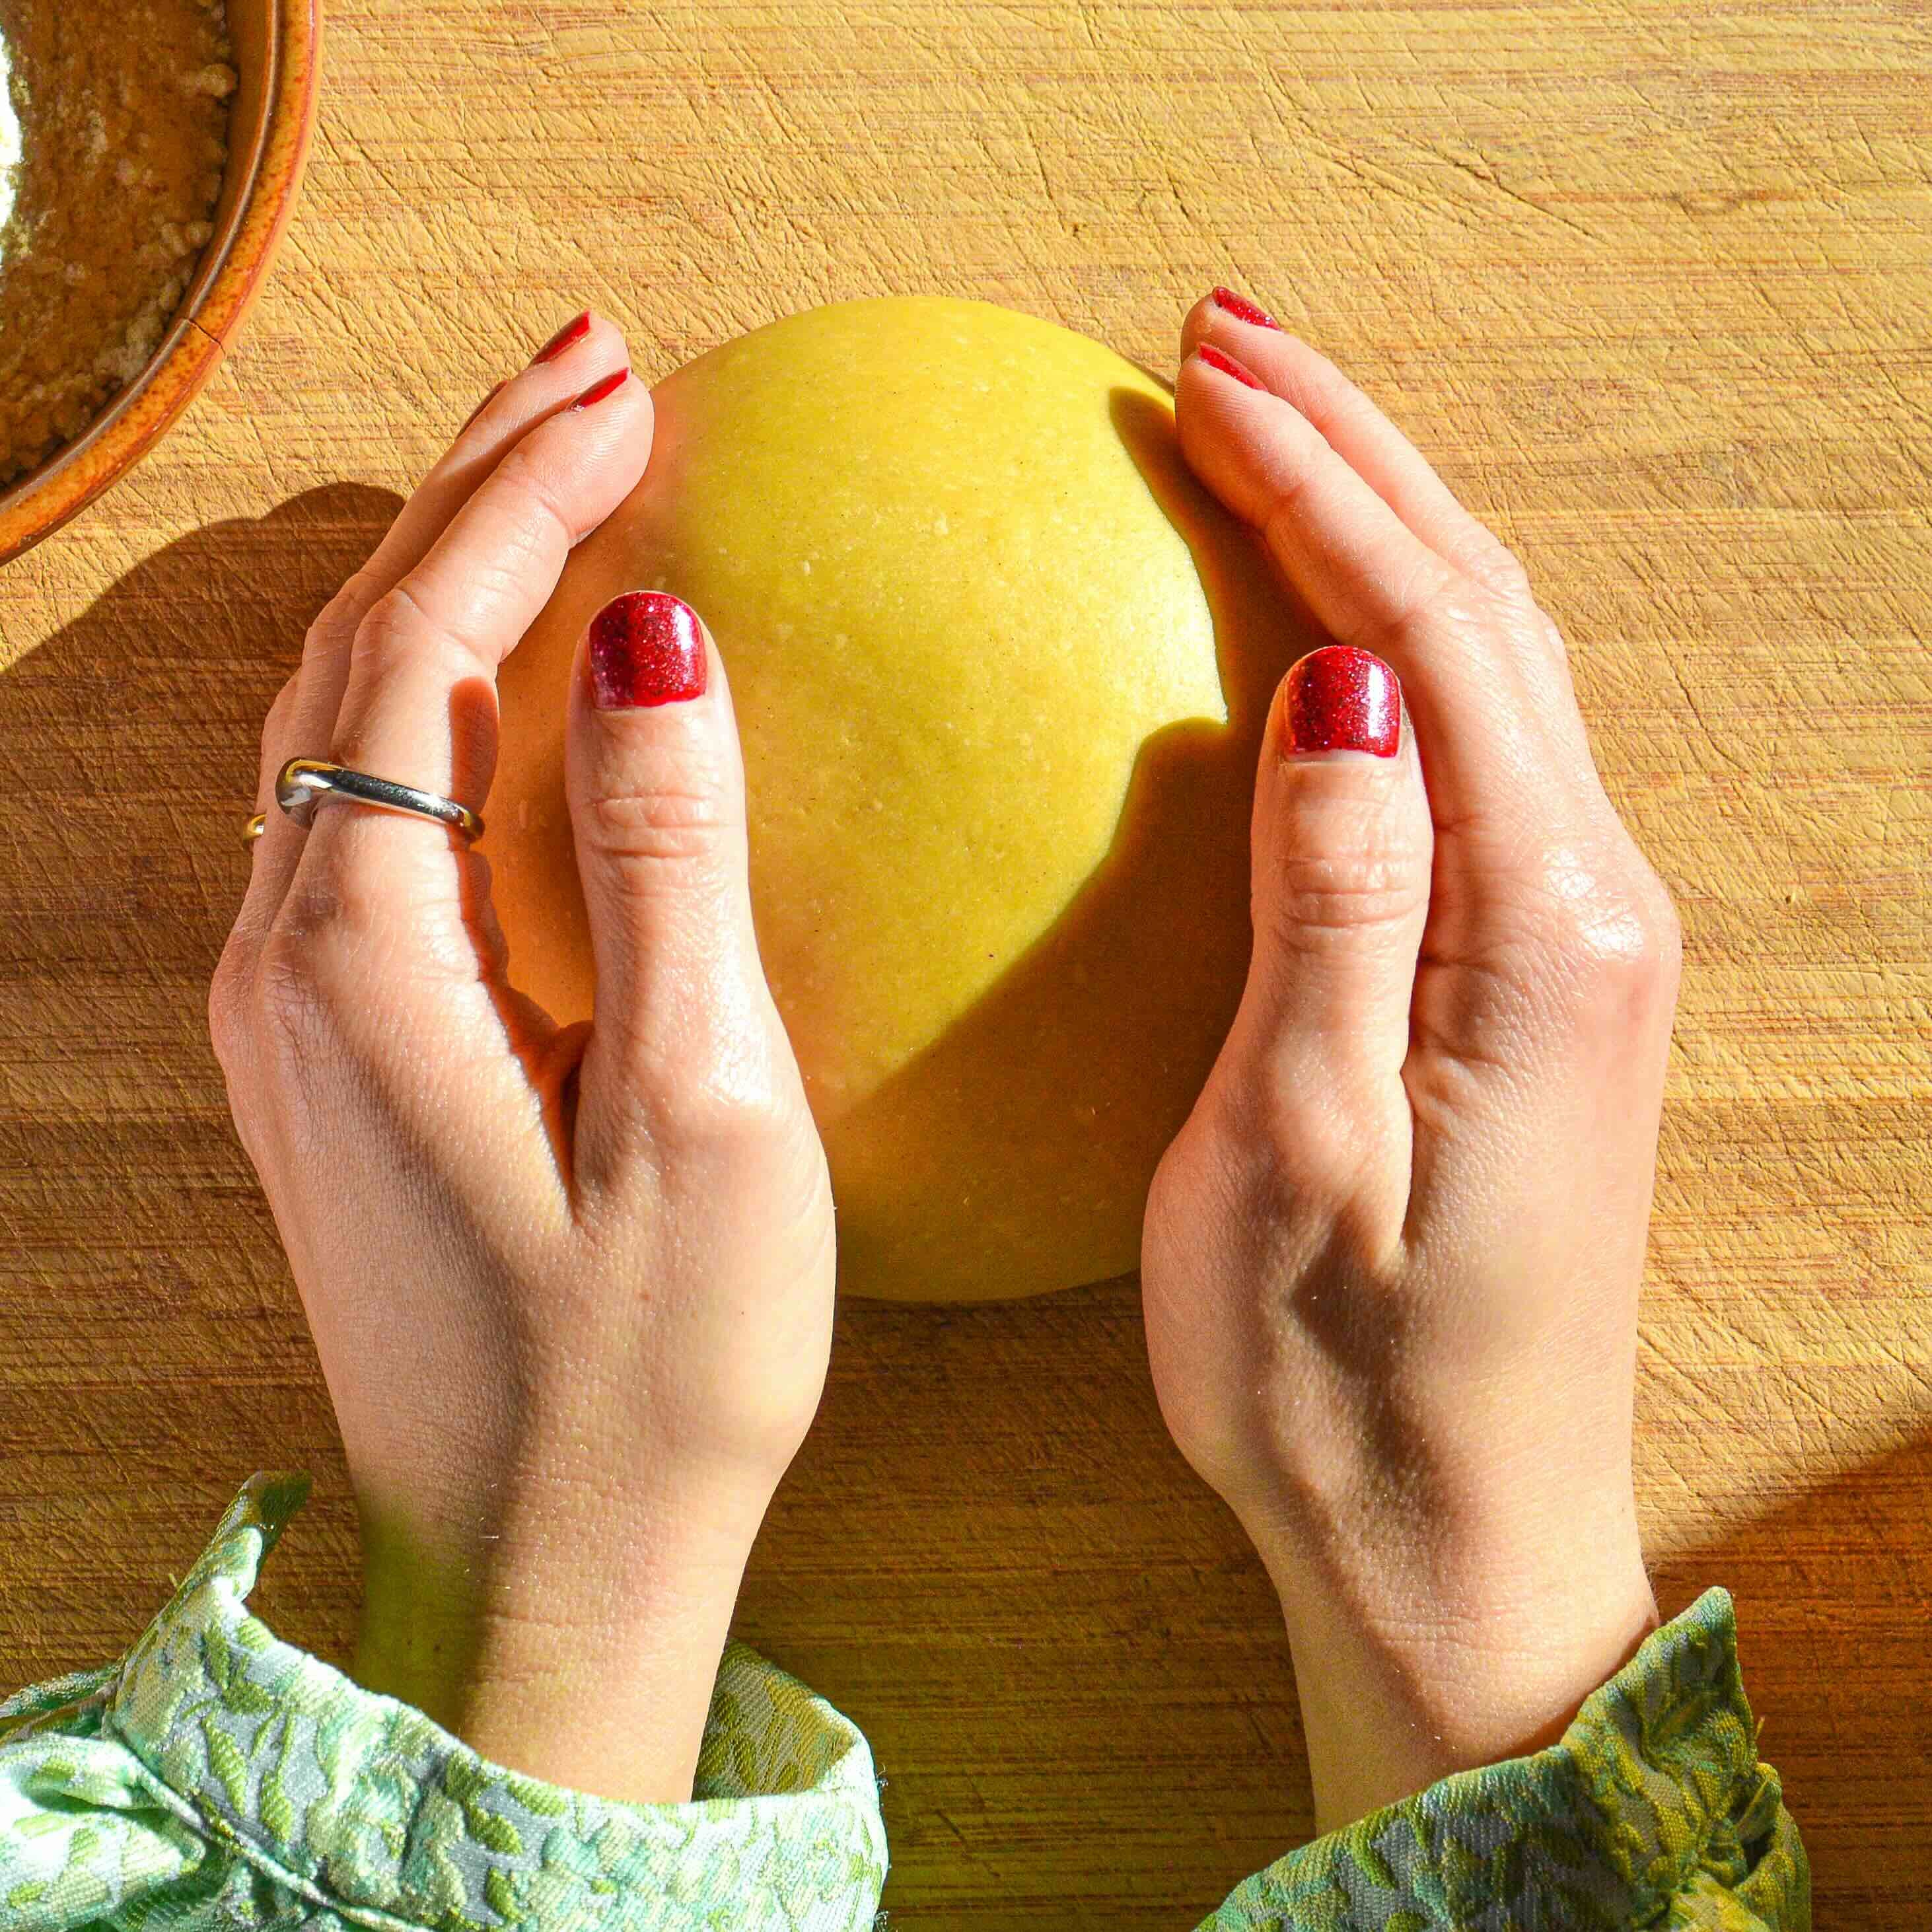
Remove the dough from the plastic wrap and test if it’s ready by poking it with your fingertip. If it bounces back, it’s good to go. Knead the dough for another 5 minutes or so, until it’s smooth (as shown below).
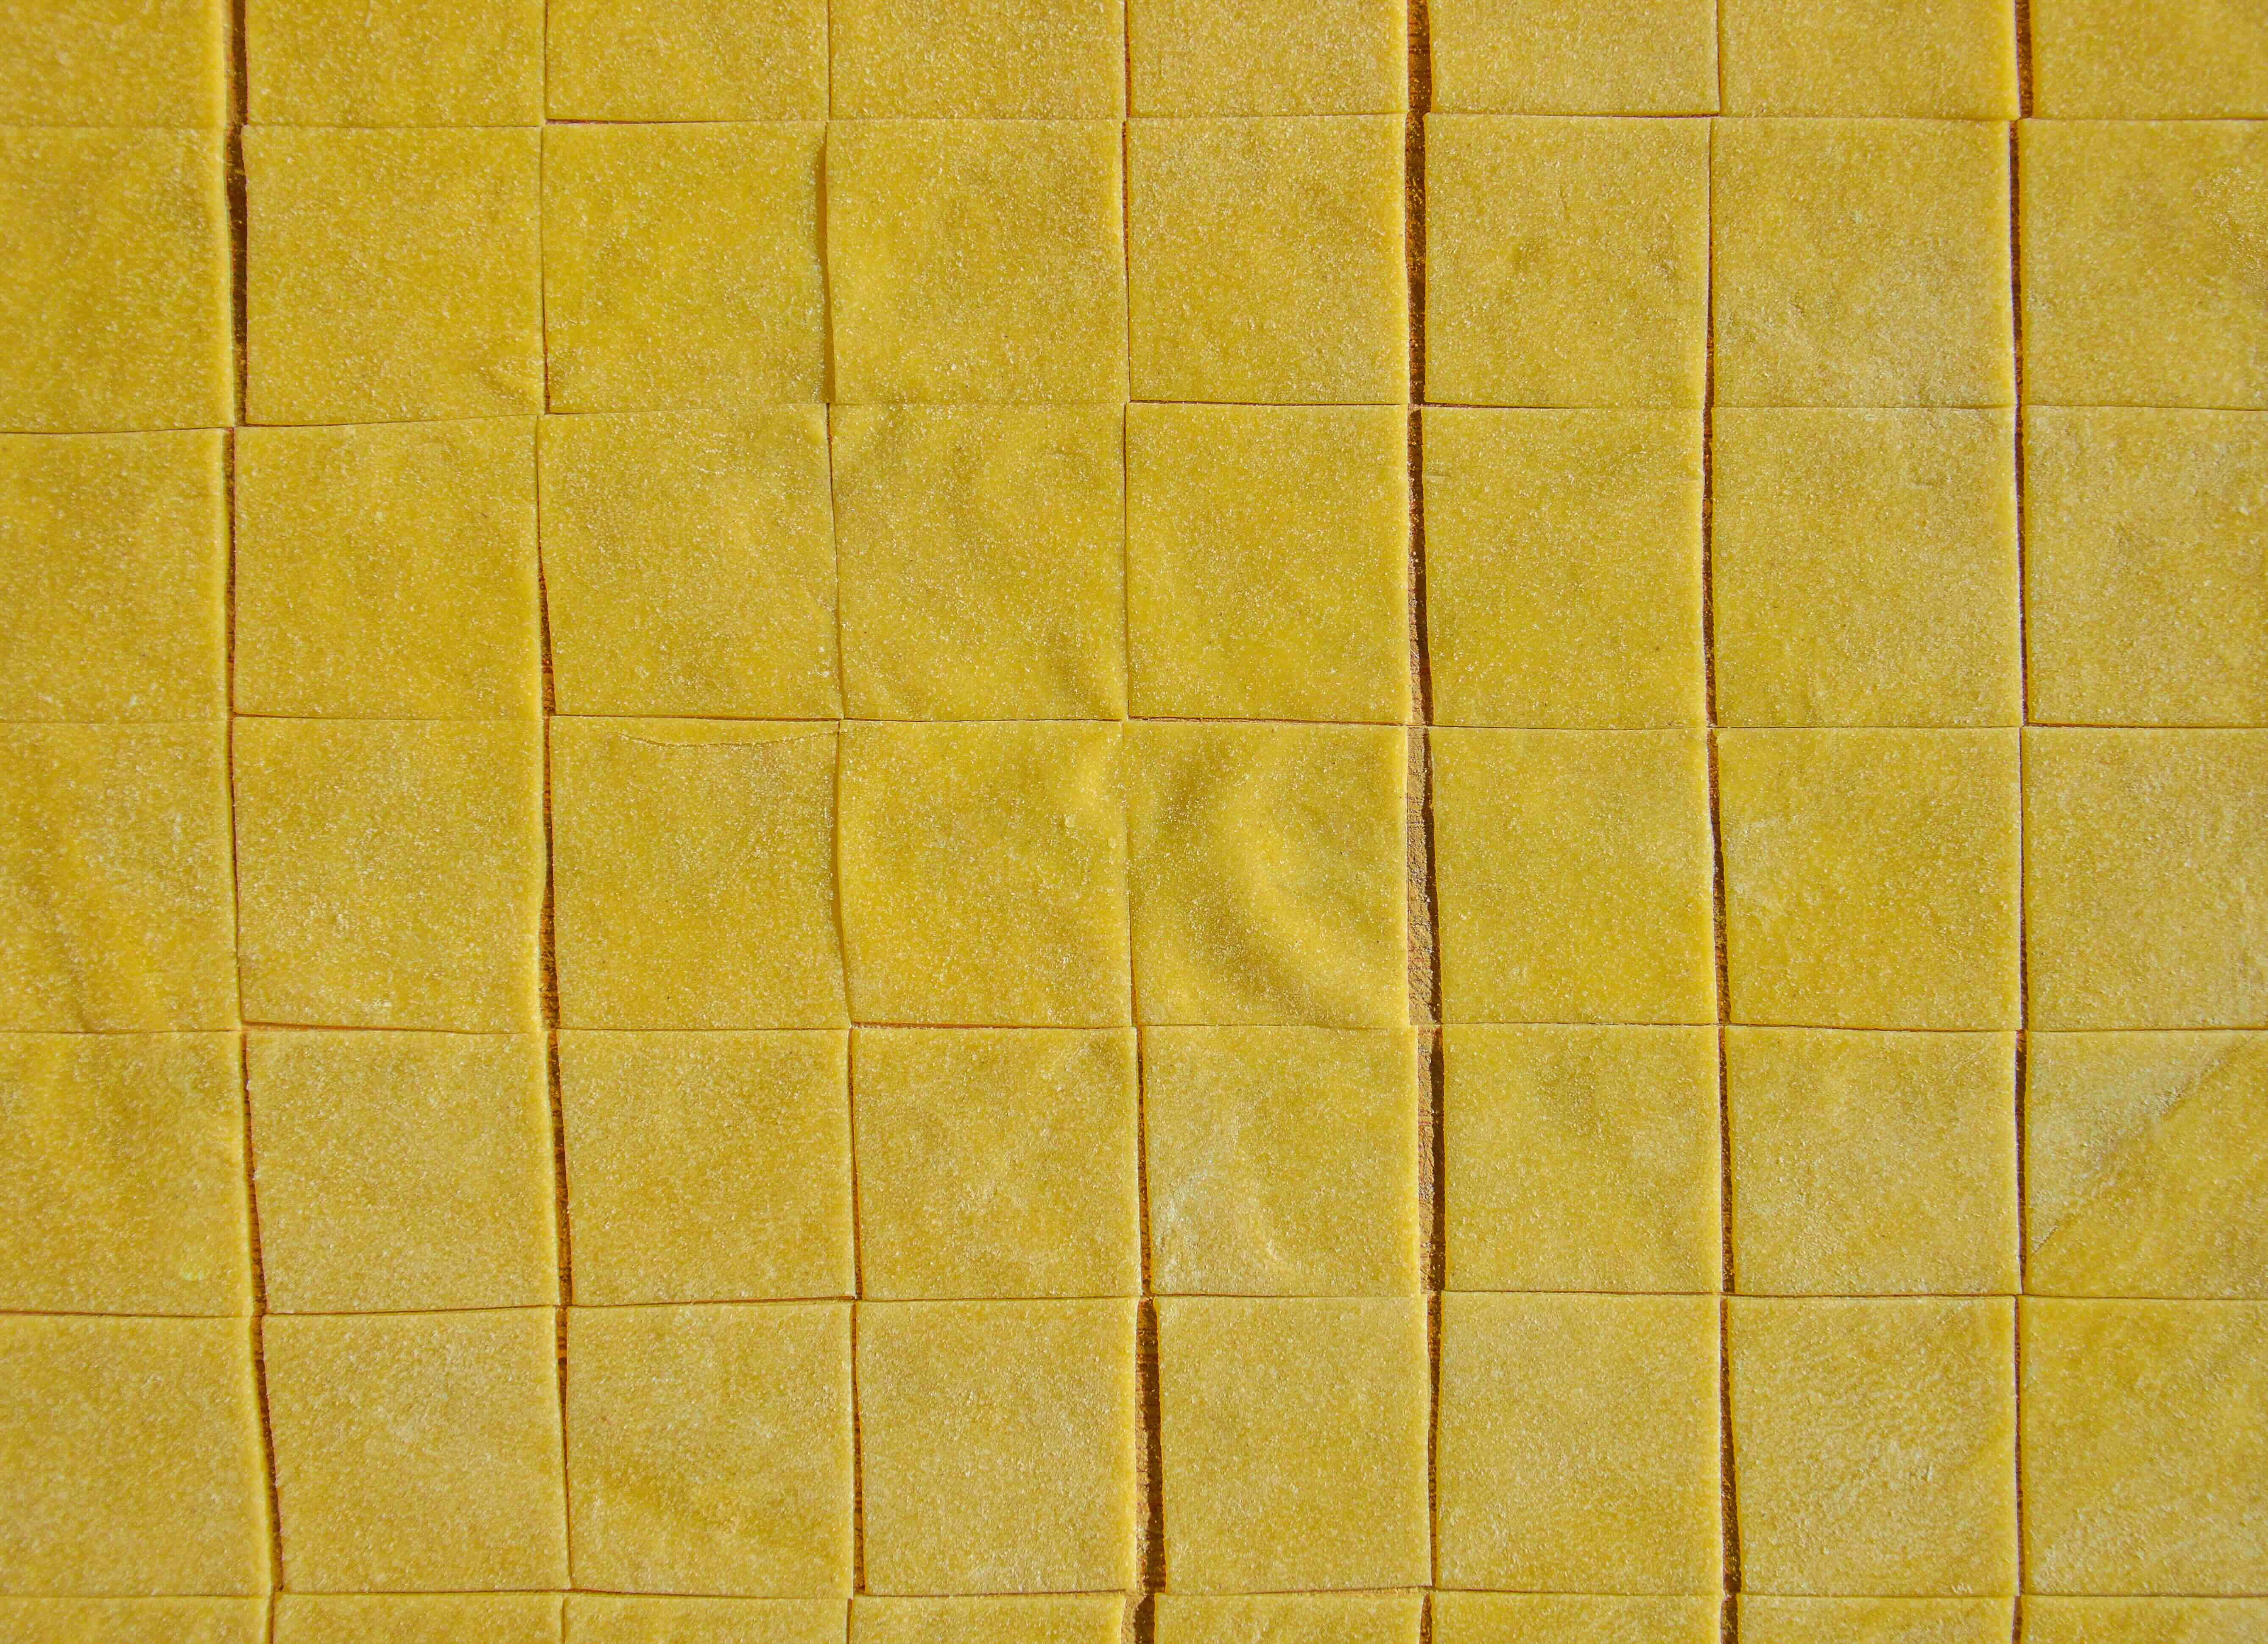
Roll out the dough thinly with a rolling pin, ensuring even thickness. If the dough gets too sticky, lightly dust it with flour underneath and over the rolling pin, but don’t add too much, or it will dry out the pasta.
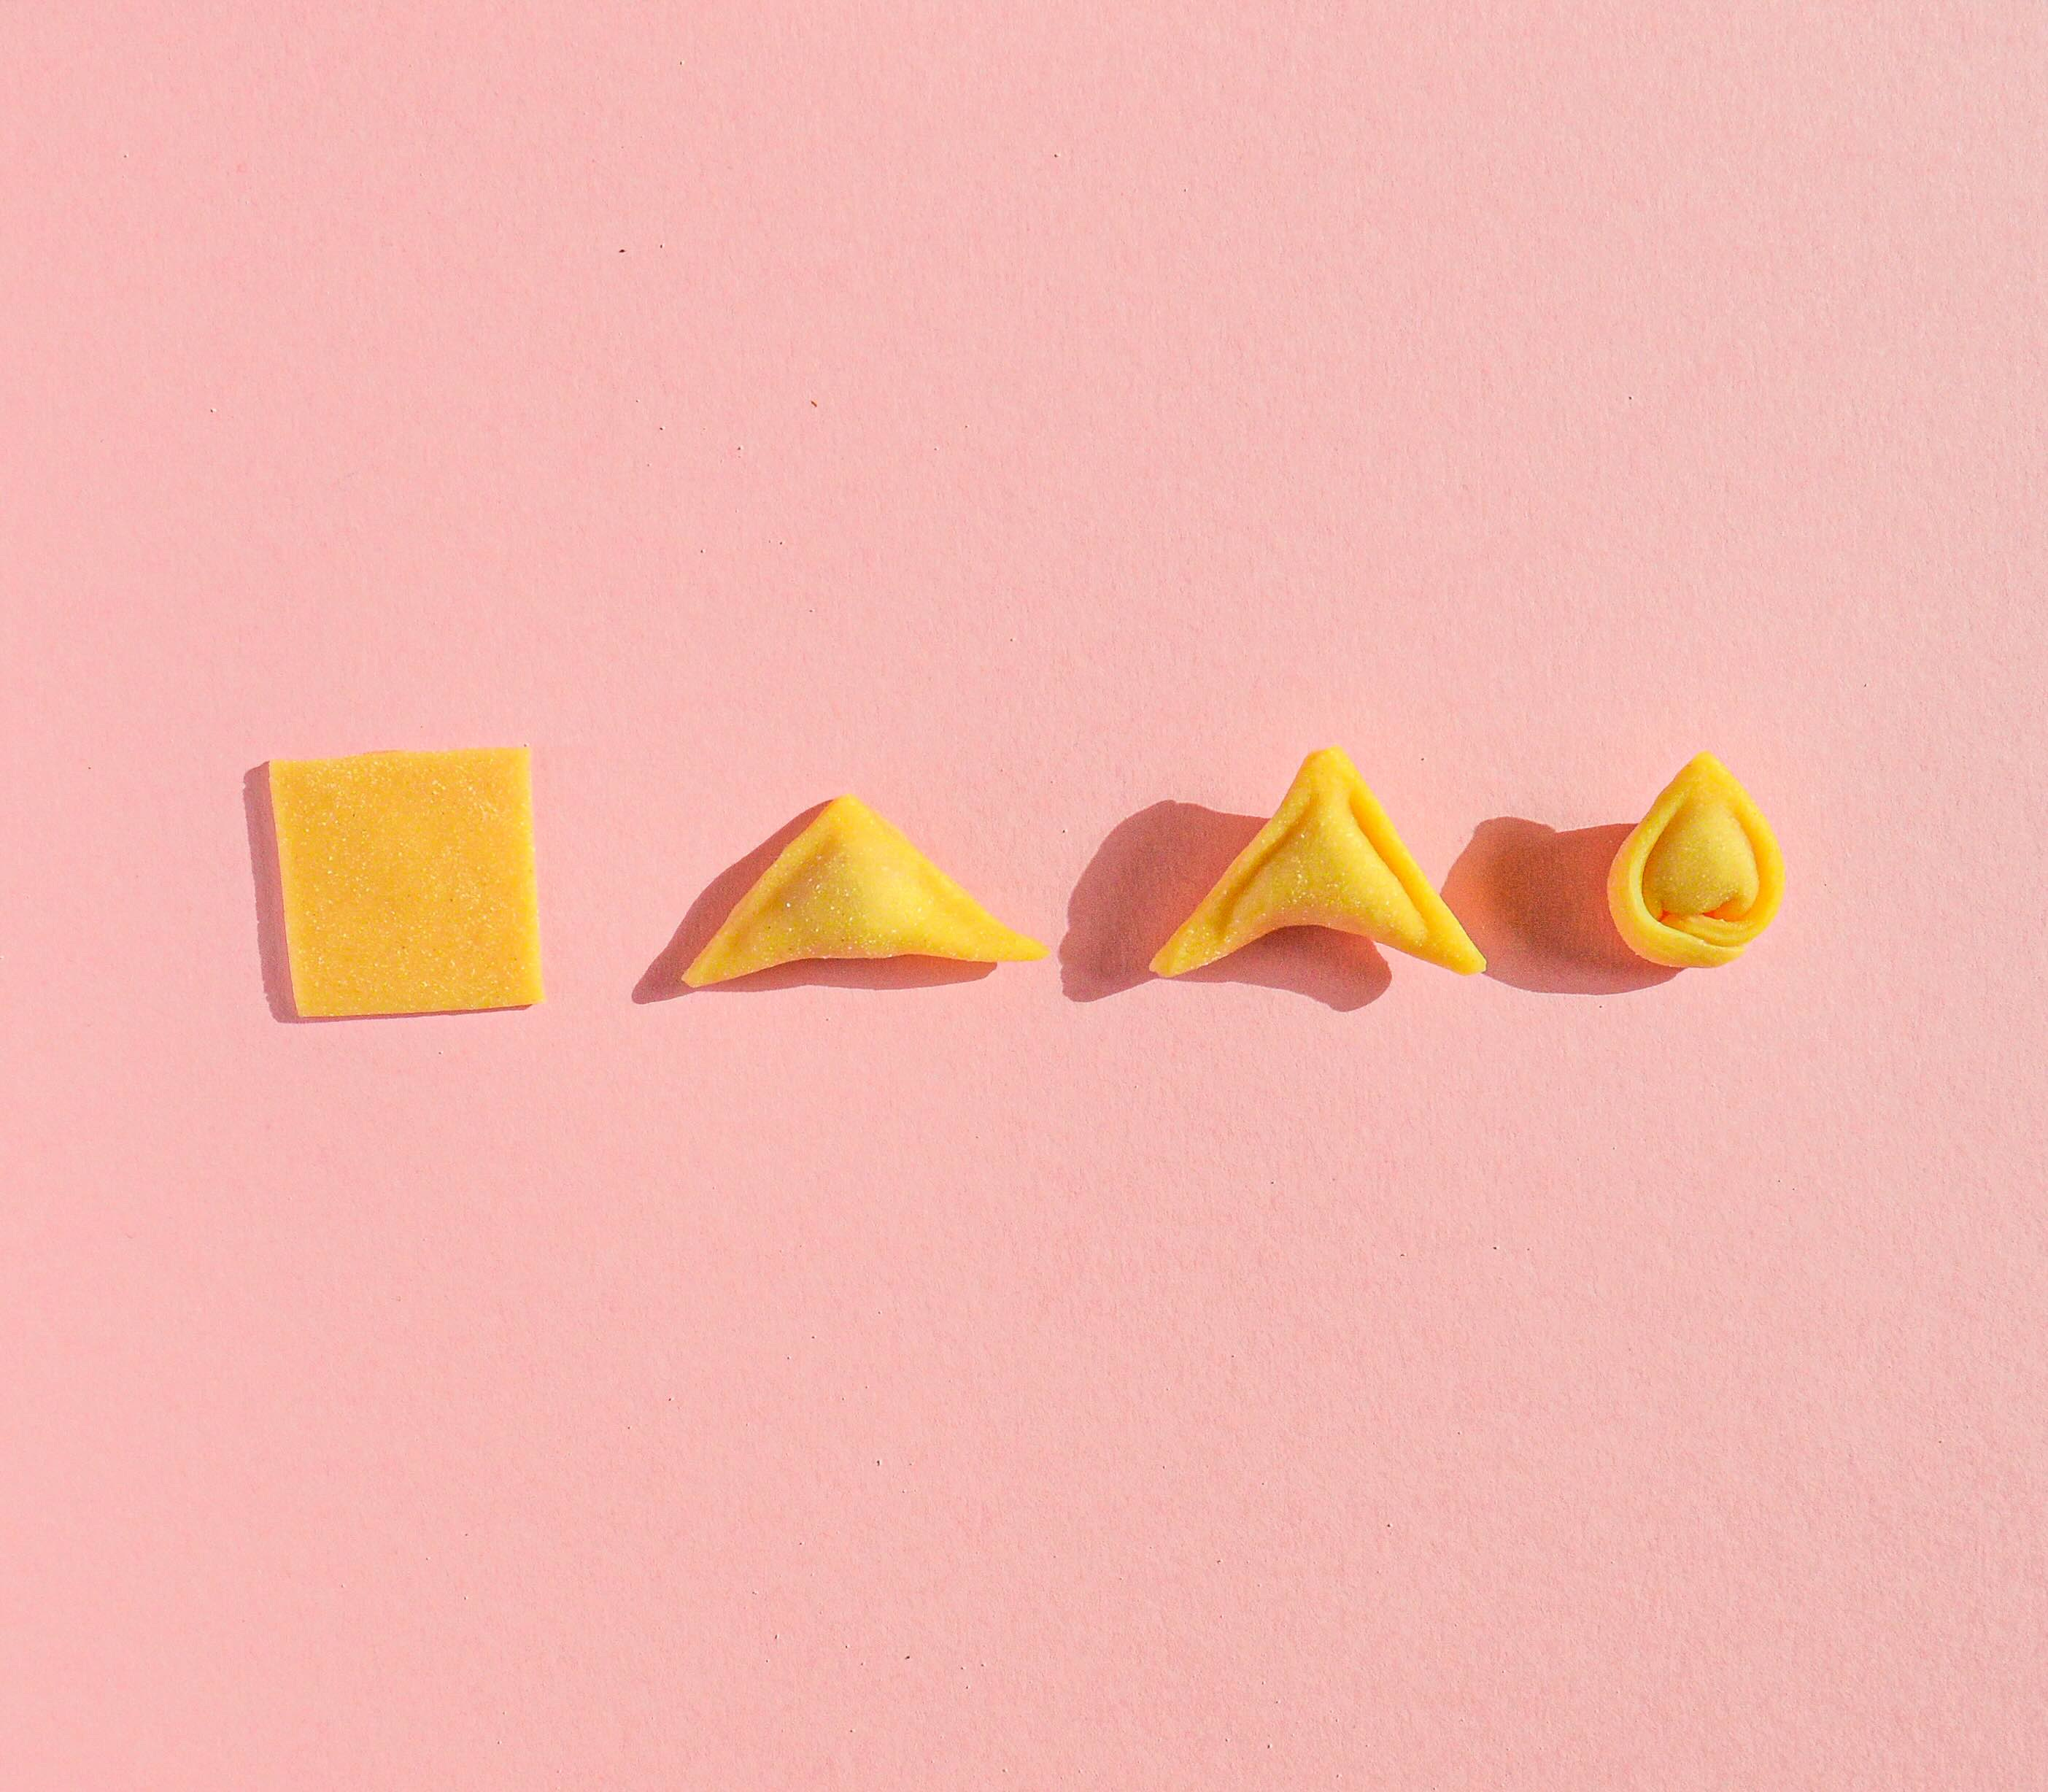
Cut the dough into 3 cm squares using a sharp knife. First, make the diagonal cuts, then horizontally to create squares. For uniformity, I recommend using a ruler. If you have a pasta bike cutter, feel free to use that.
Once you’ve cut the dough, cover it with cling film and place a cloth over the top to prevent drying out. If the rolled dough sits around for too long, it will dry out and become impossible to shape into tortellini. Now, onto the next step!

Uncover the one-third of the cut dough, making sure the remaining two-thirds are well covered to prevent drying. Place a pea-sized amount of filling in the middle of each uncovered square.
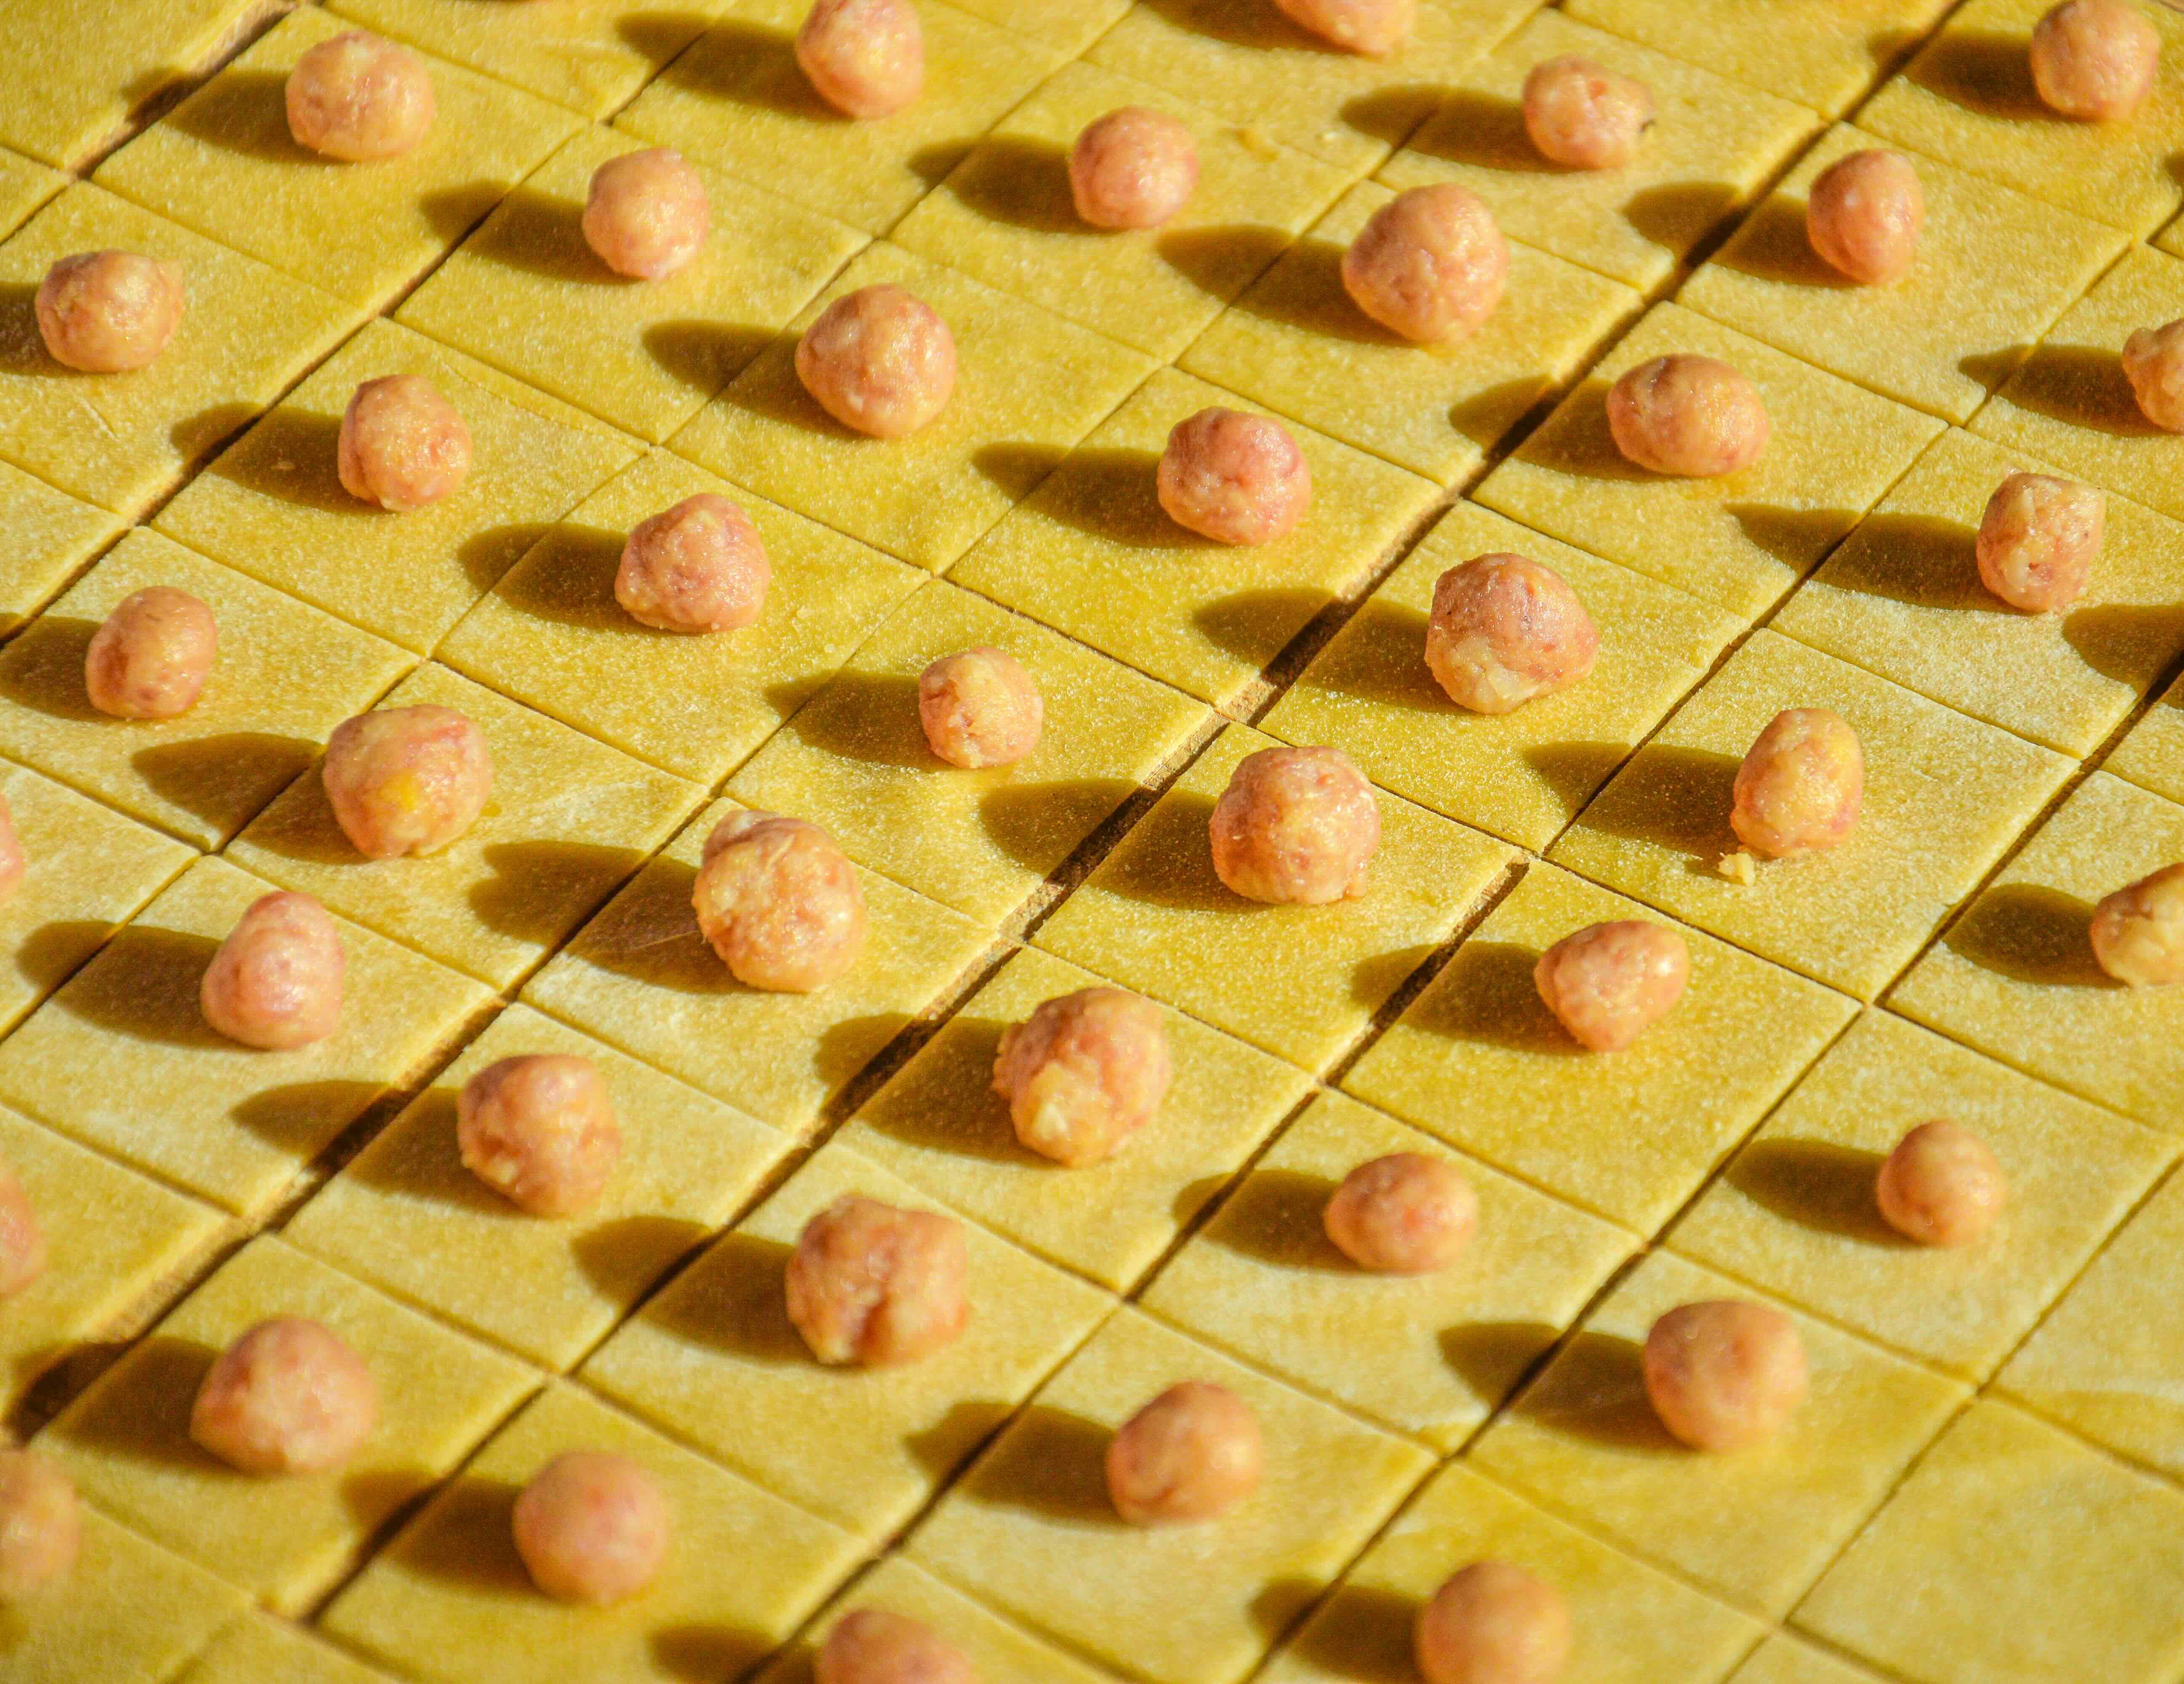
Fold the square along the diagonal into a triangle shape, carefully pressing the sides together to seal. If you have trouble sealing the edges, lightly mist the square with a small amount of water to help it stick.
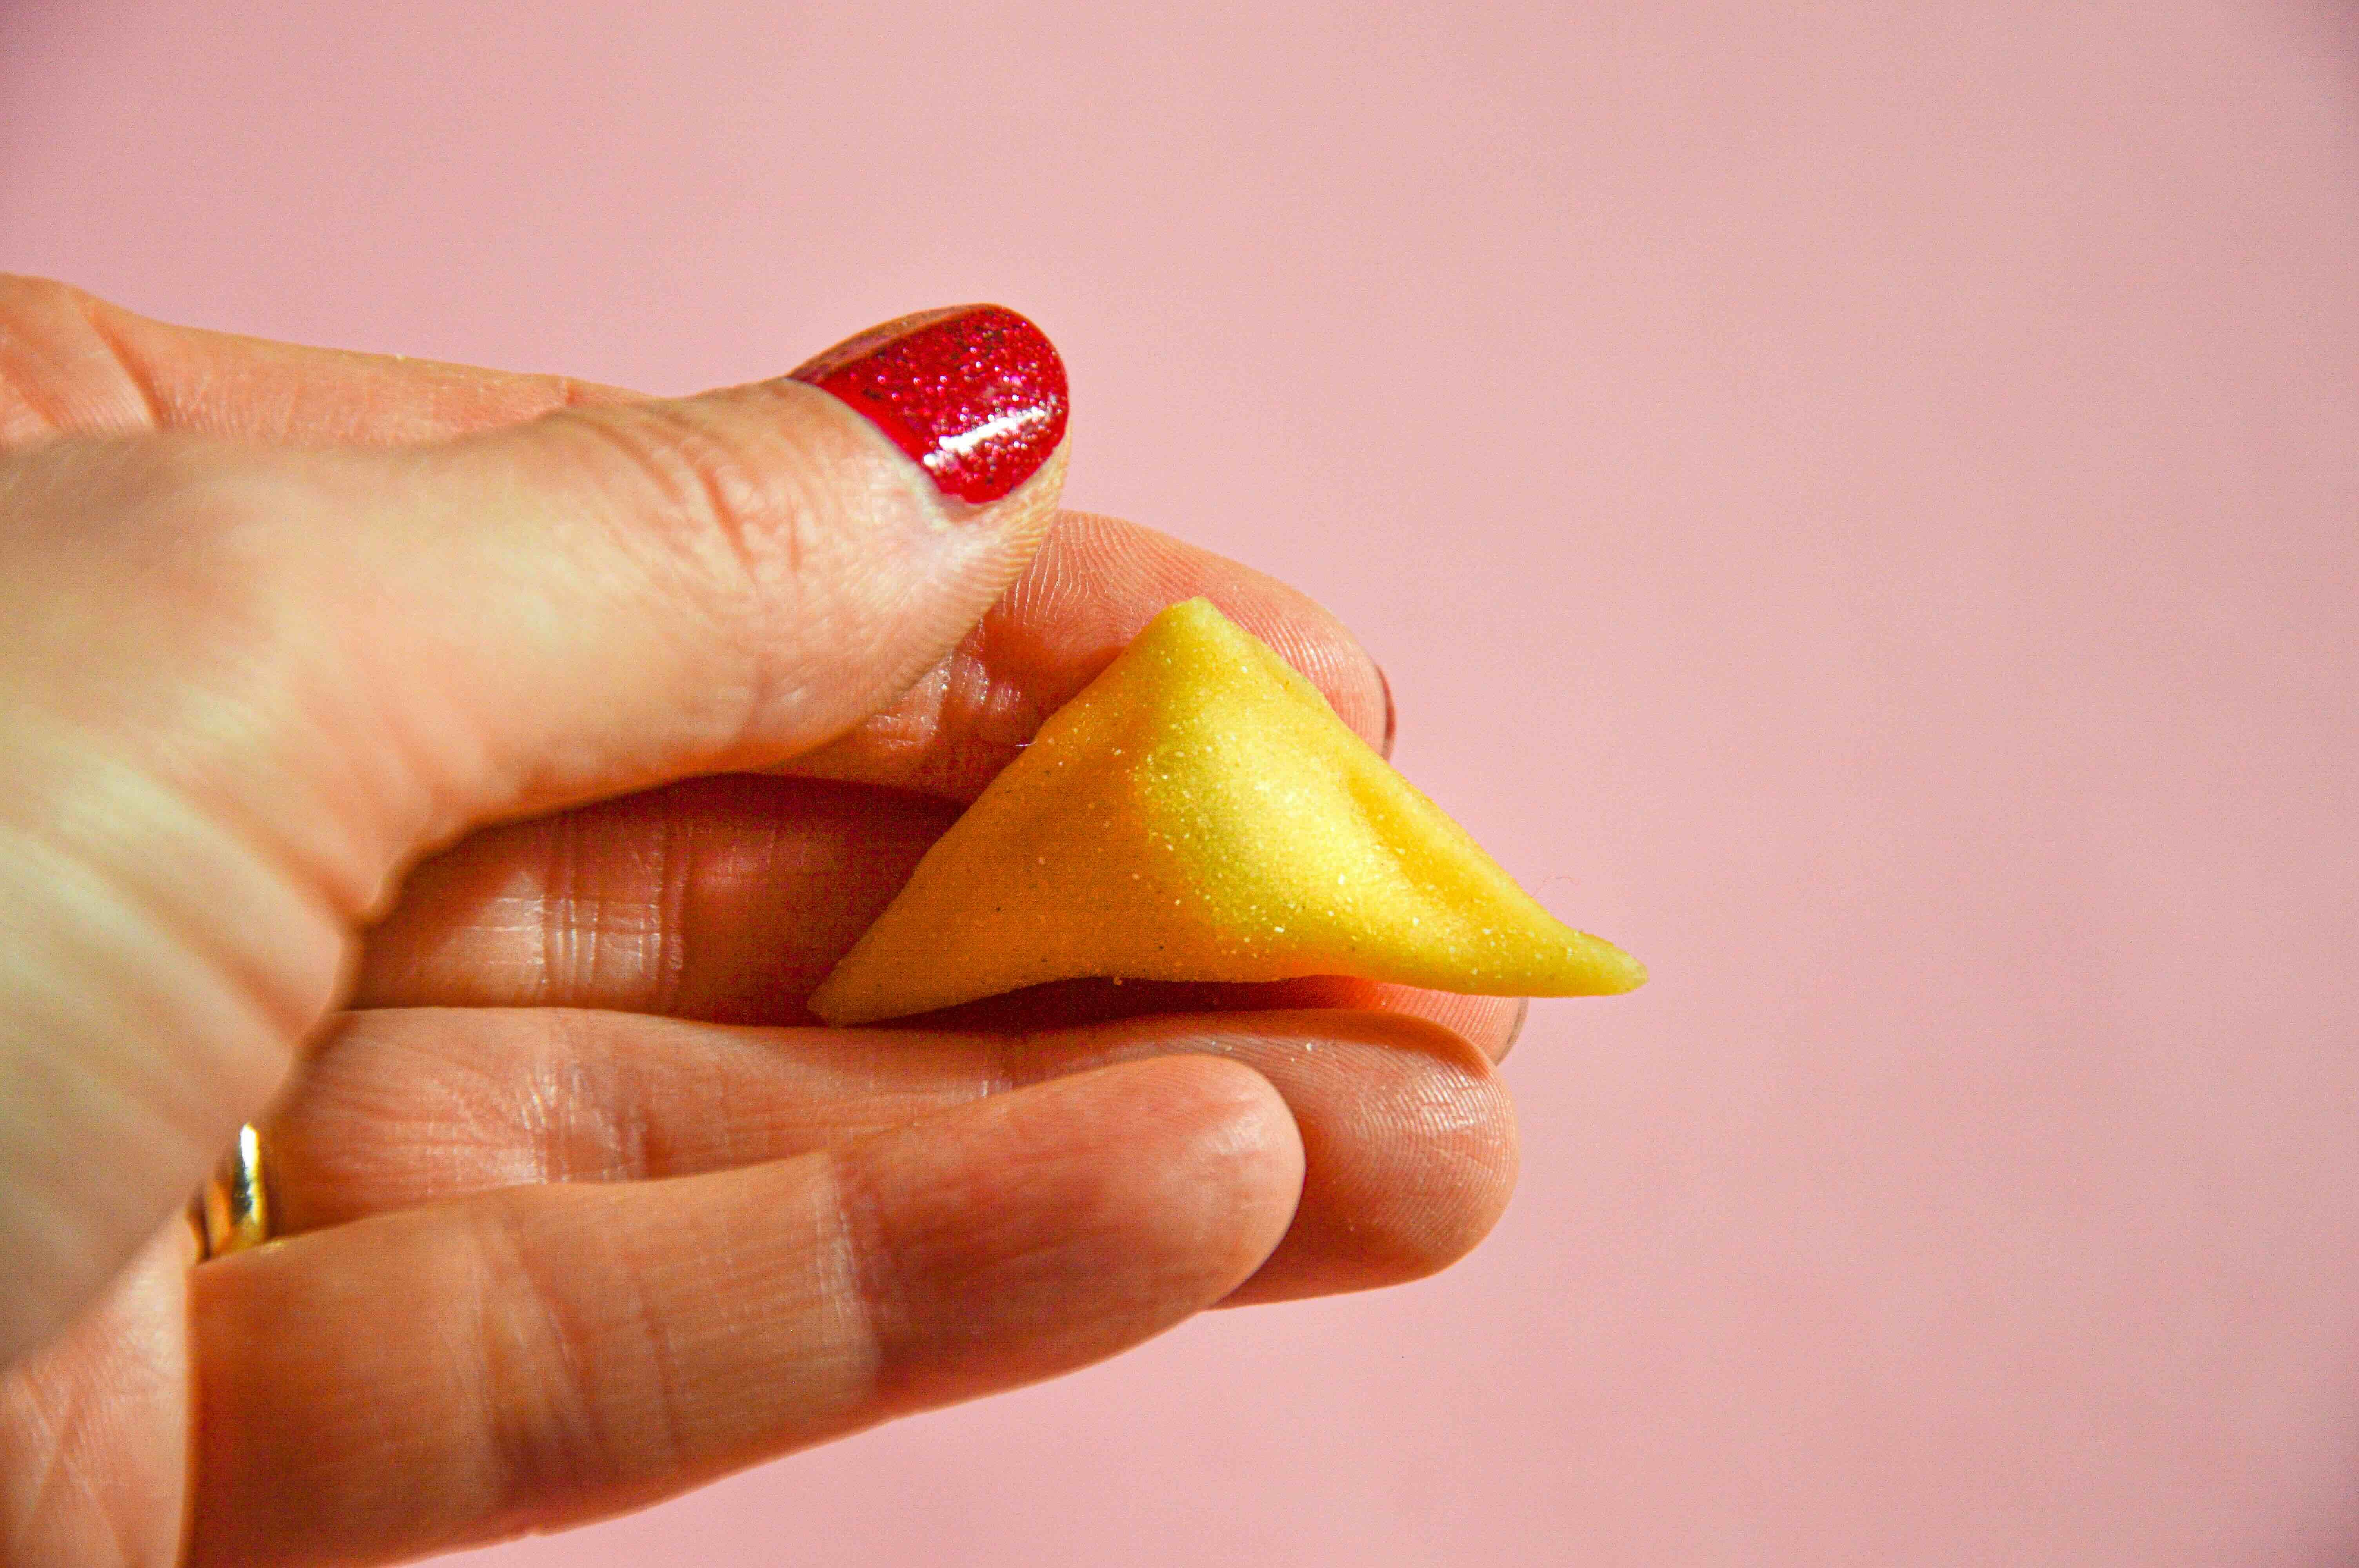
Next, gently fold both of the shorter sides of the triangle toward you.
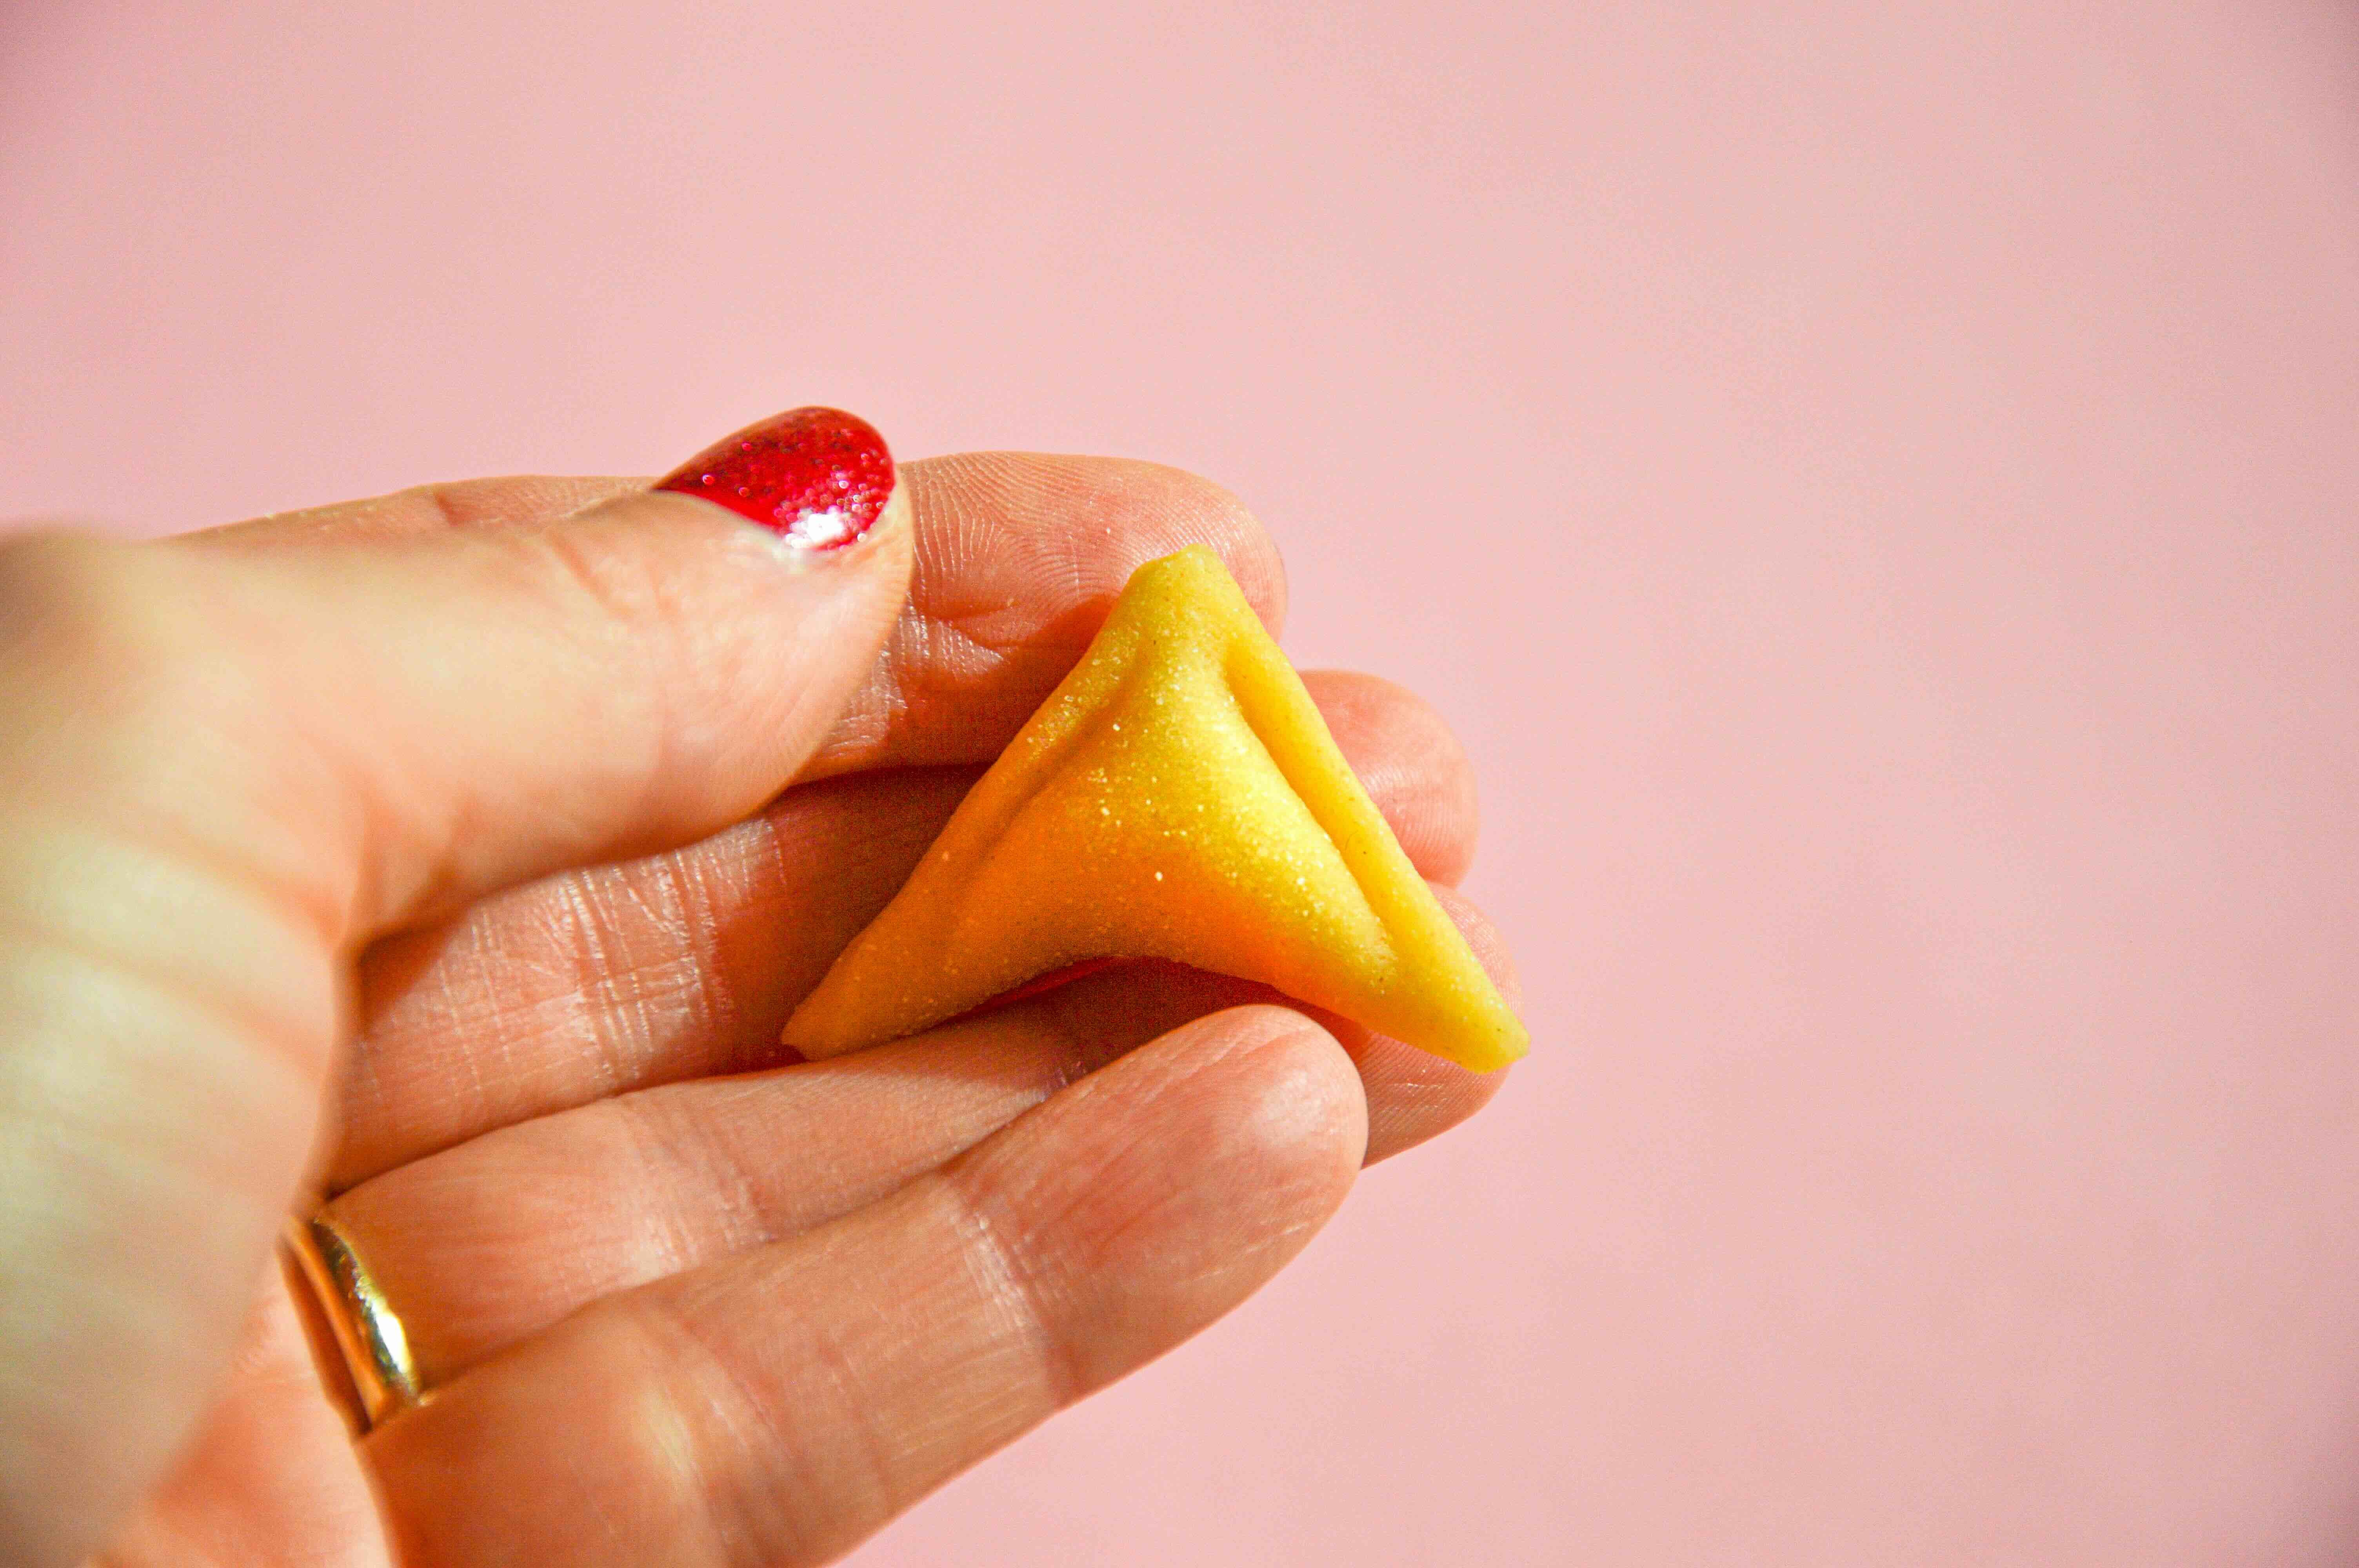
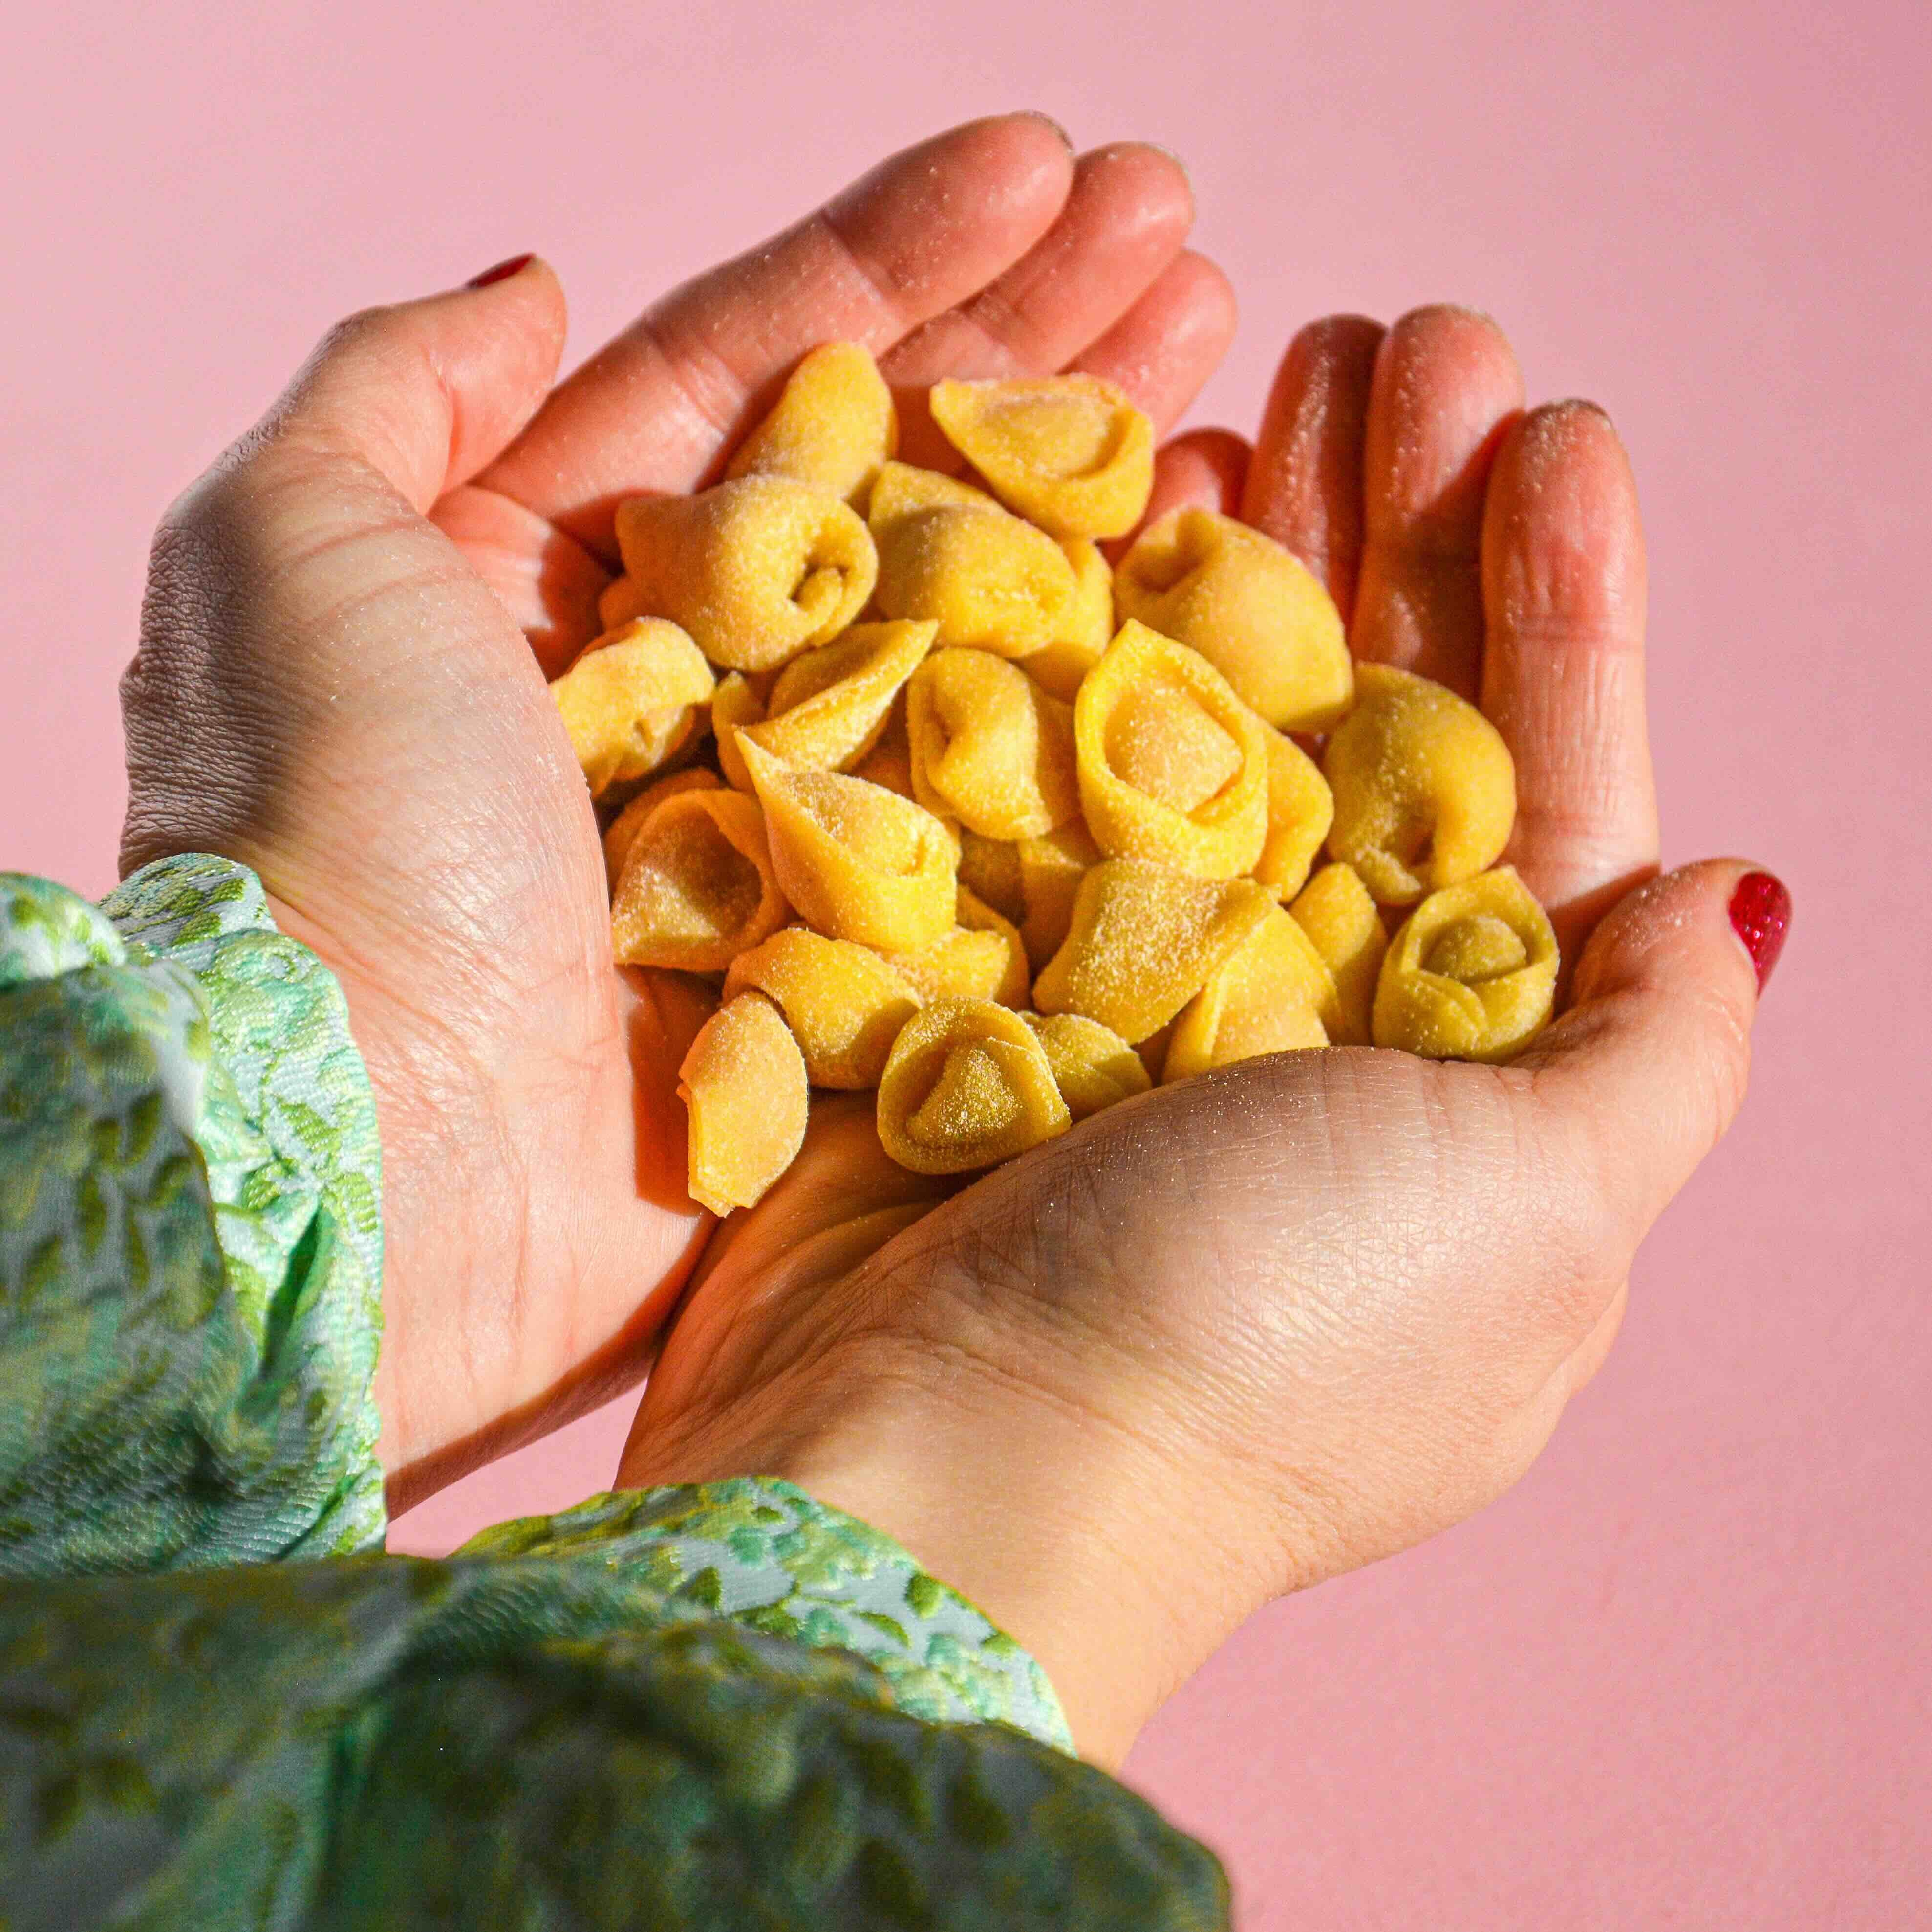
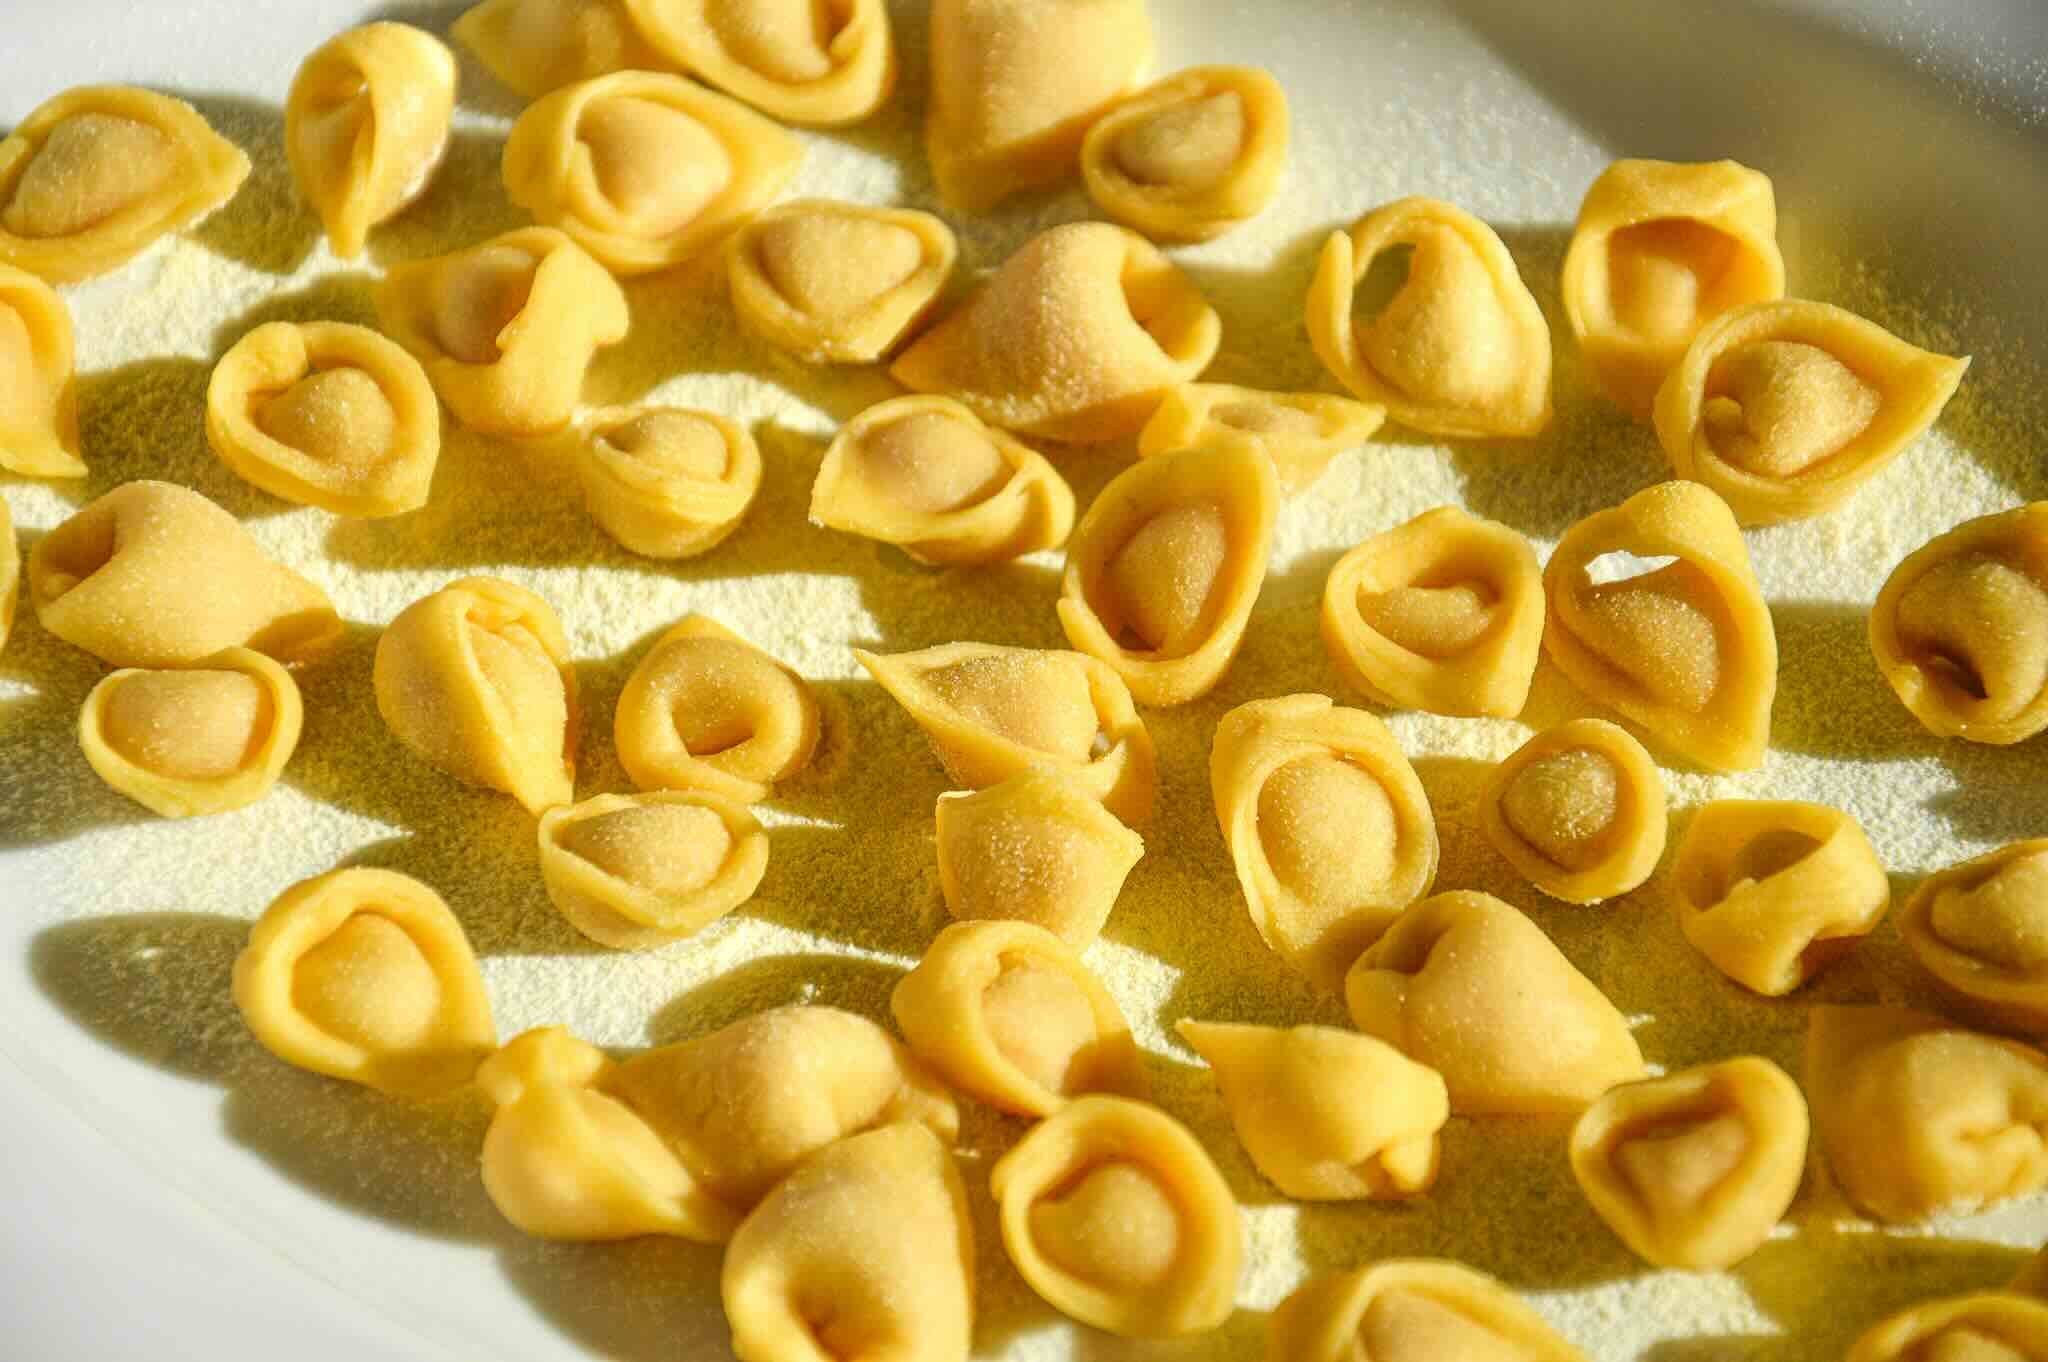
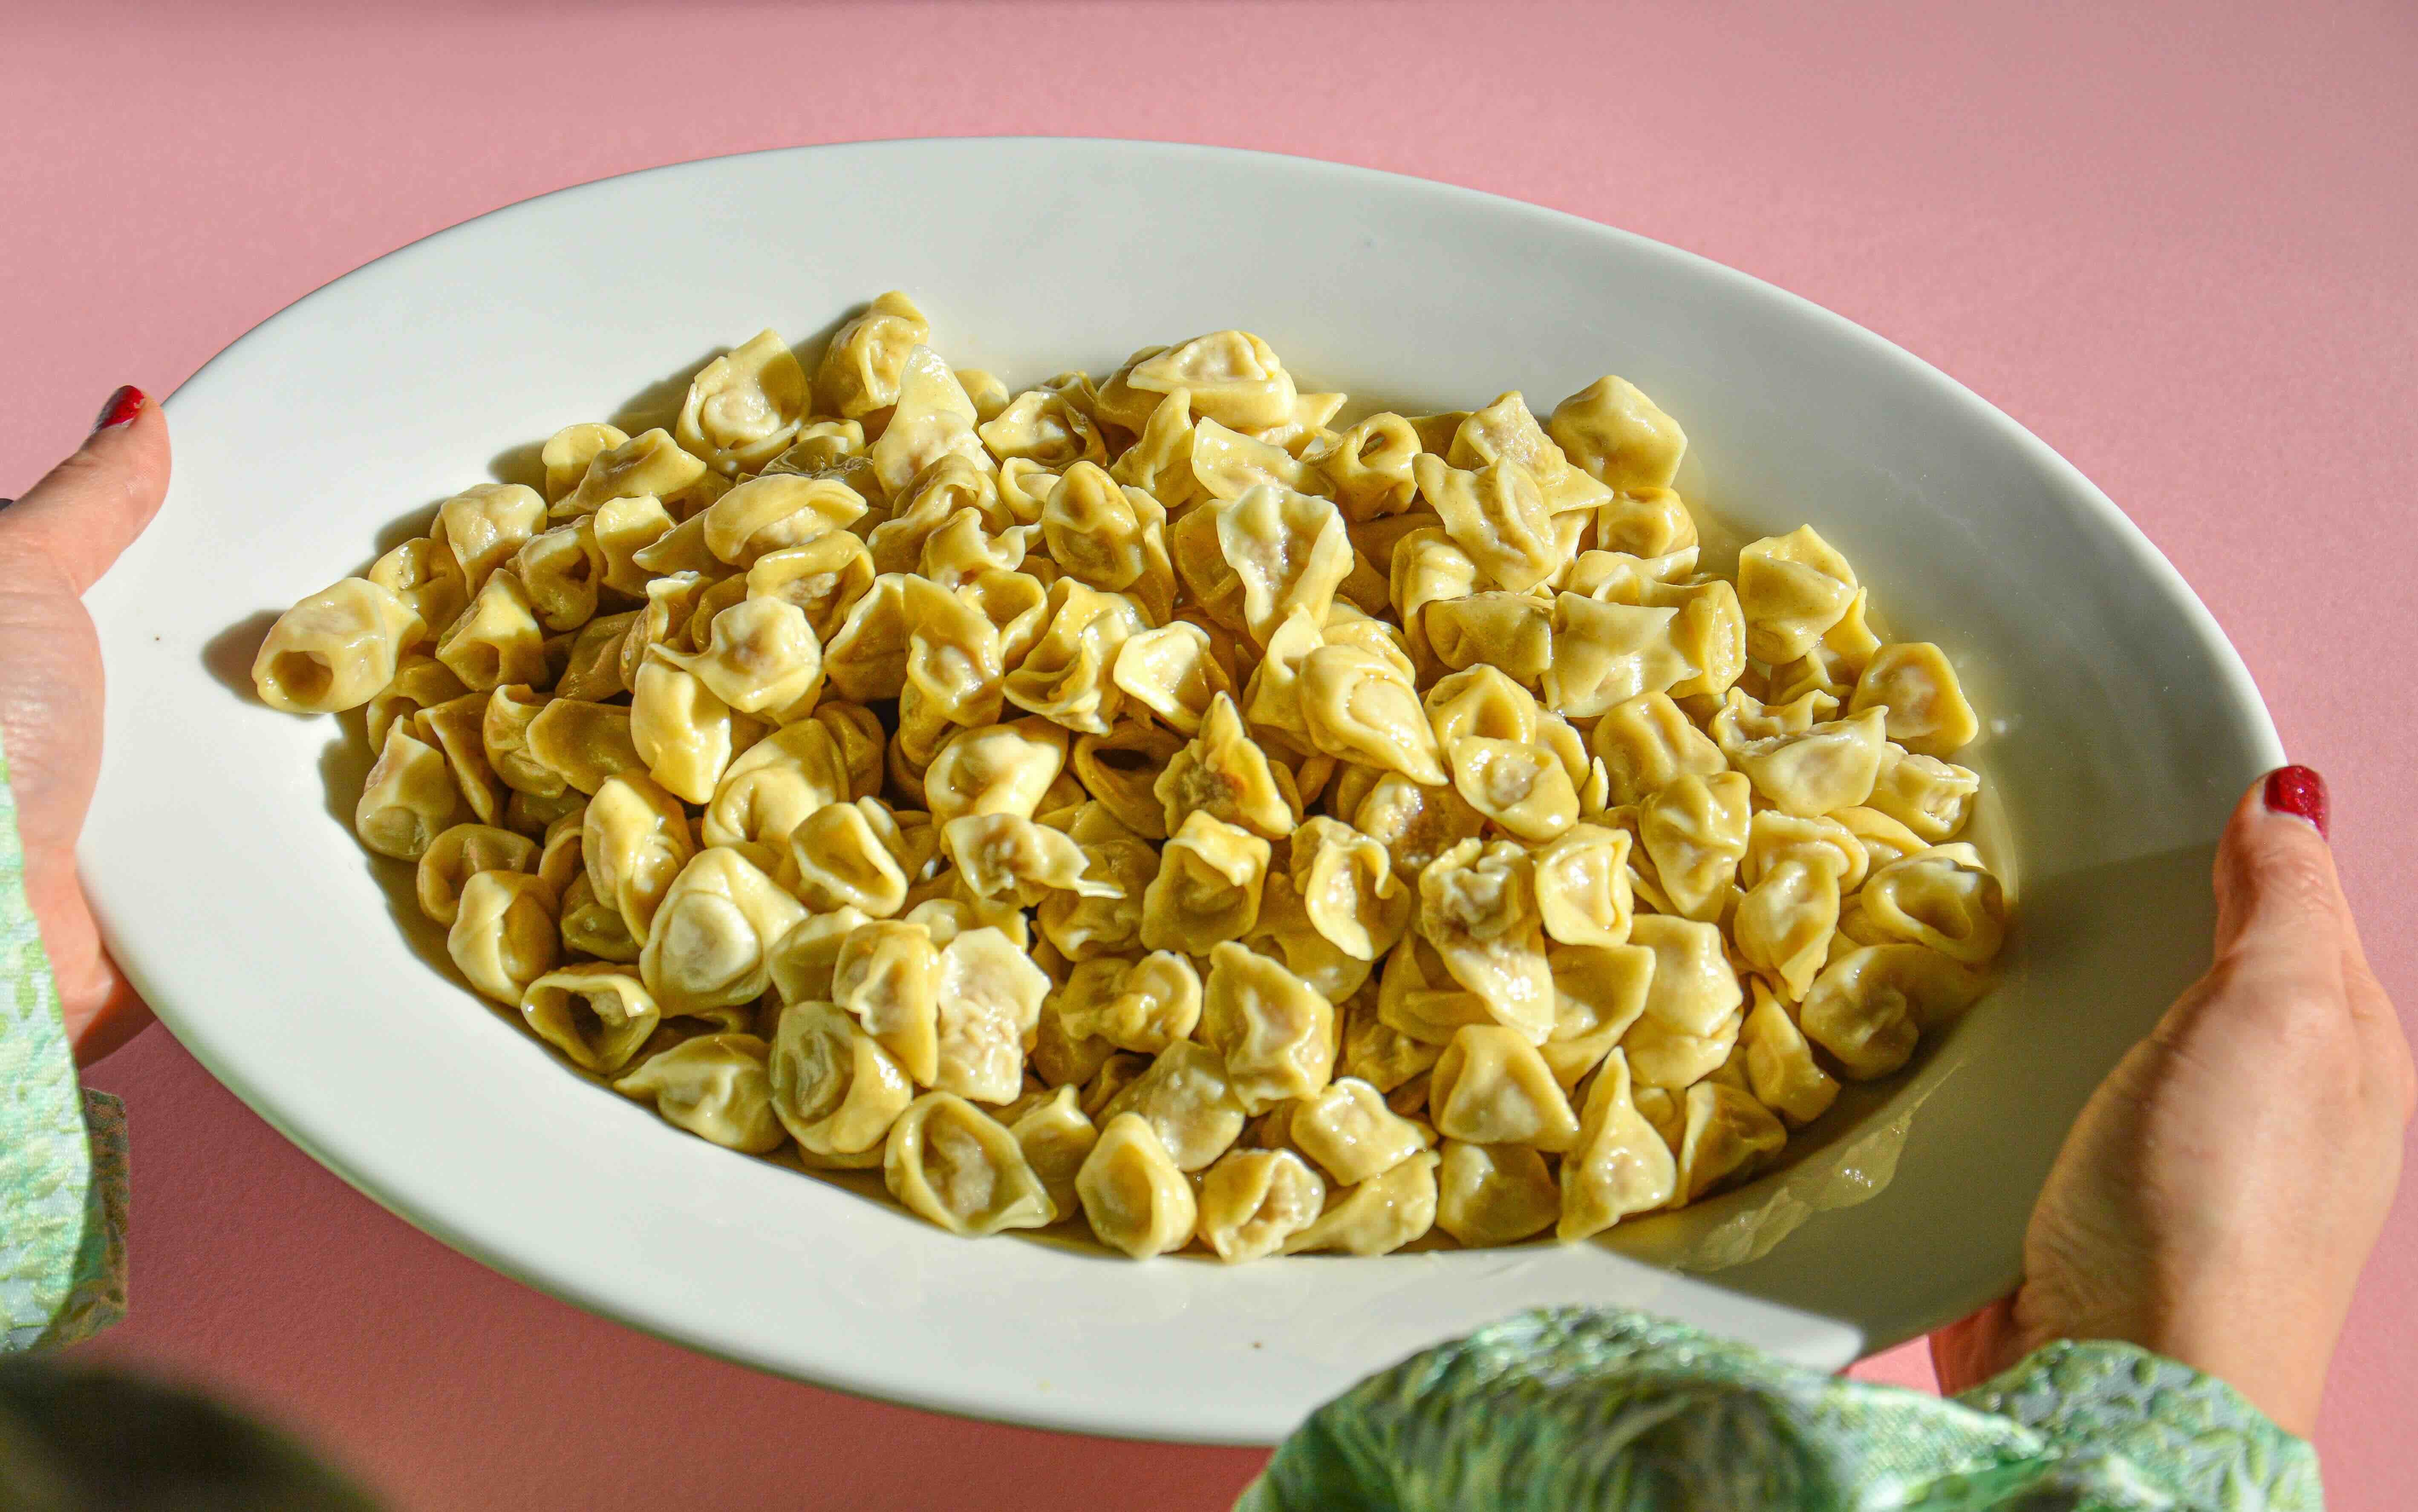
Finally, bring the two ends together, pinching them around your finger to form the tortellino shape. Double-pinch the closing to ensure it stays sealed. Place each finished tortellino on a tray lined with a cloth and dusted with flour, then let them dry.
Repeat the process until all the uncovered squares are filled and shaped.

Once you’ve finished, uncover the next part of the dough, place the meat filling on each square, and begin making the tortellini.
Be sure to arrange the tortellini on a tray lined with a cloth and a dusting of flour, making sure they aren’t sticking together. Give them a turn every once in a while to prevent sticking.
If you have any leftover dough scraps, save them and use as pasta for your next soup - they’re too good to waste!
For a visual guide on assembling a tortellino, check out the video below:
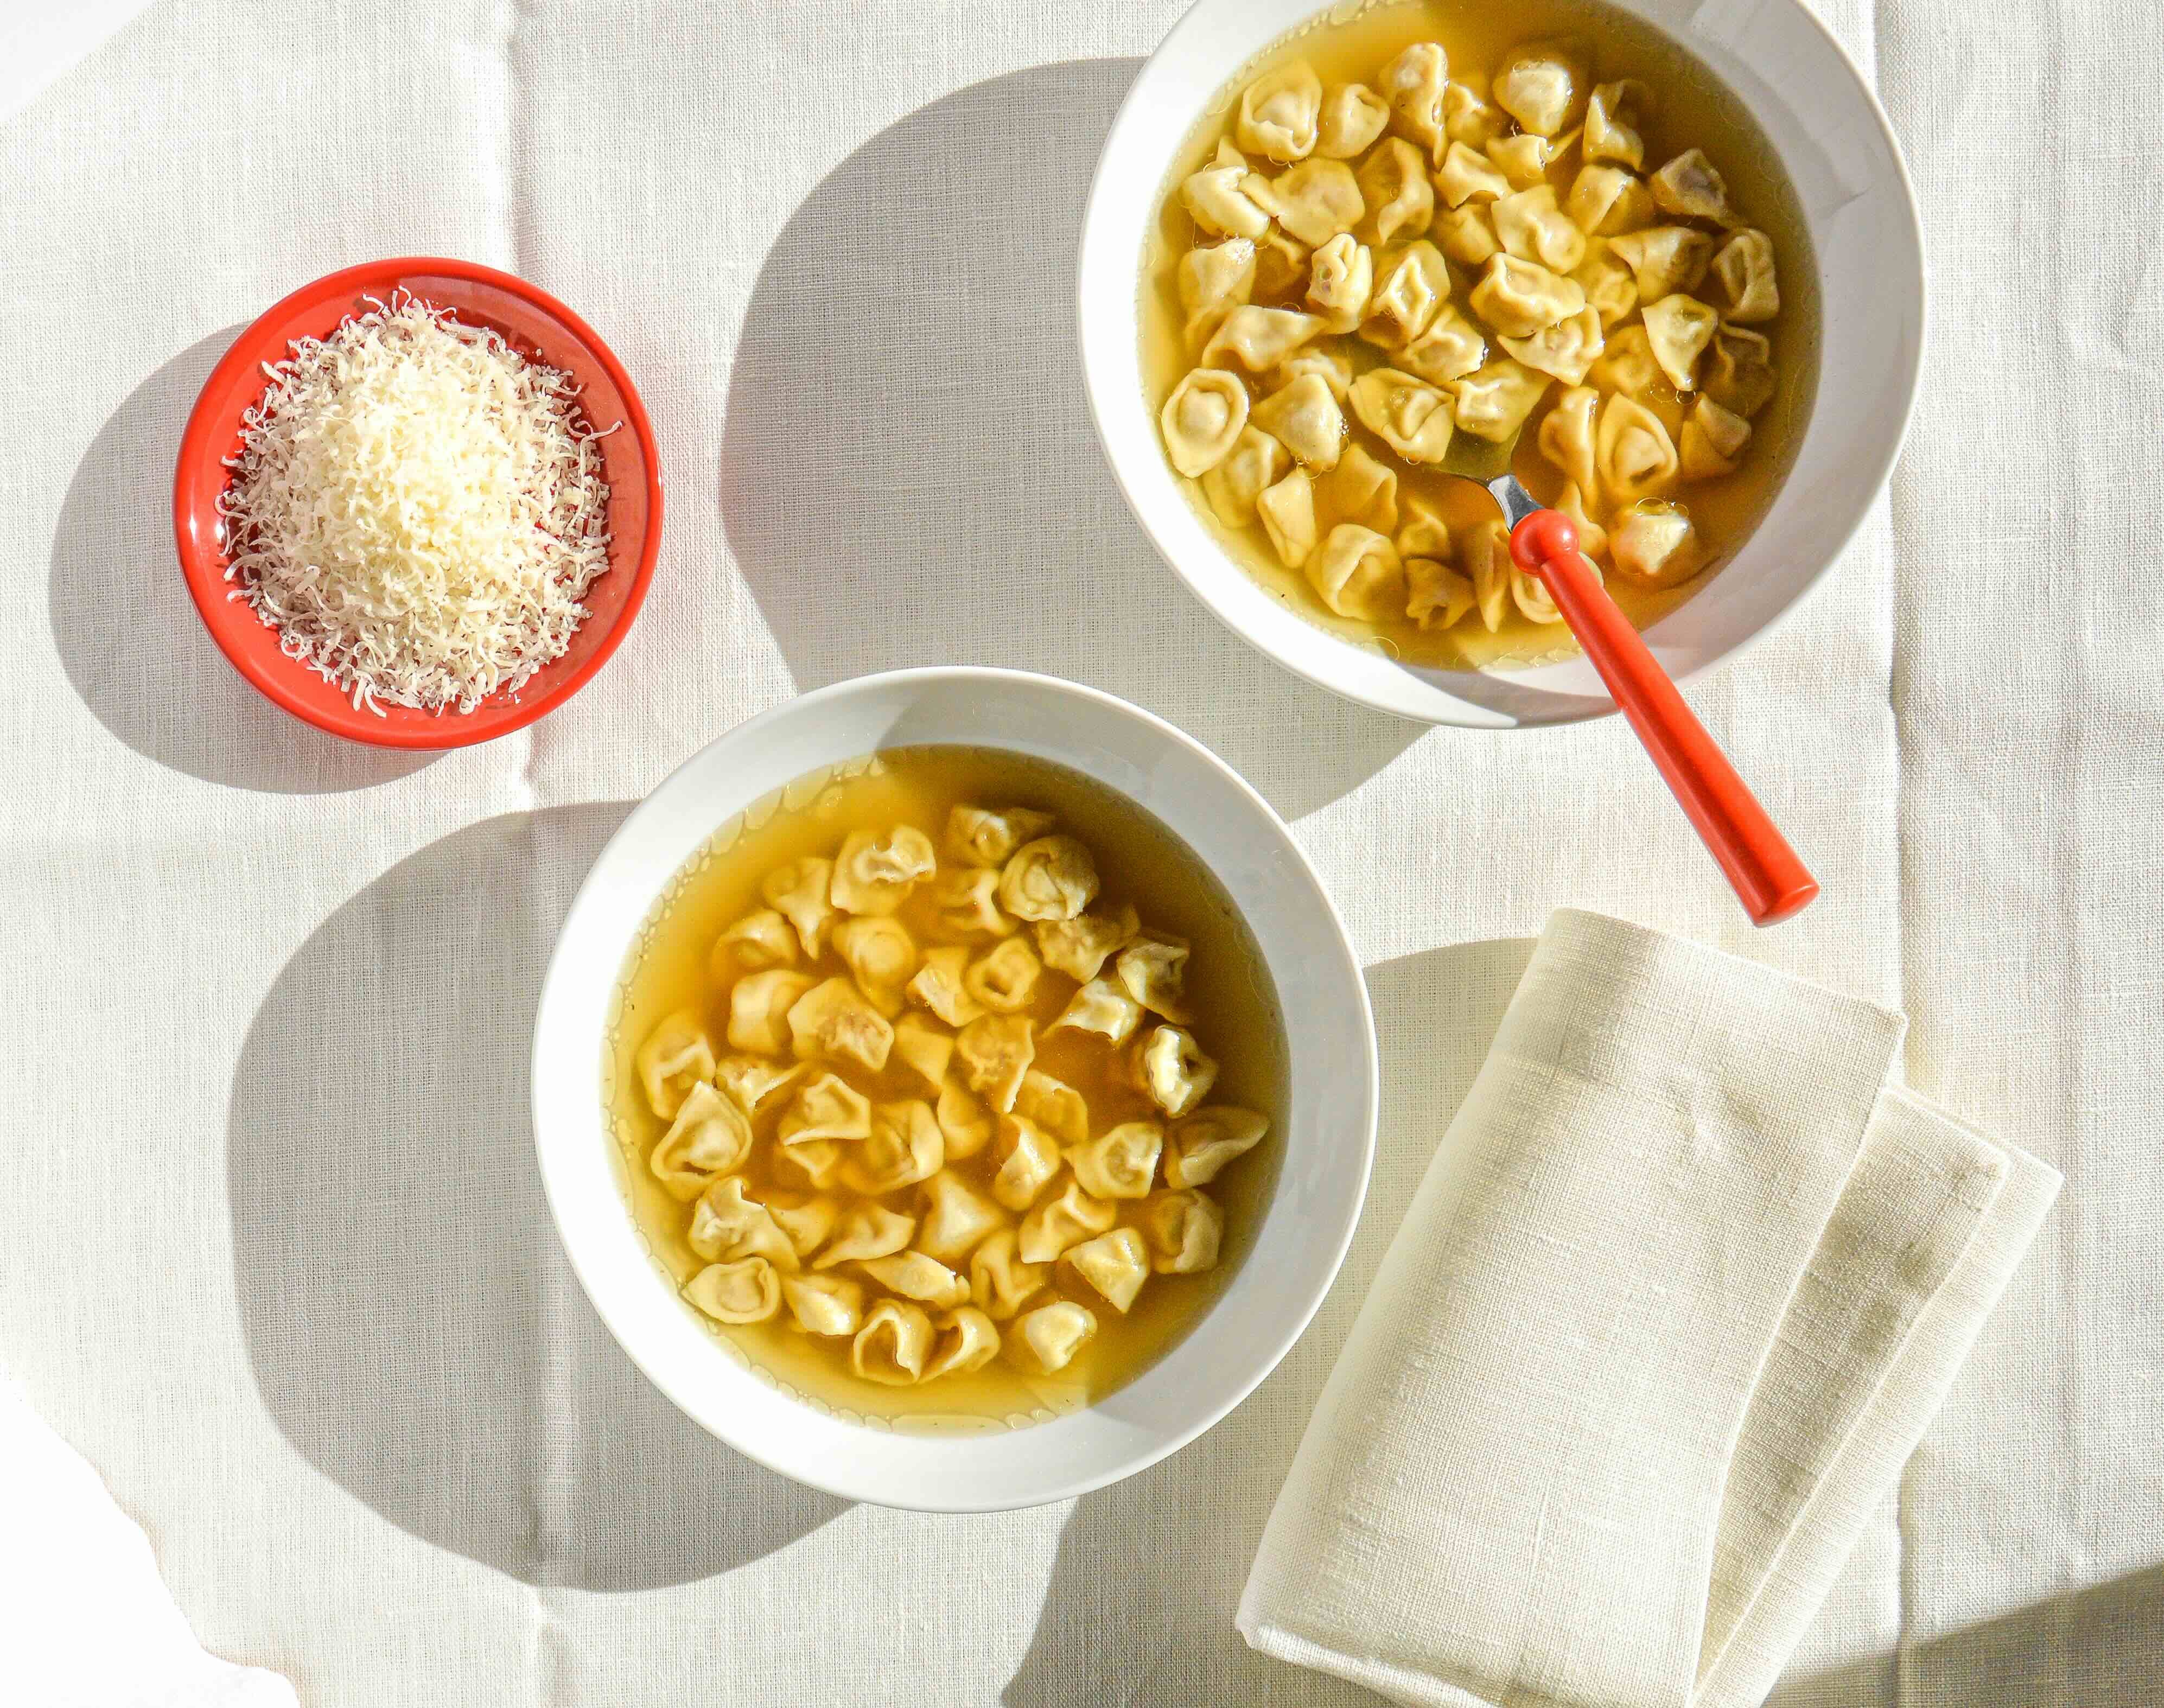
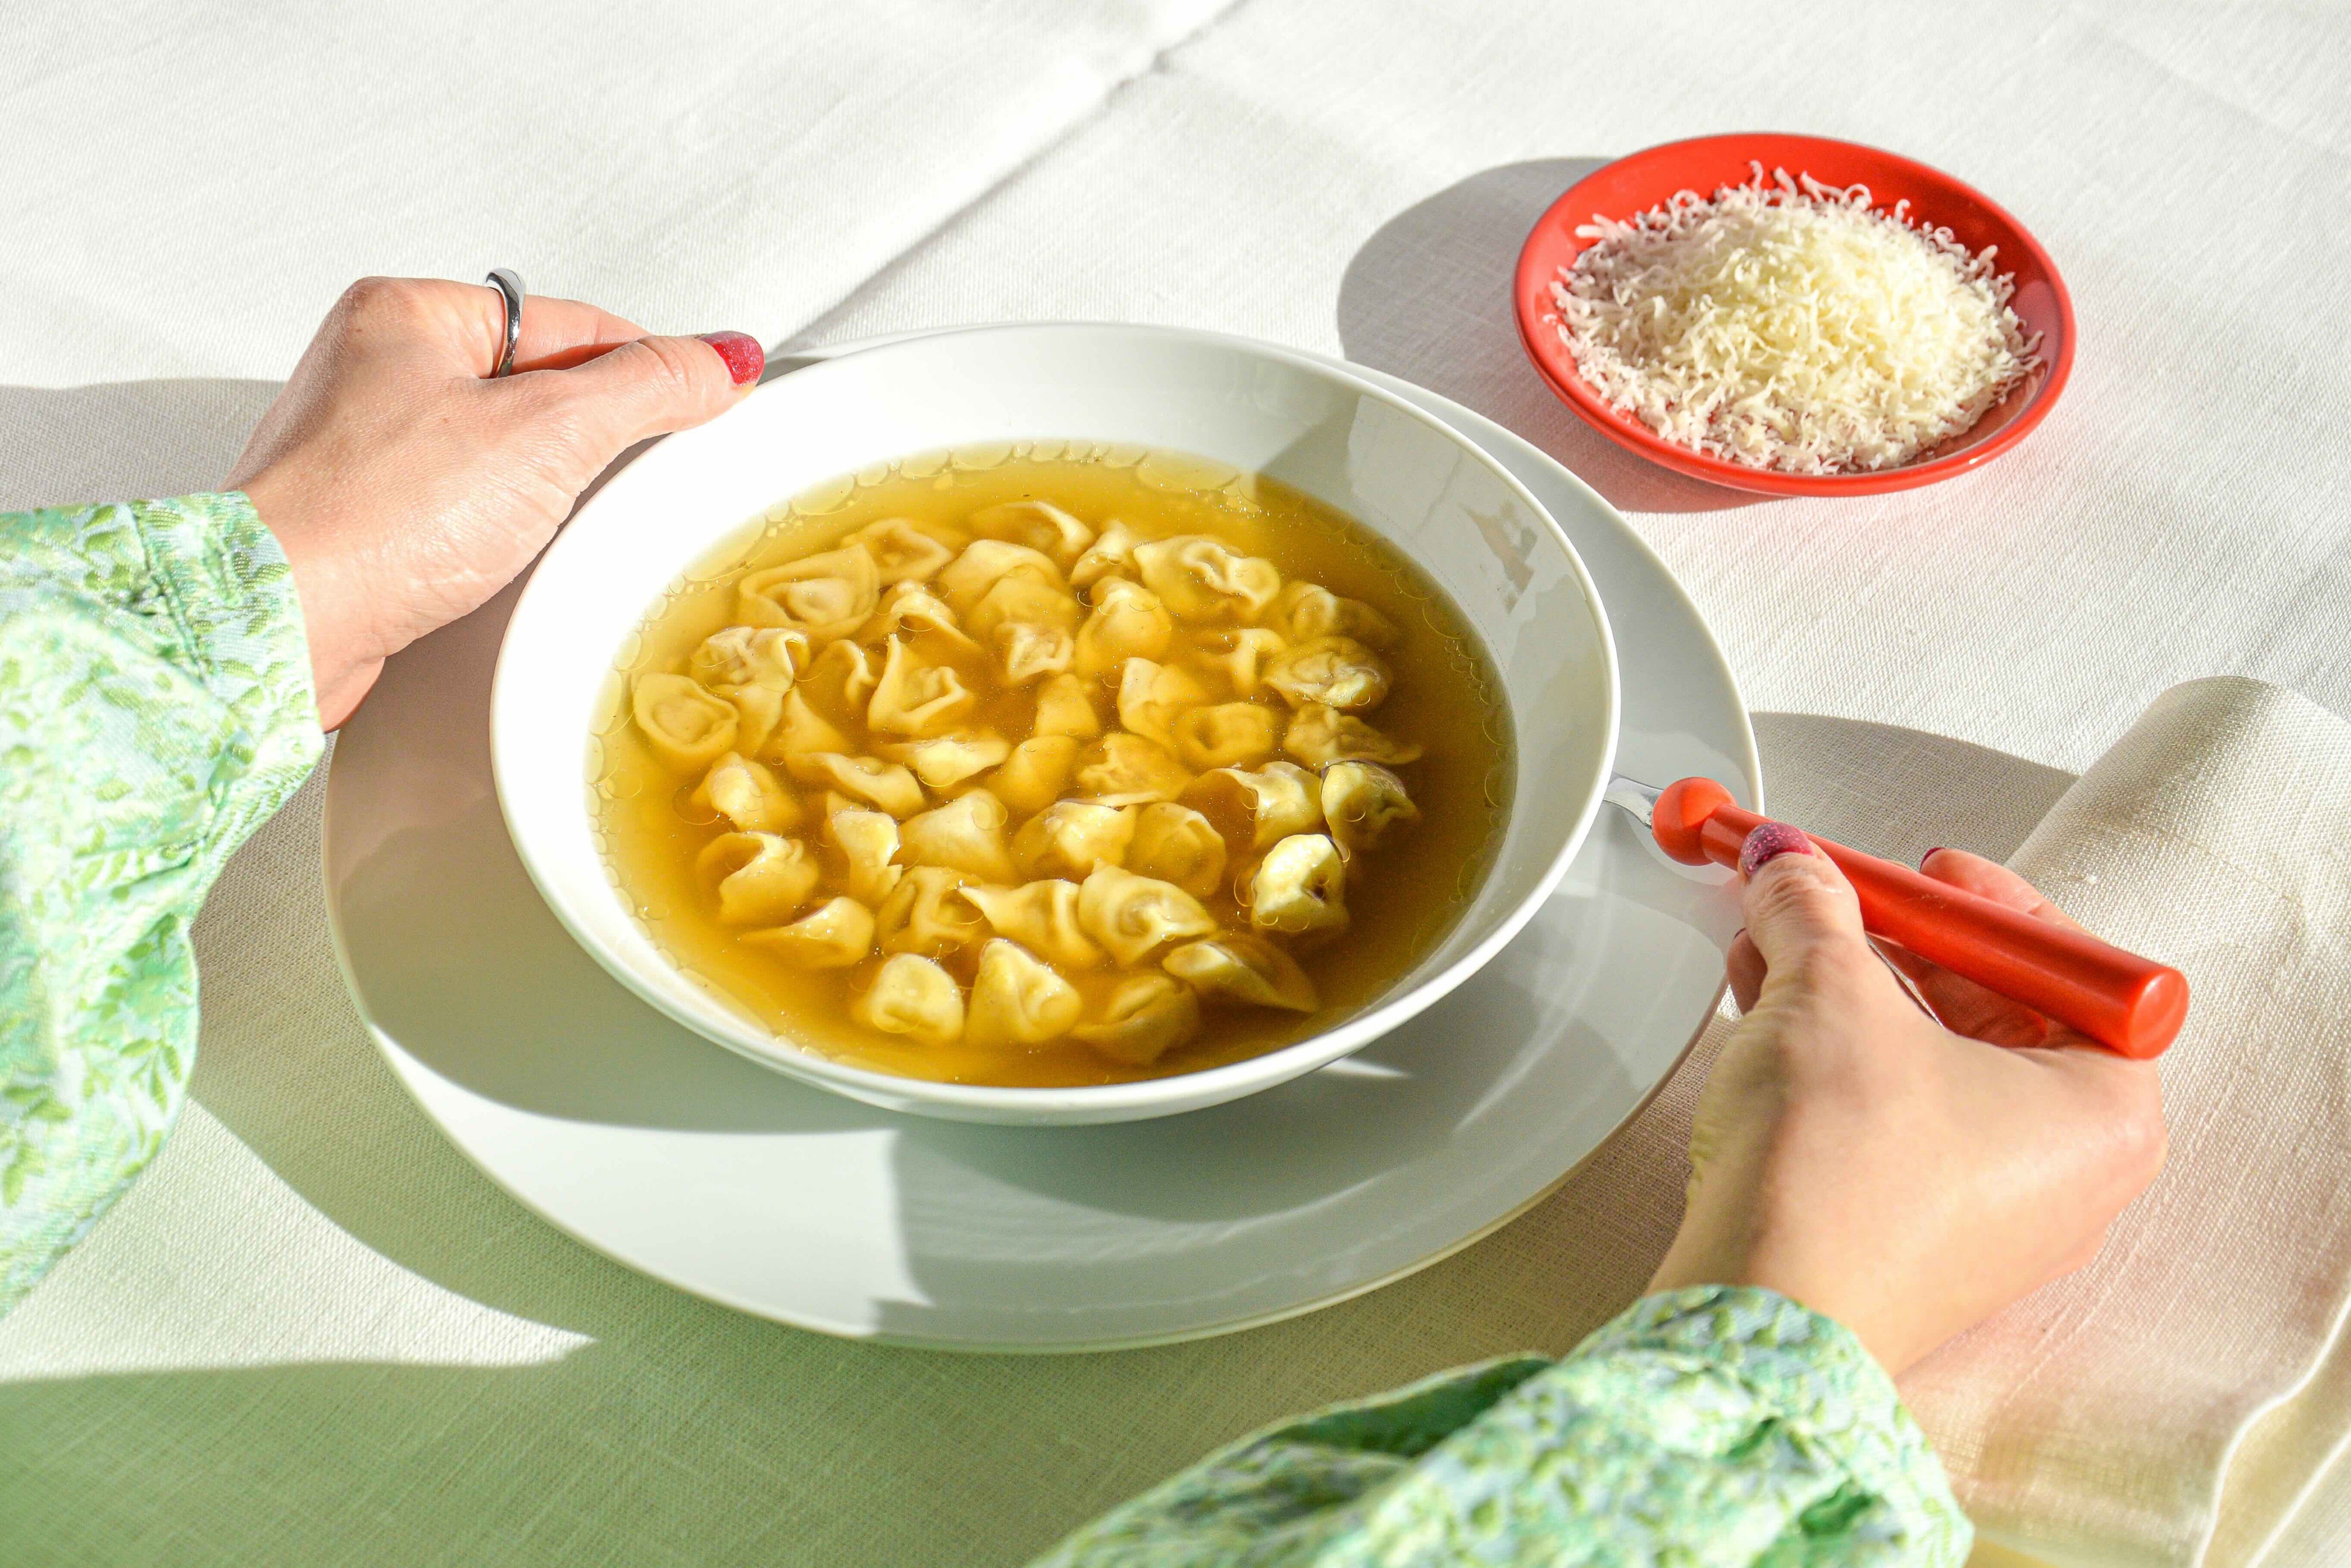
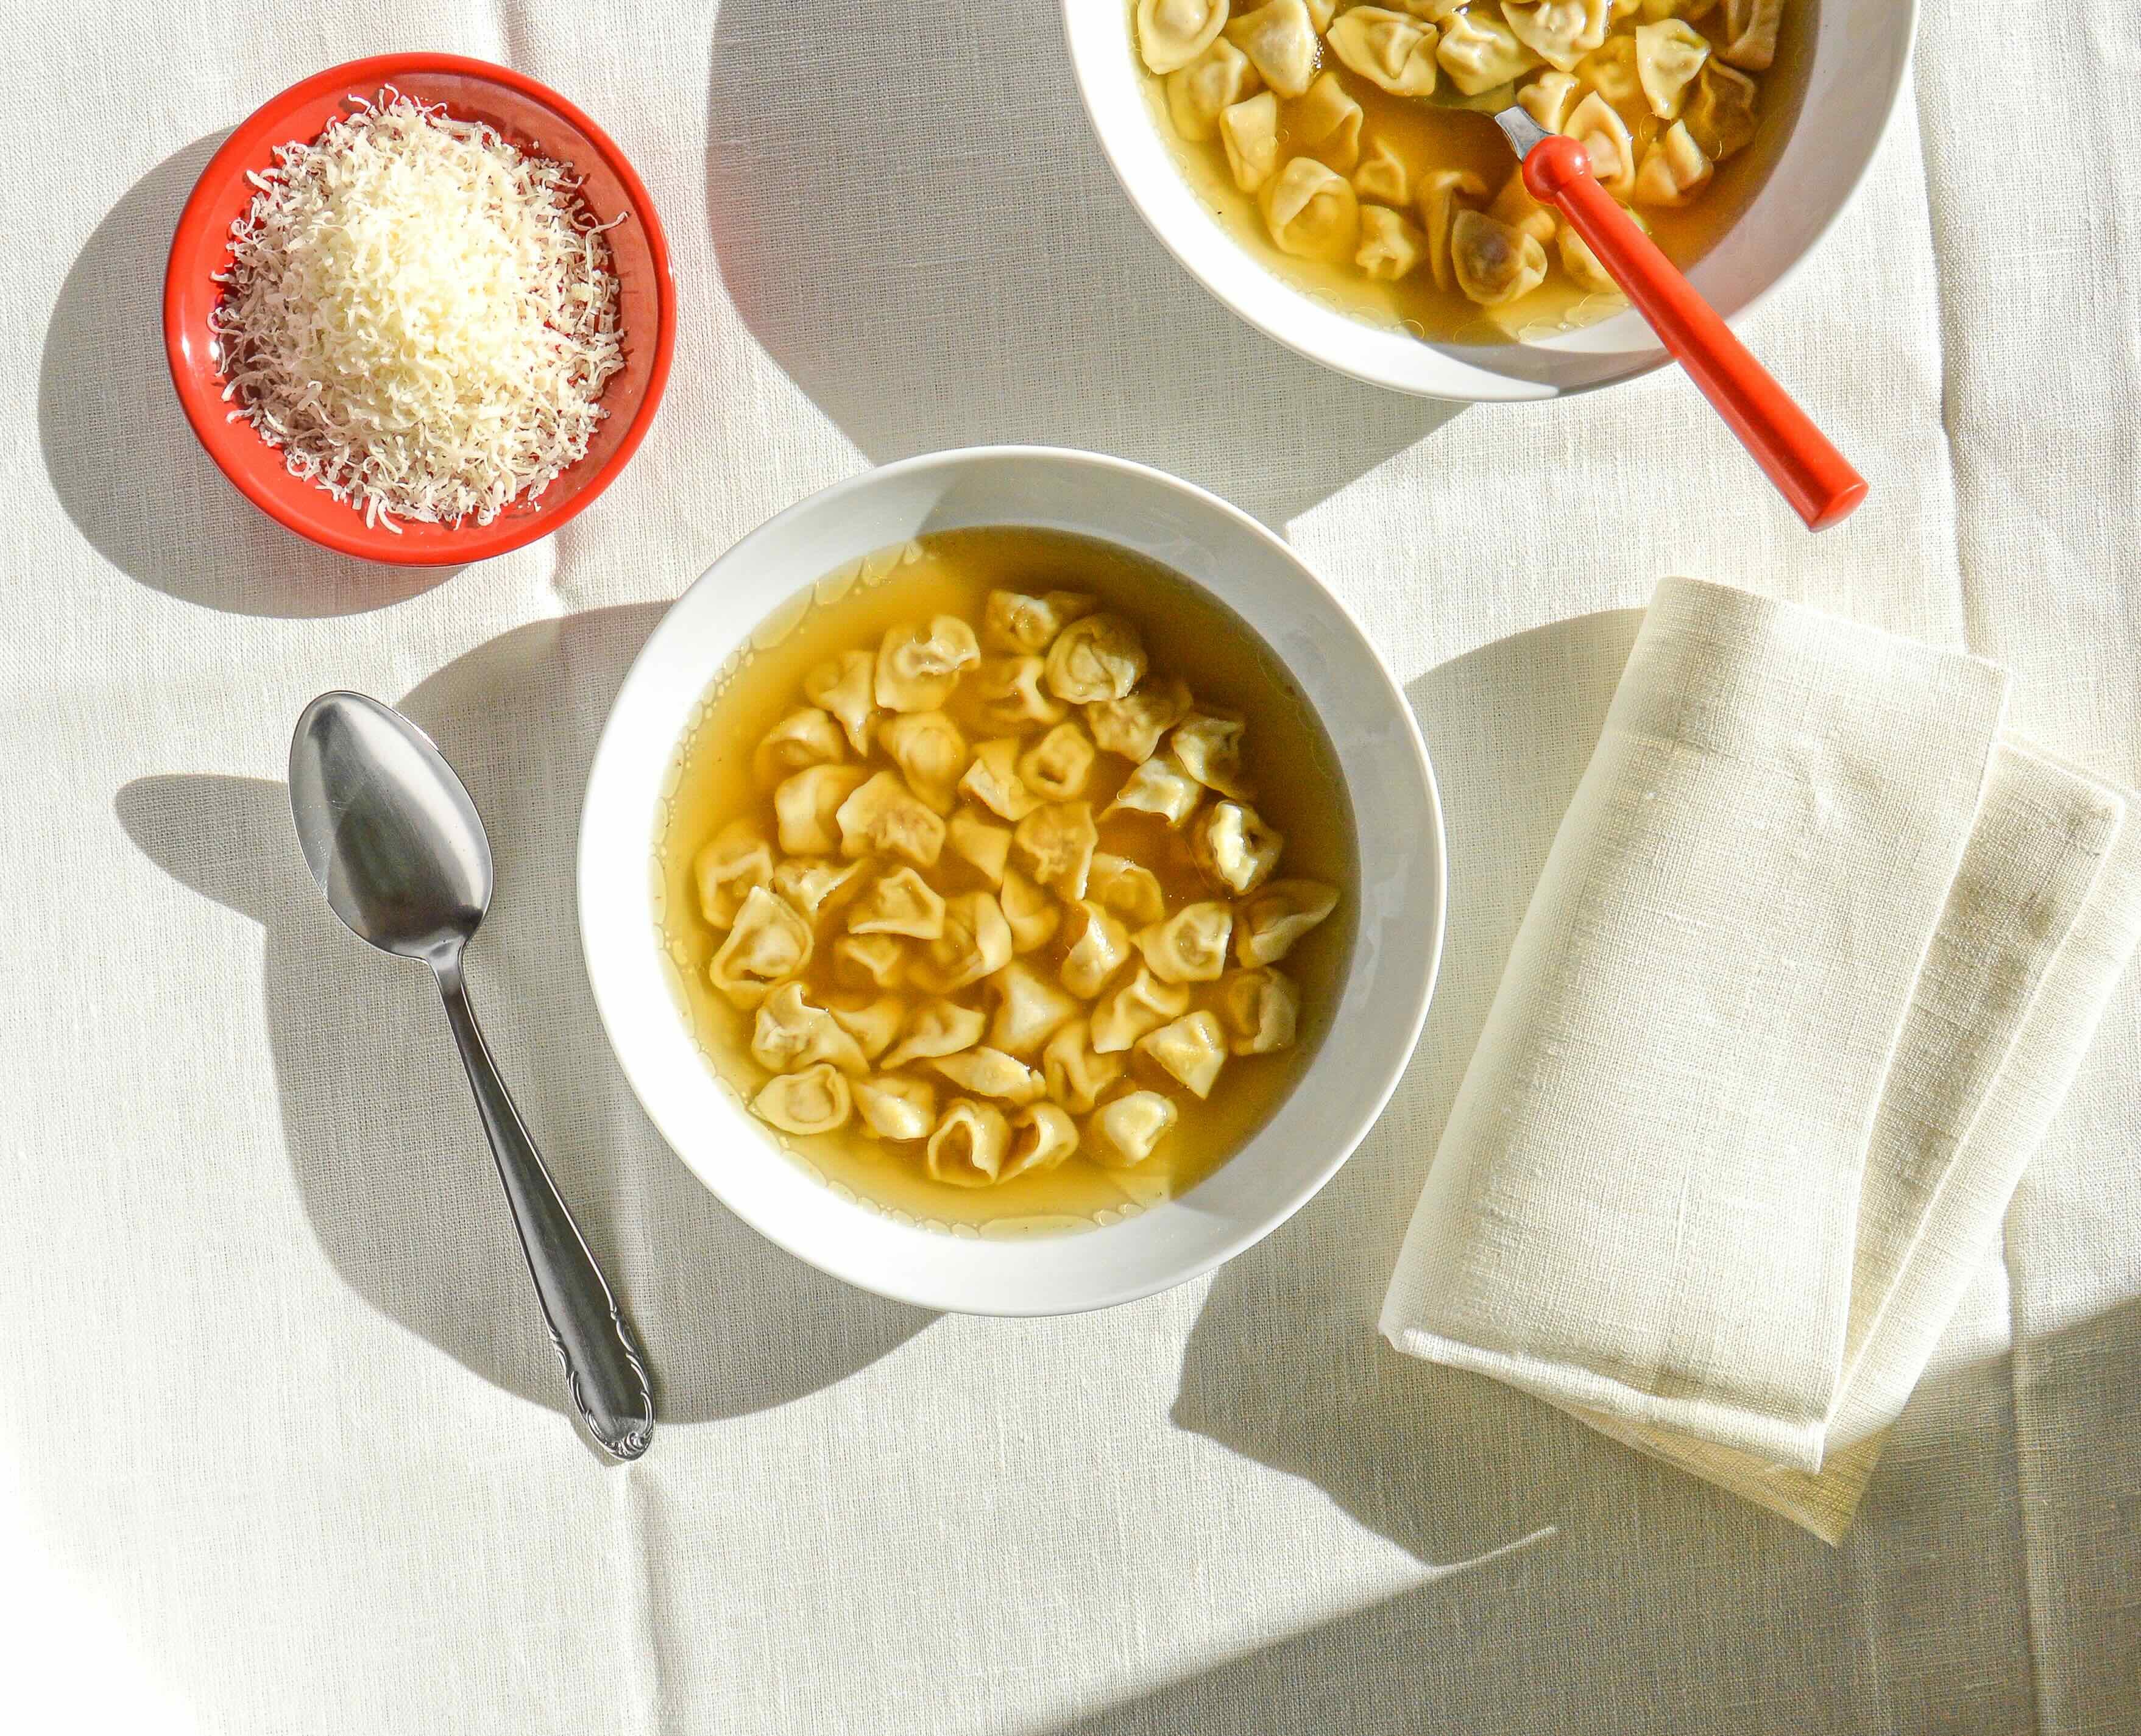
Serve
Warm the broth over low heat until it’s hot. Once it’s simmering, add the tortellini and cook for 3/4 minutes, or until they float to the top.
Alternatively, you can cook the tortellini in a separate pot of salted boiling water, then transfer them to serving bowls and pour the broth over.
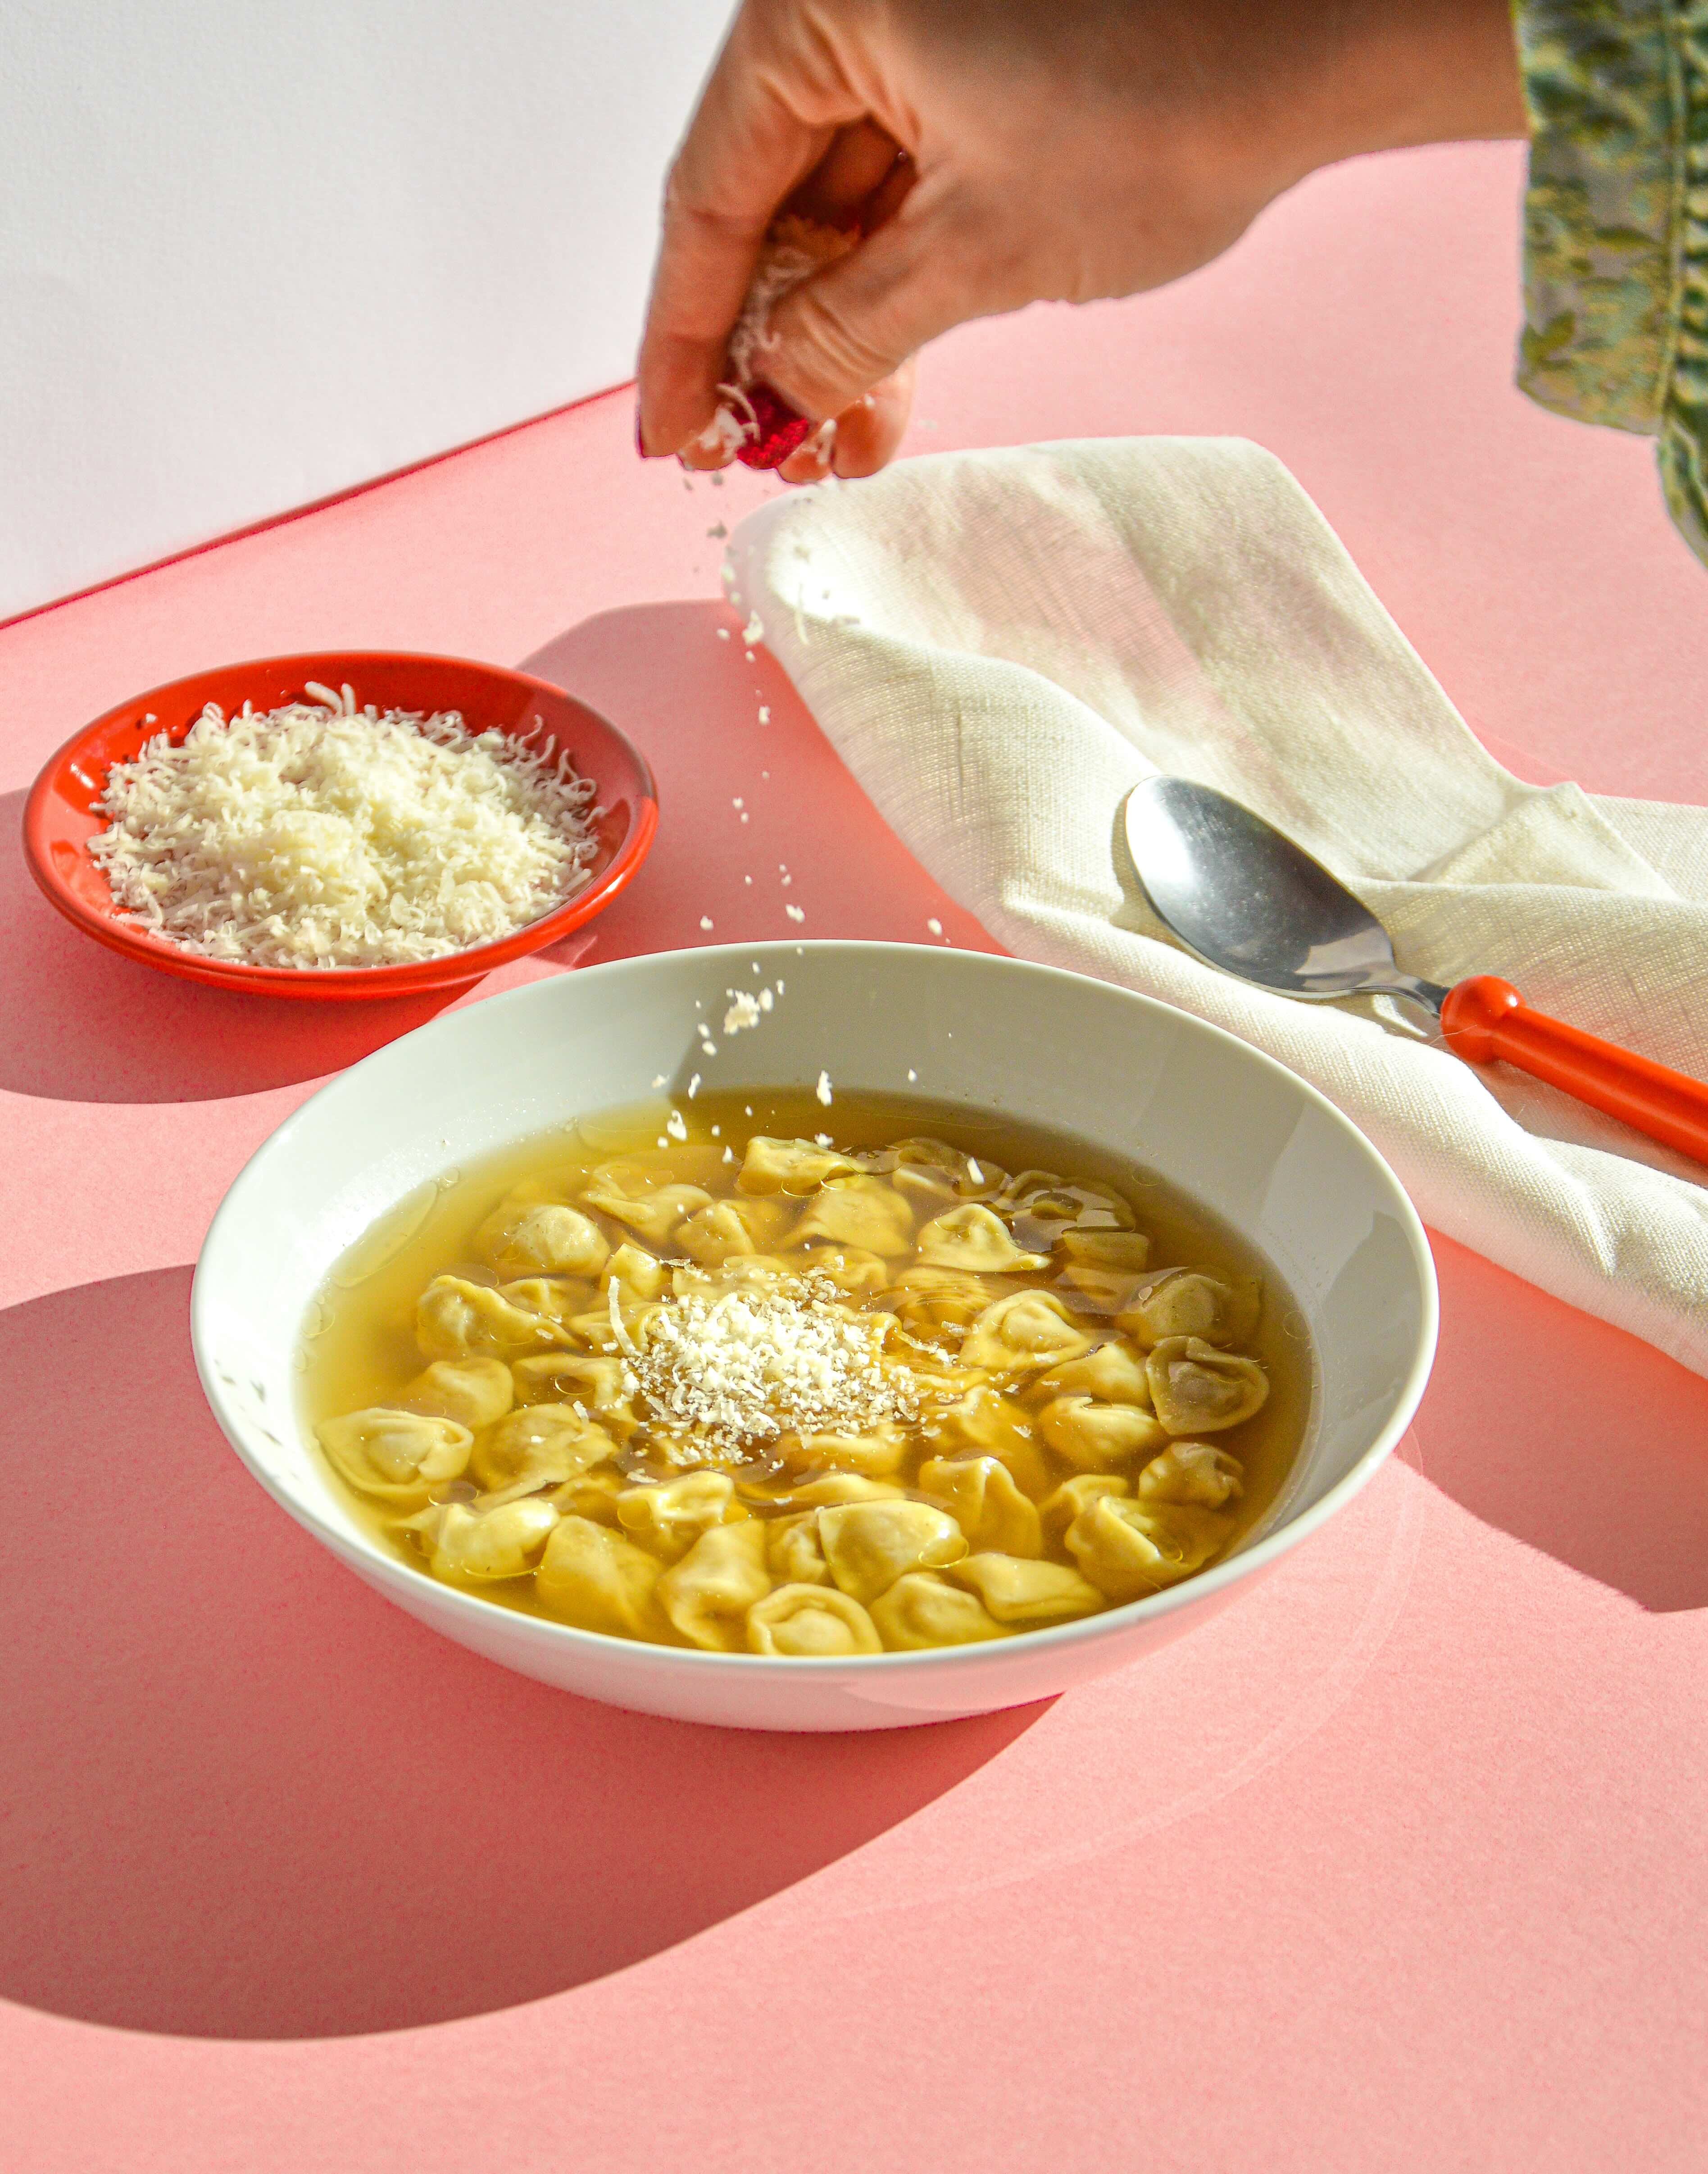
If you fancy, grate some Parmigiano Reggiano on top of the soup!
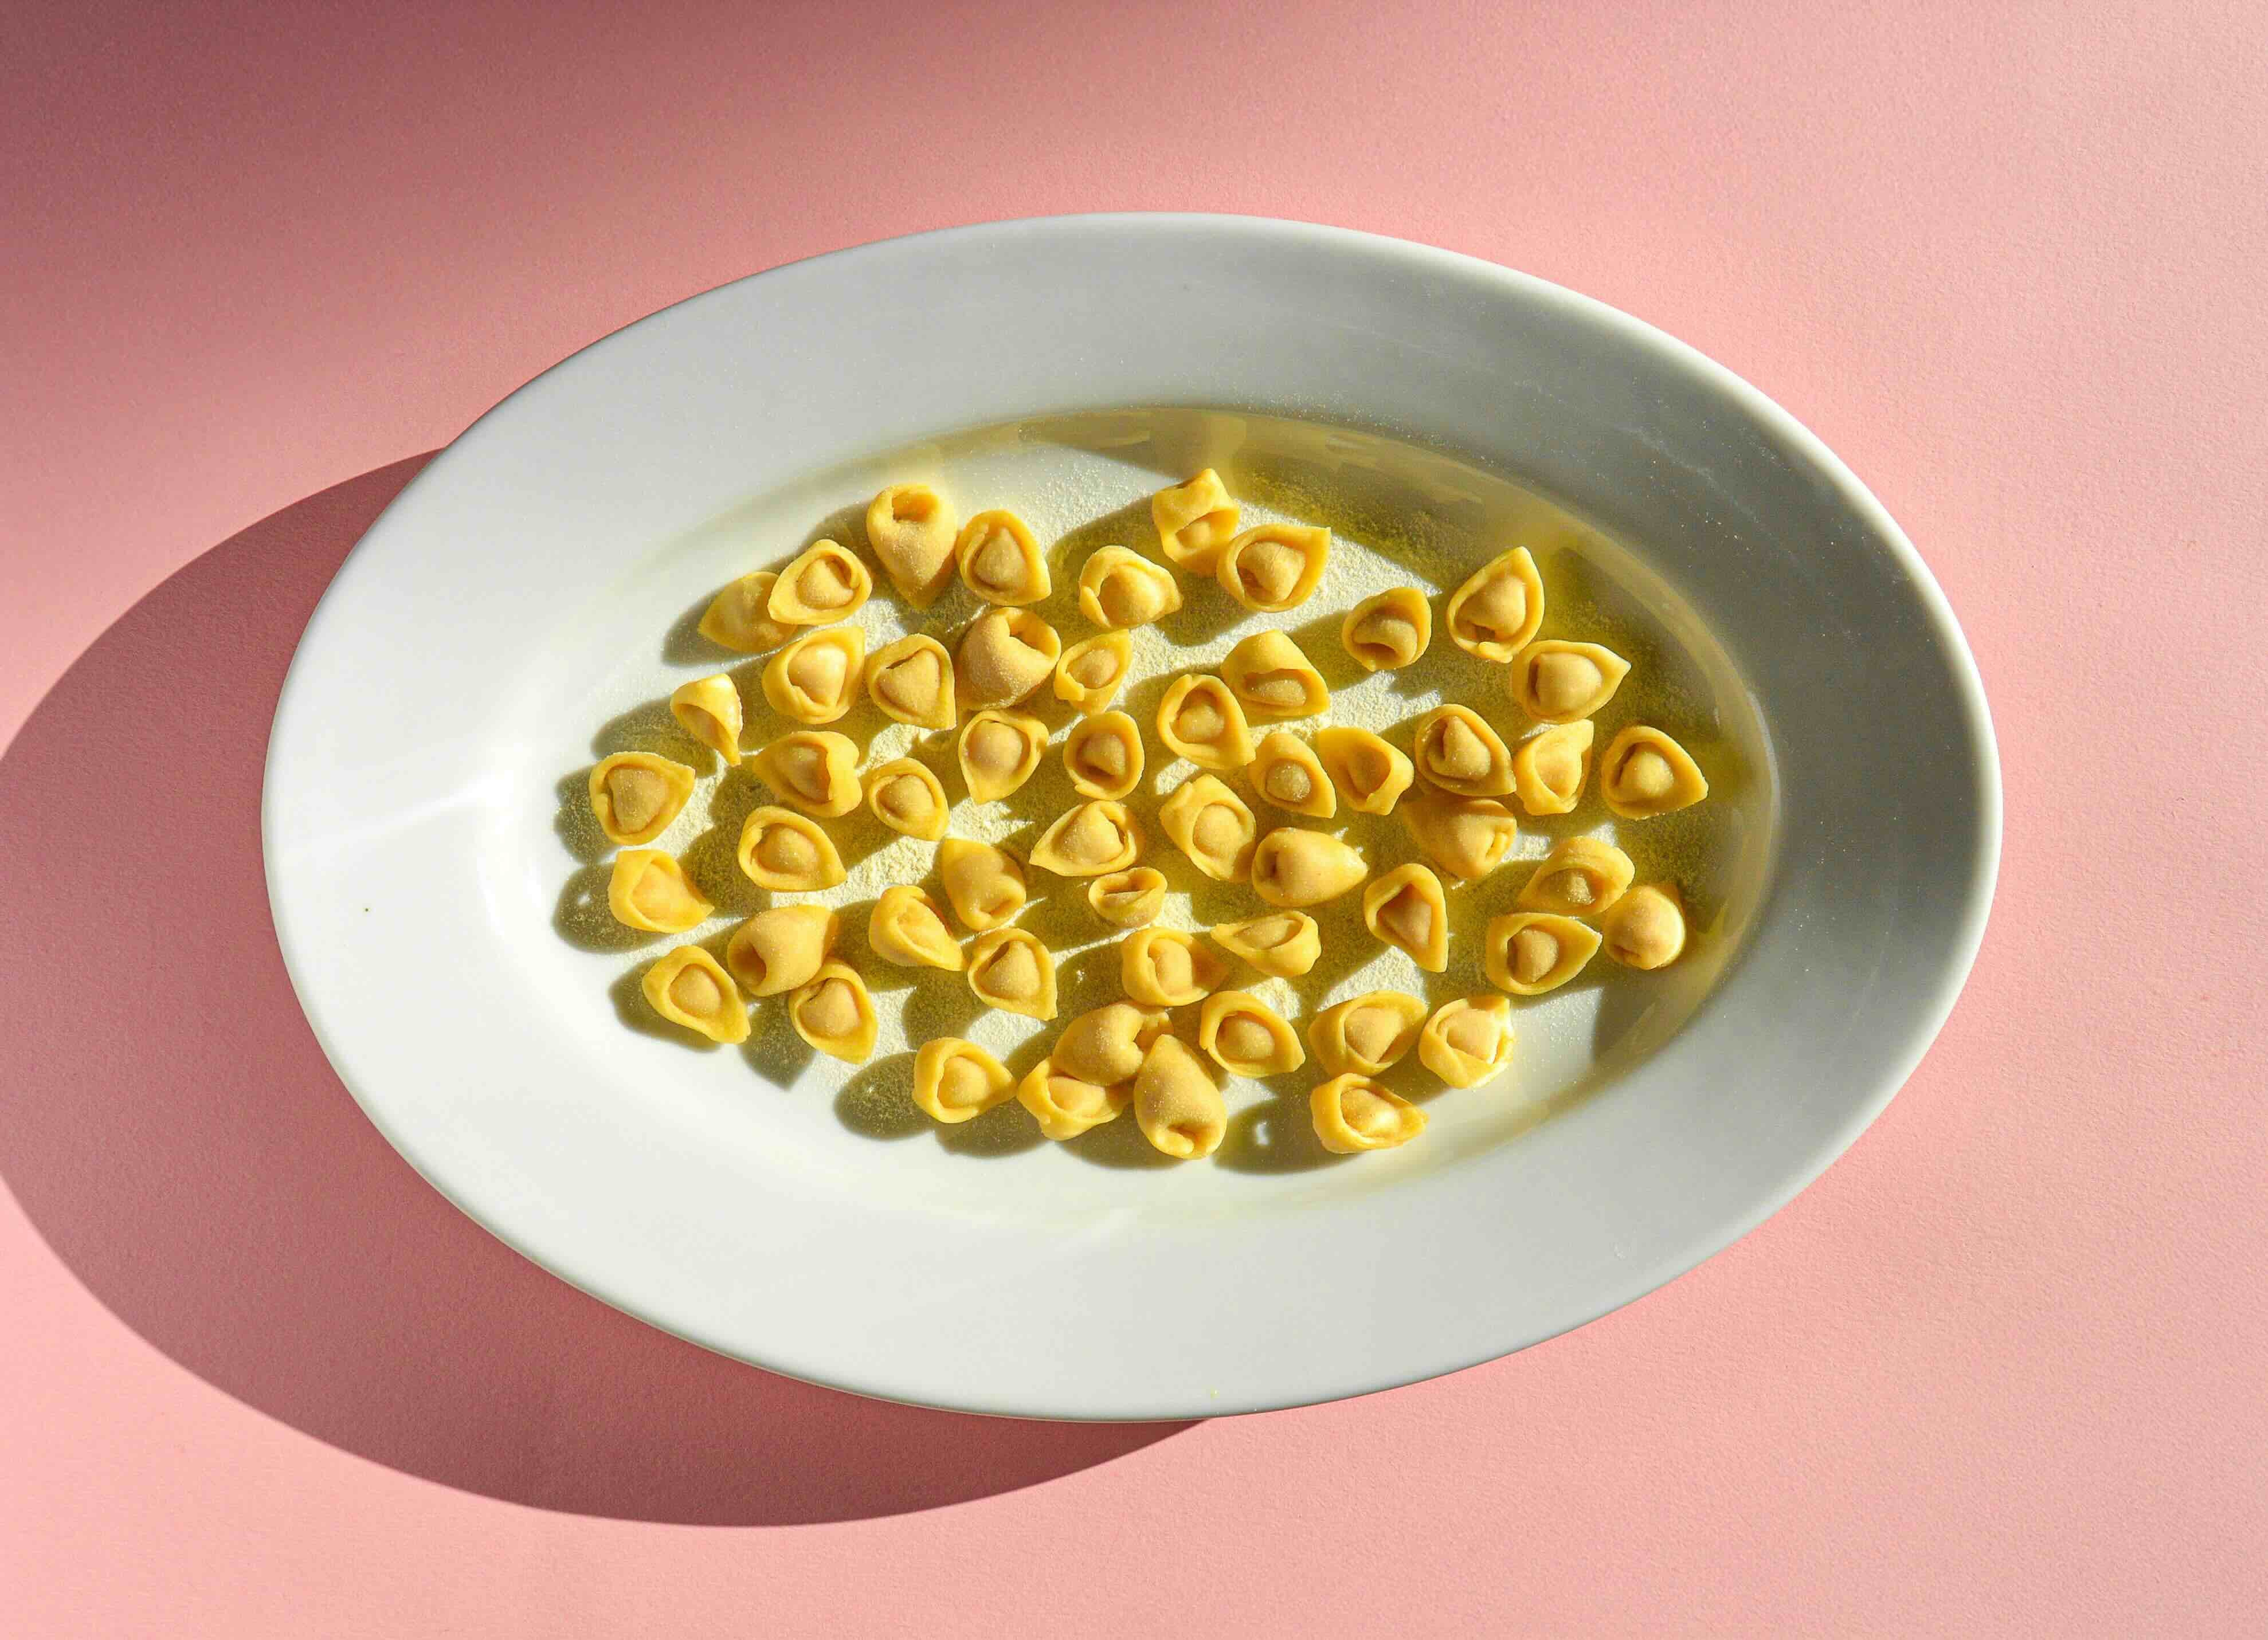
If you don’t plan to eat all the tortellini at once, you can cook them for about a minute or 2, drain them, and spread them out on a tray. Drizzle a little vegetable oil over them to prevent sticking and give the tray a shake to coat evenly. Let the tortellini cool, then transfer them to containers (small enough to fit in the fridge) in a single layer. Freeze them for a couple of hours. After they’ve frozen solid, transfer the tortellini into a ziplock bag for storage.
Amazing pictures ♥️